
Whether my family was going on a road trip, to Disneyland, or on a picnic, my mom always packed us onigiri growing up. To this day, it’s still a core memory.
Onigiri, also known as Japanese rice balls, are a beloved staple in Japanese cuisine, cherished for their simplicity, versatility, and portability. Traditionally made with steamed white rice shaped into triangular, oval, or cylindrical forms, onigiri are often wrapped in a sheet of nori (seaweed) and can be filled with a variety of ingredients such as umeboshi (pickled plum), grilled salmon, tuna with mayonnaise, or kombu (simmered seaweed).
One of the key reasons onigiri are so popular is their convenience. They are perfect for bento boxes, picnics, road trips, or quick snacks on the go. In Japan, you can find onigiri in nearly every convenience store, showcasing an array of flavors and fillings to suit every taste.

Method 1:
The Simple Fold
Method 2:
Nori Wrap
Method 3:
Onigiri Mold
What Type of Rice to Use
Choosing the right type of rice can be confusing, especially with so many varieties available. From long-grain basmati to aromatic jasmine rice, each type has its own texture and flavor. In Japanese cooking, however, Japanese short-grain or medium-grain rice is almost always the go-to choice.
Short-grain rice, often labeled as sushi rice, is particularly prized for its soft and chewy texture, which pairs beautifully with traditional Japanese dishes. Medium-grain rice is a great alternative if short-grain isn’t available (I actually almost always use medium-grain myself because it’s generally cheaper where I live!). Both are ideal for recipes like this one, where the rice’s stickiness helps meld the flavors into every bite.

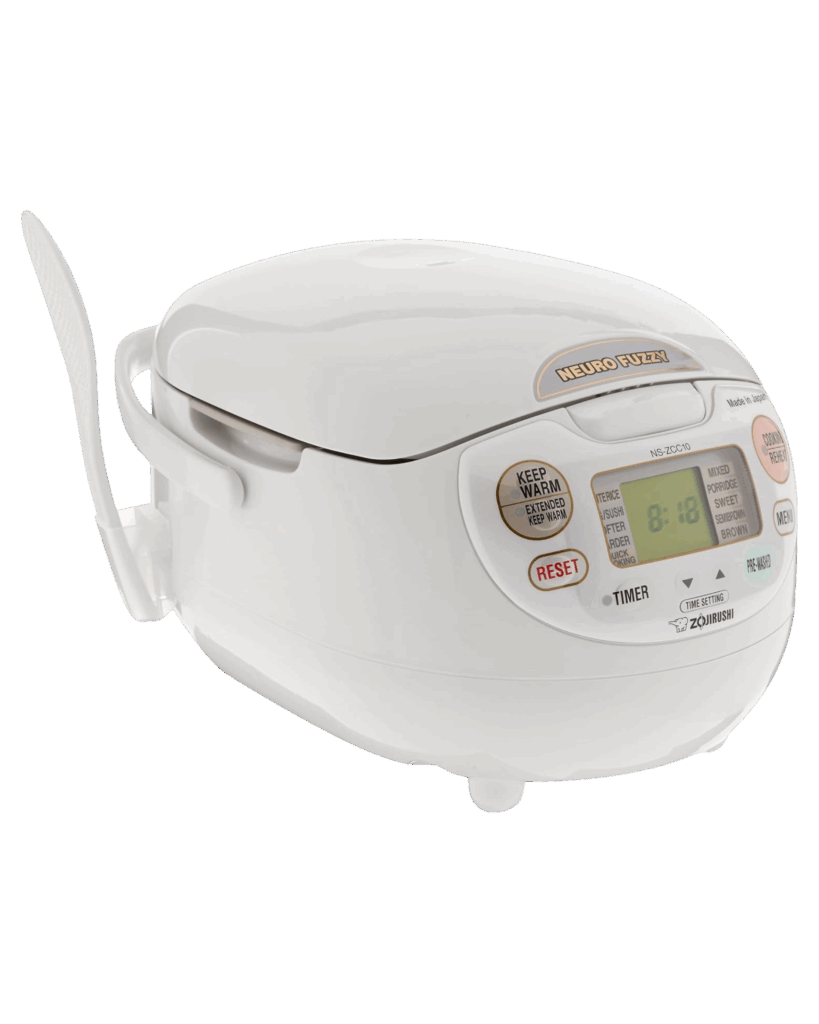
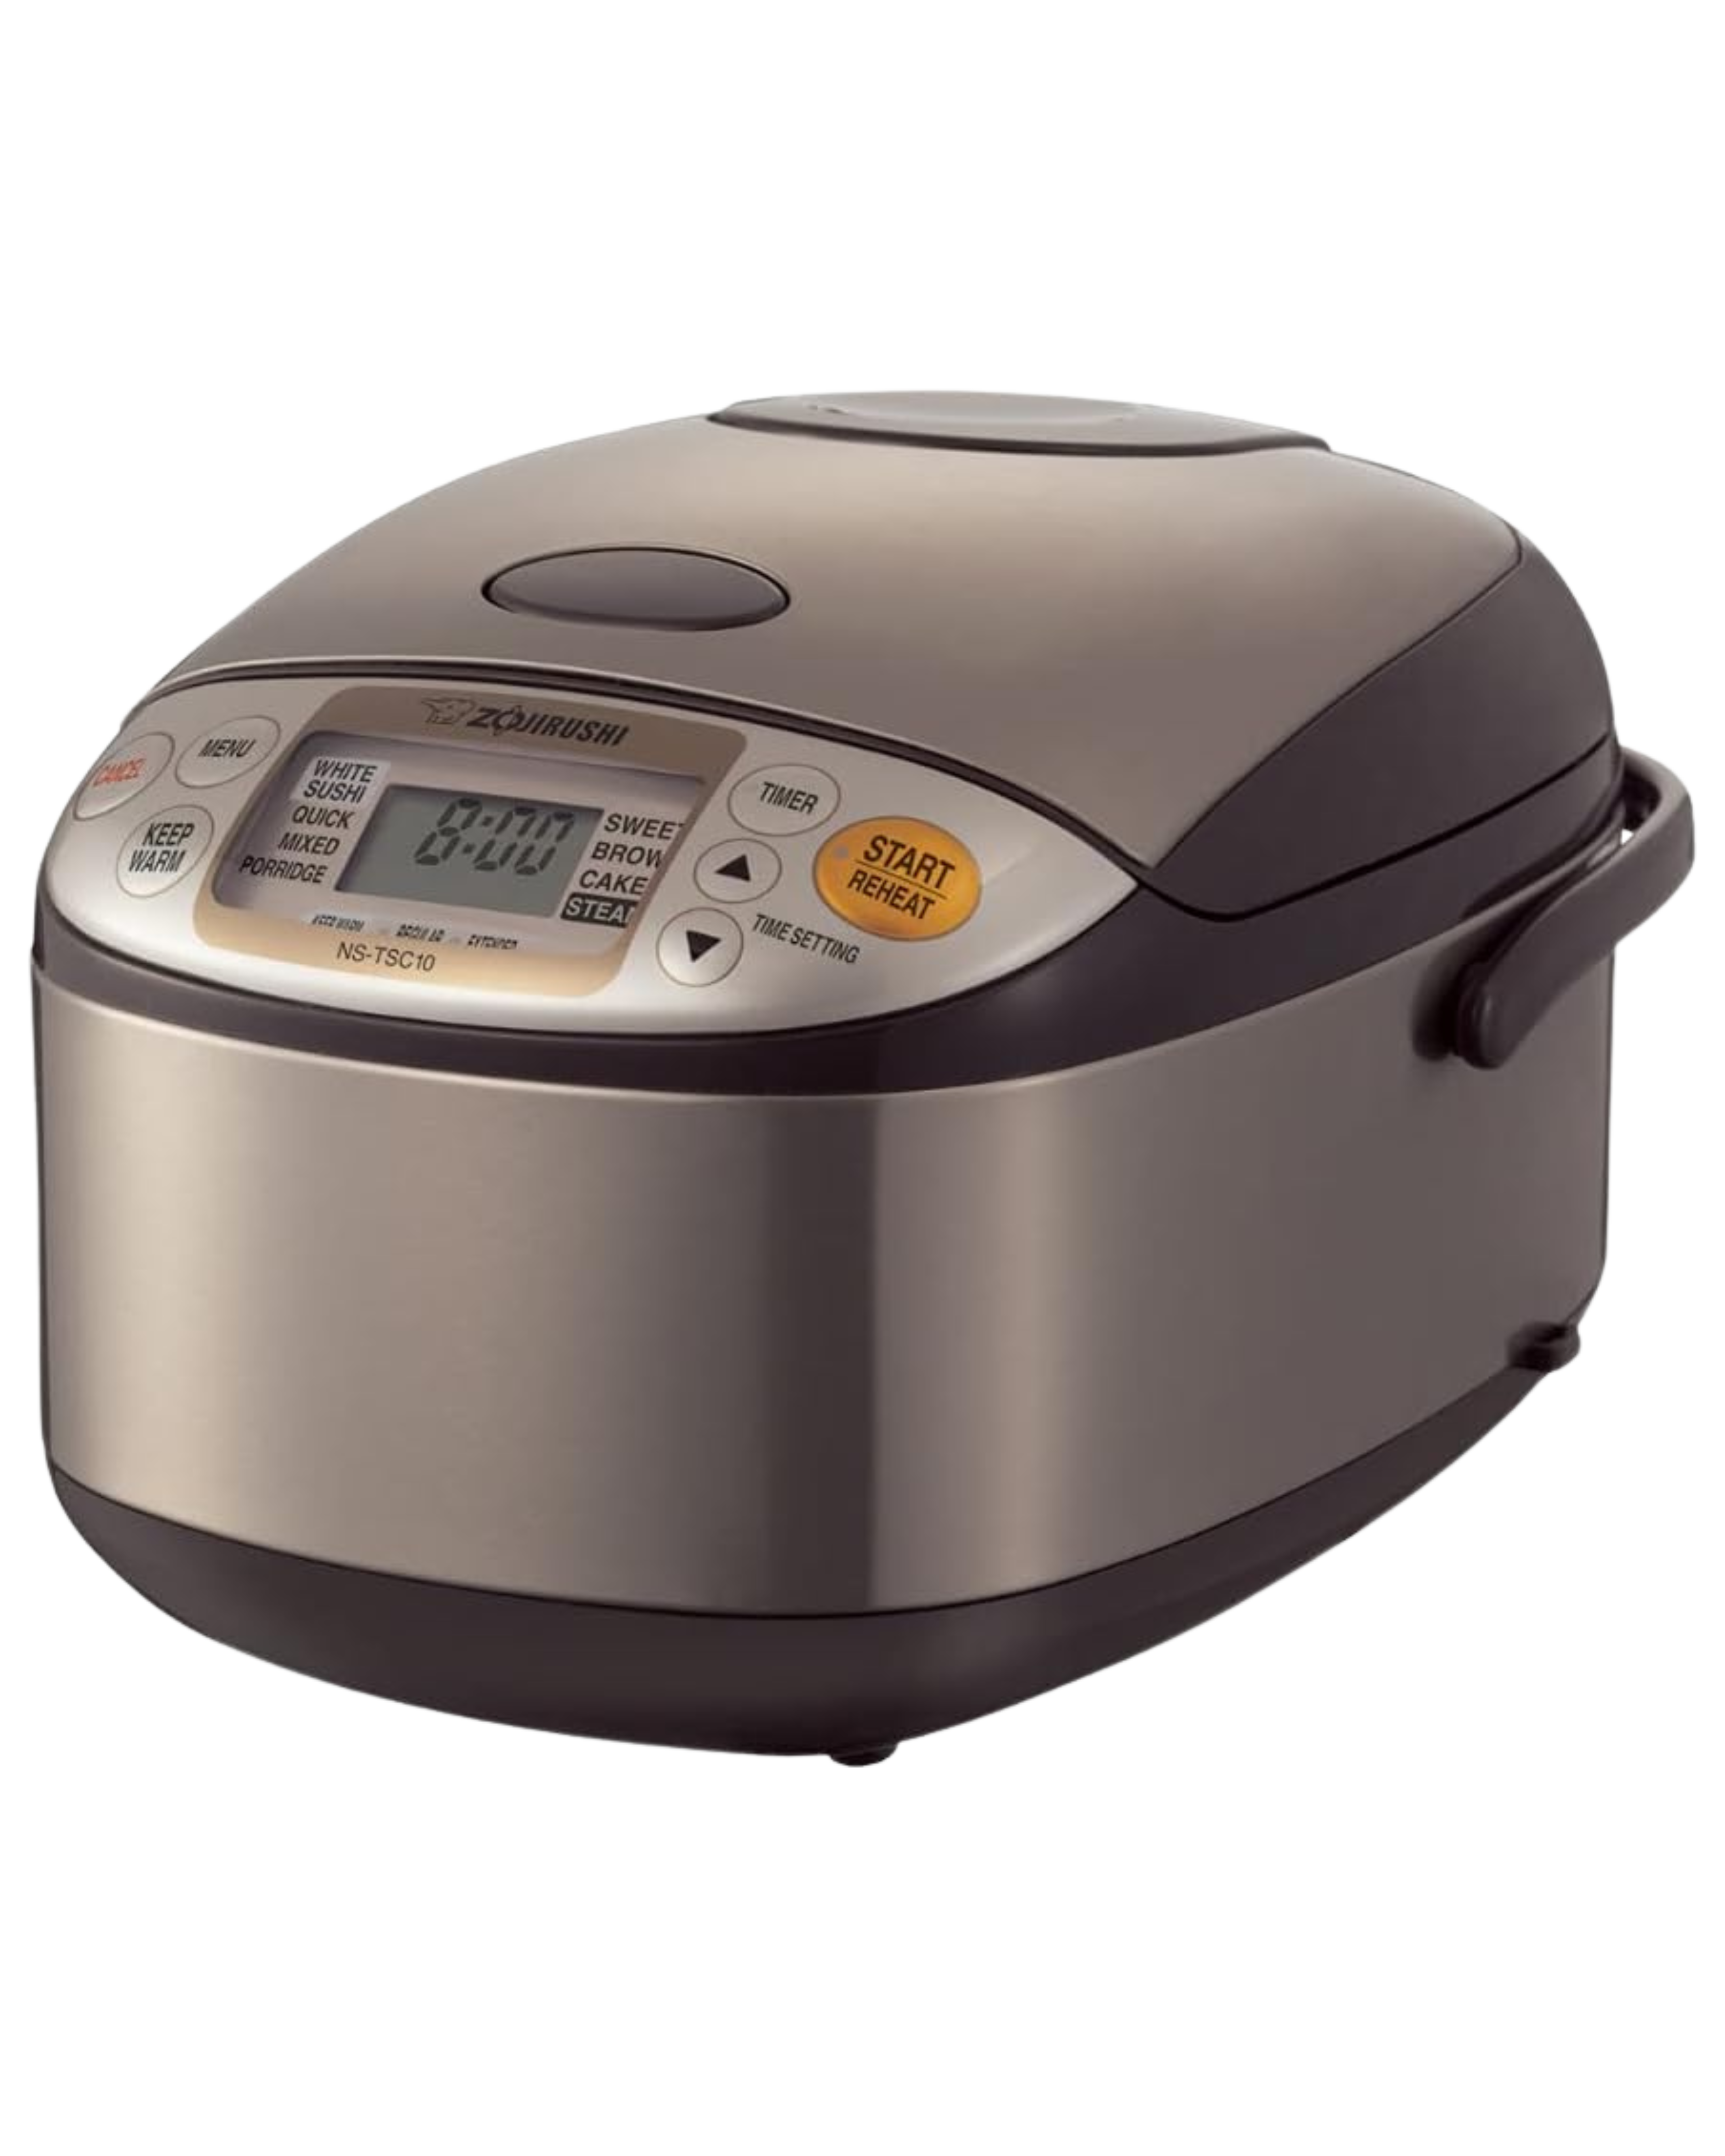
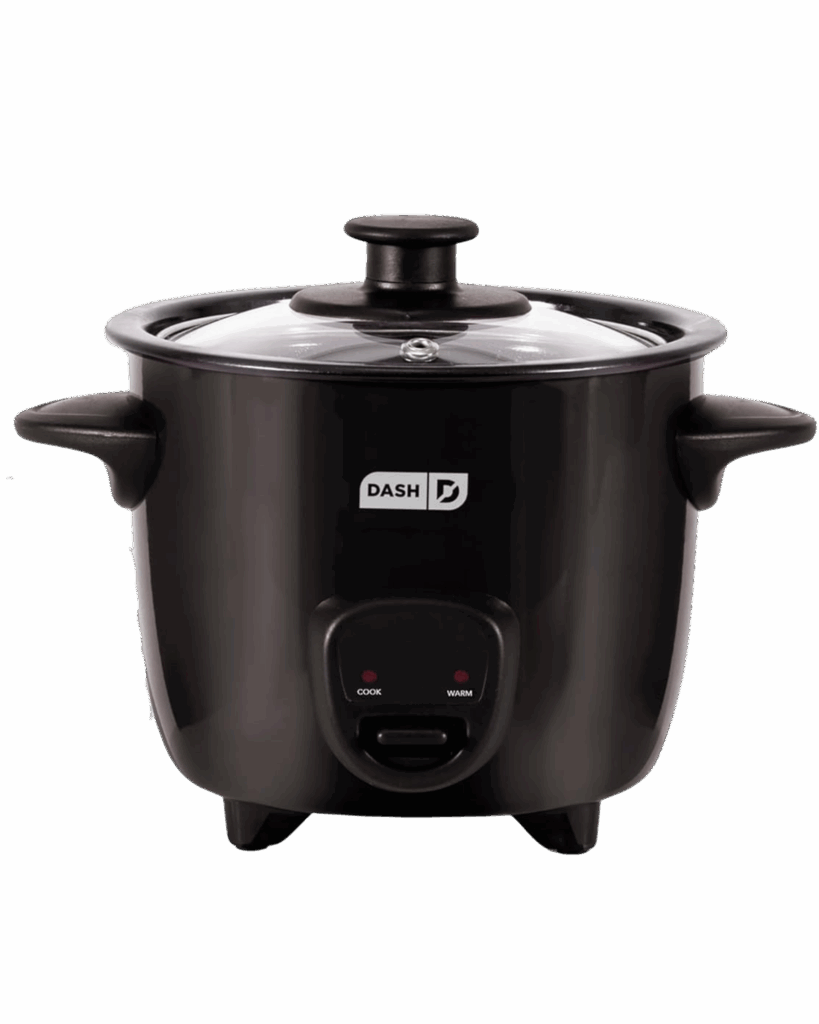
Recommended Rice Cookers
Do I need to have a fancy rice cooker to make this? NO!
Just like anything, generally, the higher the quality, the better. But you can make my rice cooker meals in a cheap rice cooker, too!
Click the rice cooker photos to see my top picks, from $20–$200! I use the Tiger 5.5-cup model shown. About 1/2 cup of Japanese short- or medium-grain rice makes 1 serving.
Key Features to Look For in a Rice Cooker:
- Steaming Basket or Tray: Allows you to steam vegetables or cook other ingredients while the rice cooks.
- Multiple Cooking Functions: Ensure it has settings for steaming, slow cooking, and possibly even baking.
- Non-Stick Inner Pot: Makes cleaning easier and prevents sticking.
- Timer and Keep Warm Function: Useful for planning meals ahead of time and keeping them warm until you’re ready to eat.

5.5 cups or 10 cups
5.5 cups or 10 cups
3 cups
2 cups

How to Make Onigiri – おにぎり (Japanese Rice Balls): 3 Easy Ways
Description
Onigiri, also known as Japanese rice balls, are a traditional snack or meal in Japan, consisting of steamed rice formed into triangular or cylindrical shapes and often wrapped in nori (seaweed).
They can be filled with a variety of ingredients such as umeboshi (pickled plum), salmon, tuna with mayonnaise, kombu (seaweed), or even plain with just a bit of salt.
Ingredients
- 1 cup rice (I recommend Japanese short-grain or medium grain rice for the most authentic Japanese experience!)
- 1–2 sheets of nori (dried seaweed)
- Salt
- Fillings/toppings ideas (optional): furikake, umeboshi (pickled plums), fish such as salmon or tuna (I love mixing it with kewpie mayonaisse or goma dressing), chicken teriyaki, pickled vegetables, etc.
Instructions
*Lightly salt the rice to taste, regardless of the method you are using.*
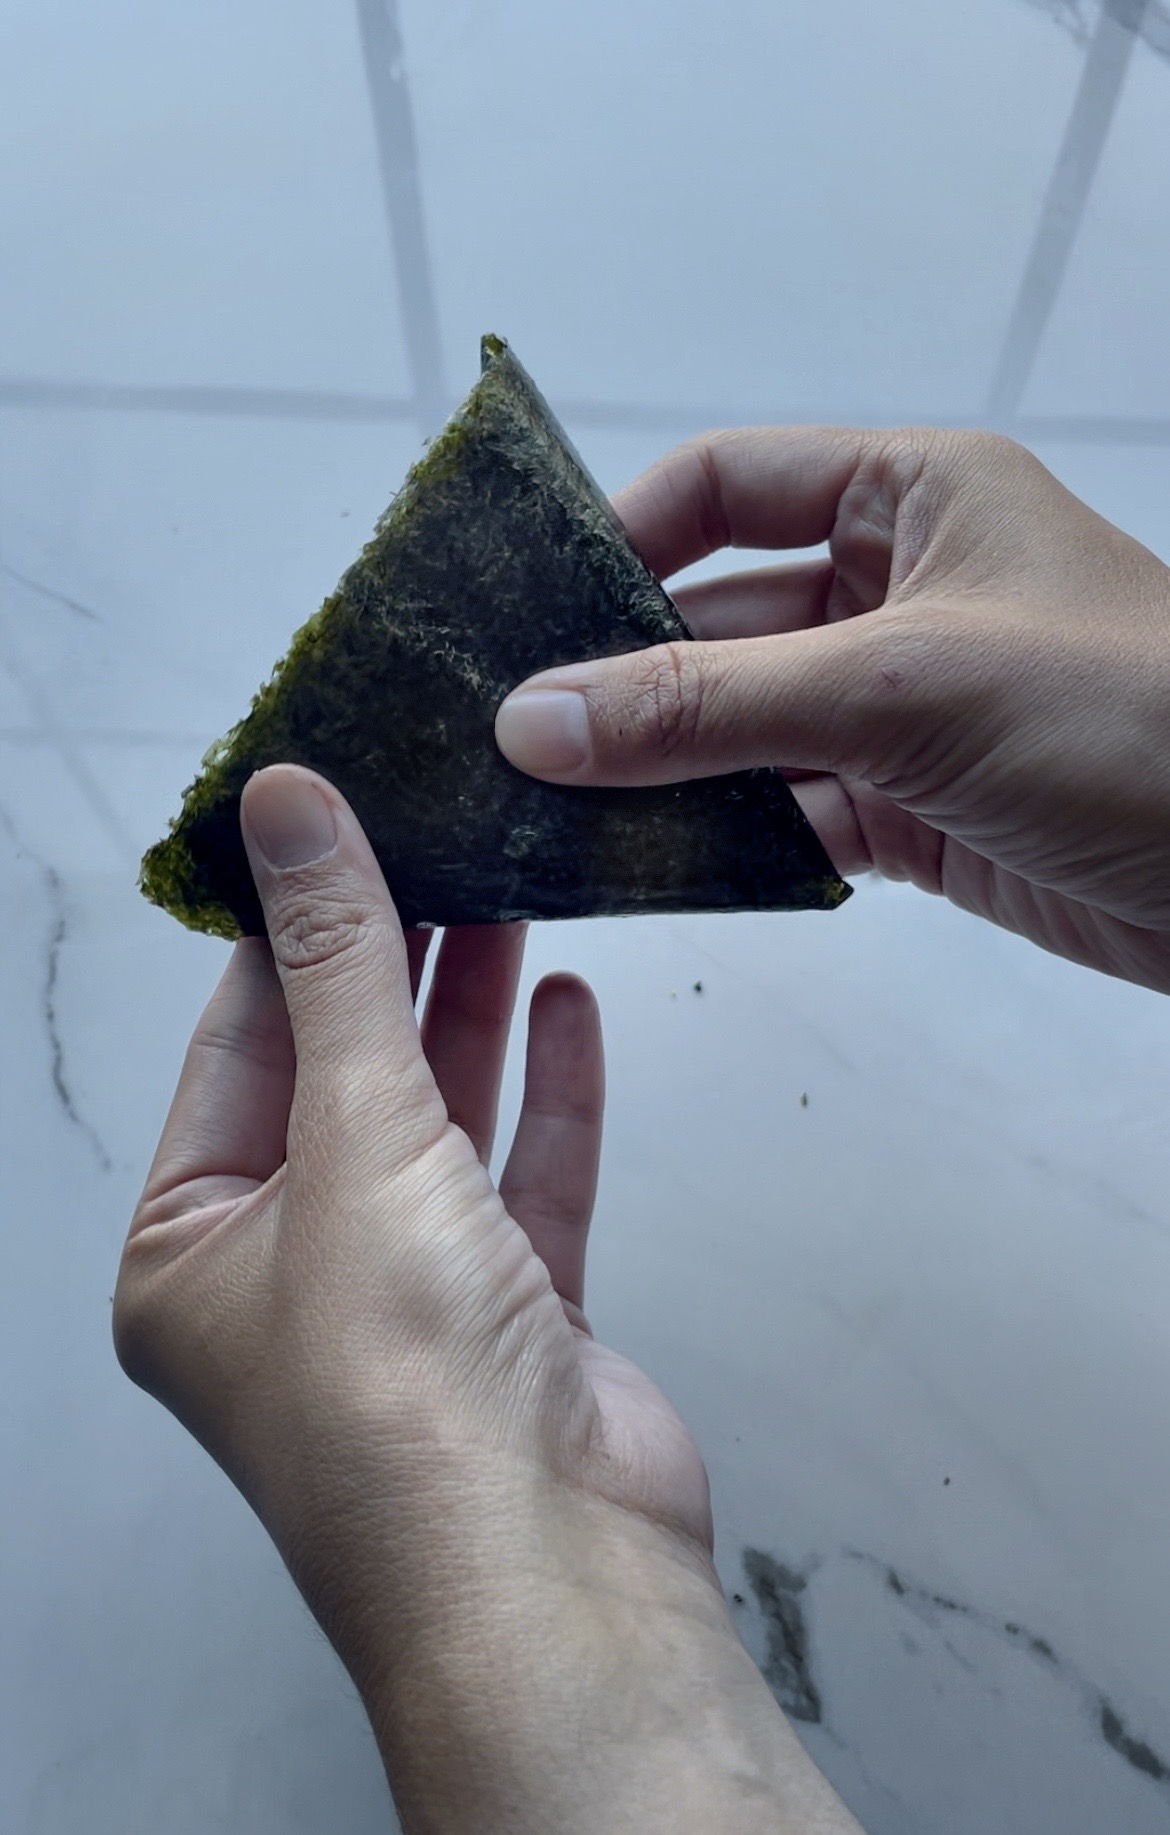
Method 1: The Simple Fold
- Prepare the Seaweed: Cut a sheet of nori (seaweed) into a triangle shape with two equal sides and one longer side. Lay it flat (rough side up, smooth/shiny side down), pointing down.
- Fold the Bottom: Place a small handful of rice (between 1/3-1/2 cup) in the center of the nori triangle. Fold the bottom tip of the triangle up to cover the bottom part of the onigiri.
- Fold the Sides: Next, fold the left and right sides of the nori over the onigiri, wrapping it snugly. The nori should stick to the rice naturally. If it doesn’t, I place a couple grains of rice under the second fold as a “glue”.
- Press and Seal: Gently press the nori onto the rice to ensure it sticks and holds its shape.
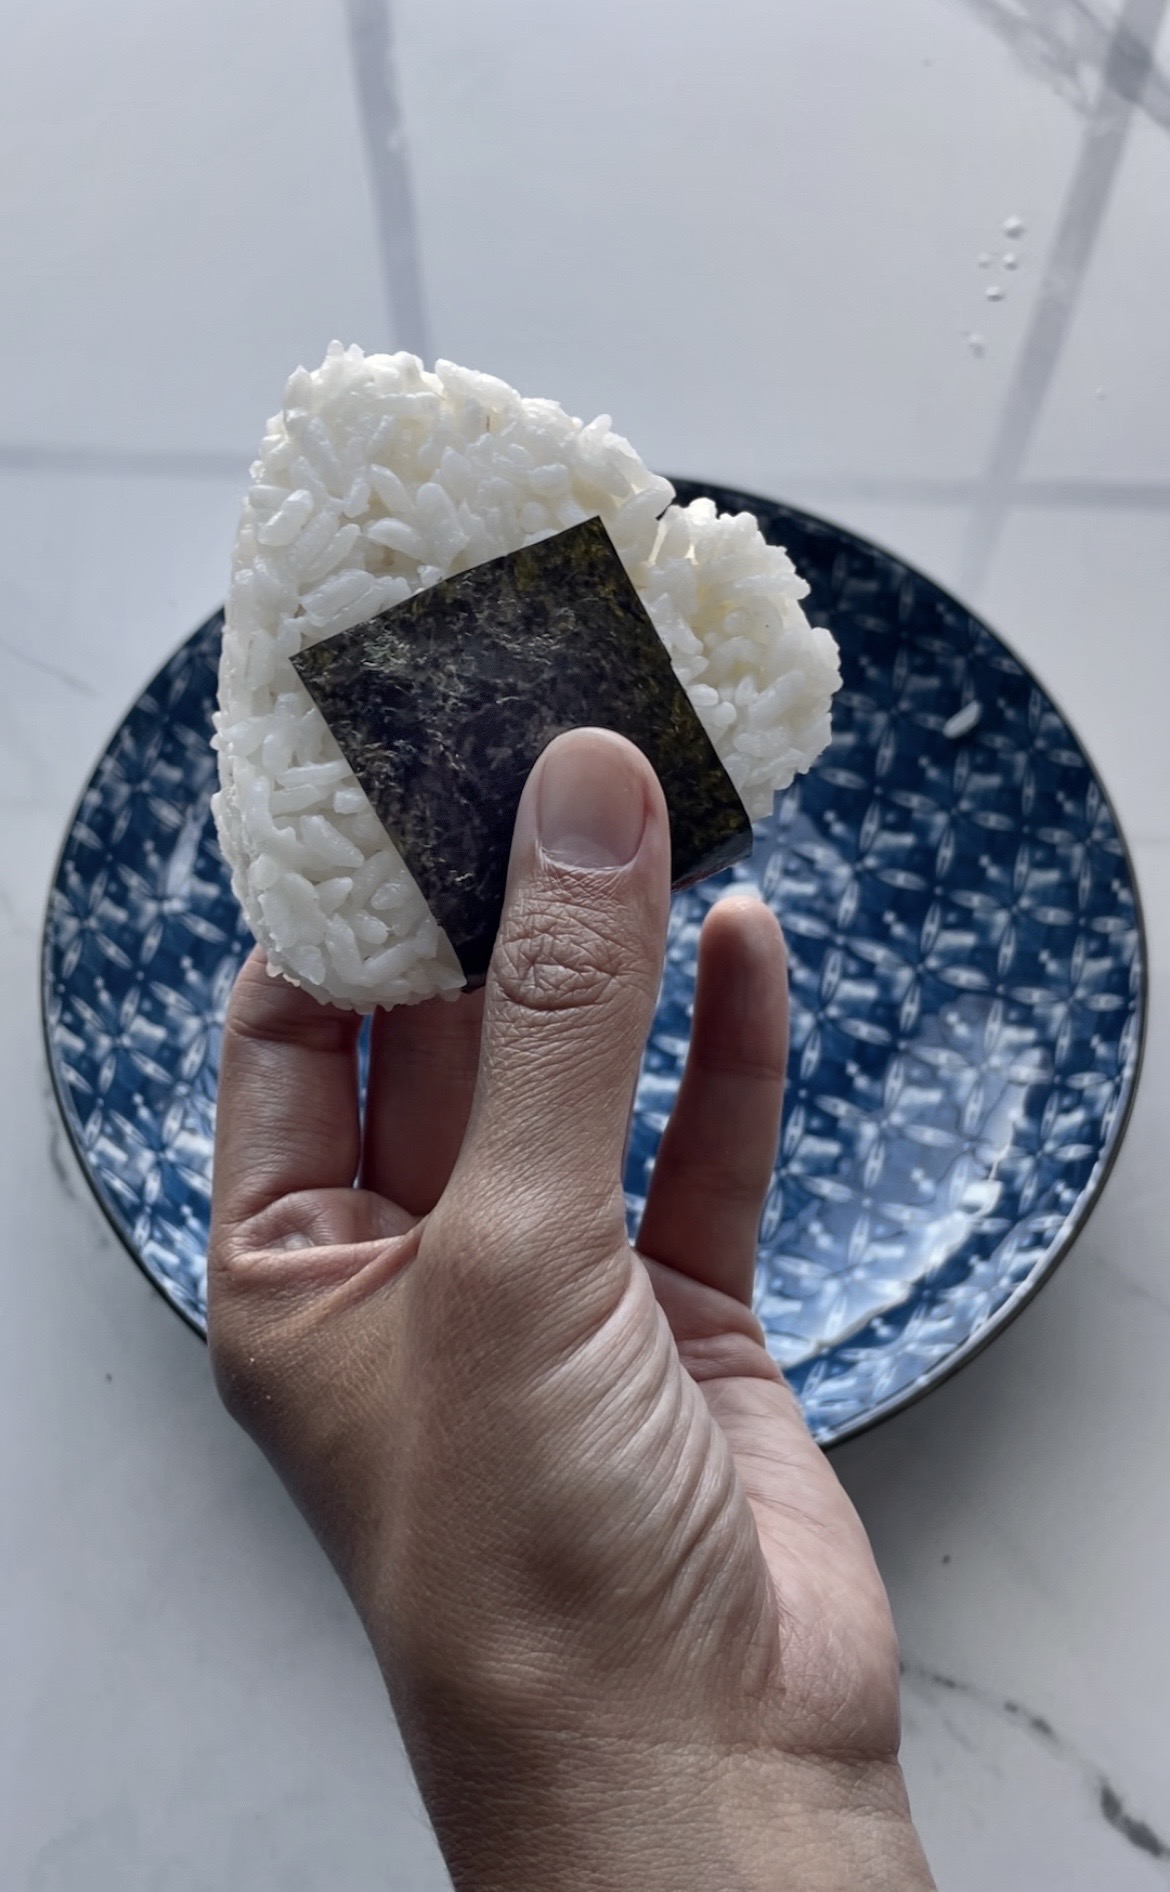
Method 2: Nori Wrap
- Prepare the Seaweed: Cut a sheet of nori into a rectangle.
- Place the Rice: Lay the nori rectangle flat (rough side up, smooth/shiny side down) and horizontal. Place the rice (between 1/3-1/2 cup) on the left hand side, about two inches from the left end.
- Wrap the Nori: Fold the top left corner of the nori diagonally and downward over the rice, then roll the rice towards the upper right-hand corner, wrapping it completely until all the rice is covered.
- Seal the Wrap: Press gently to make sure the nori adheres to the rice, creating a neat bundle.
Method 3: Onigiri Mold
- Fill the Mold: Place a layer of rice into the onigiri mold (about 1/4 cup), pressing it down slightly.
- Add Filling (Optional): If you want to stuff your onigiri, add your desired filling in the center of the rice.
- Top with More Rice: Add another layer of rice on top of the filling (another 1/4 cup), pressing firmly to ensure the rice is packed well.
- Press and Shape: Use the top part of the mold to press down on the rice, shaping it into a firm onigiri.
- Wrap with Nori: Remove the shaped onigiri from the mold and wrap it with a piece of nori, cut to your preferred size and shape. The nori will stick to the rice easily.
Nutrition
- Serving Size: 4-5 onigiri


Love the breakdown! What are you thoughts on cooked vs raw fillings in Onigiri?
Hi Desmond! I love both, but it just depends on what you have on hand 🙂 the raw fish for me also needs to be high quality!
The spicy tuna one was my favorite. It was flavorful and easy to prep!
Hi Ronan! That’s so great to hear! Thanks for sharing, Ronan!