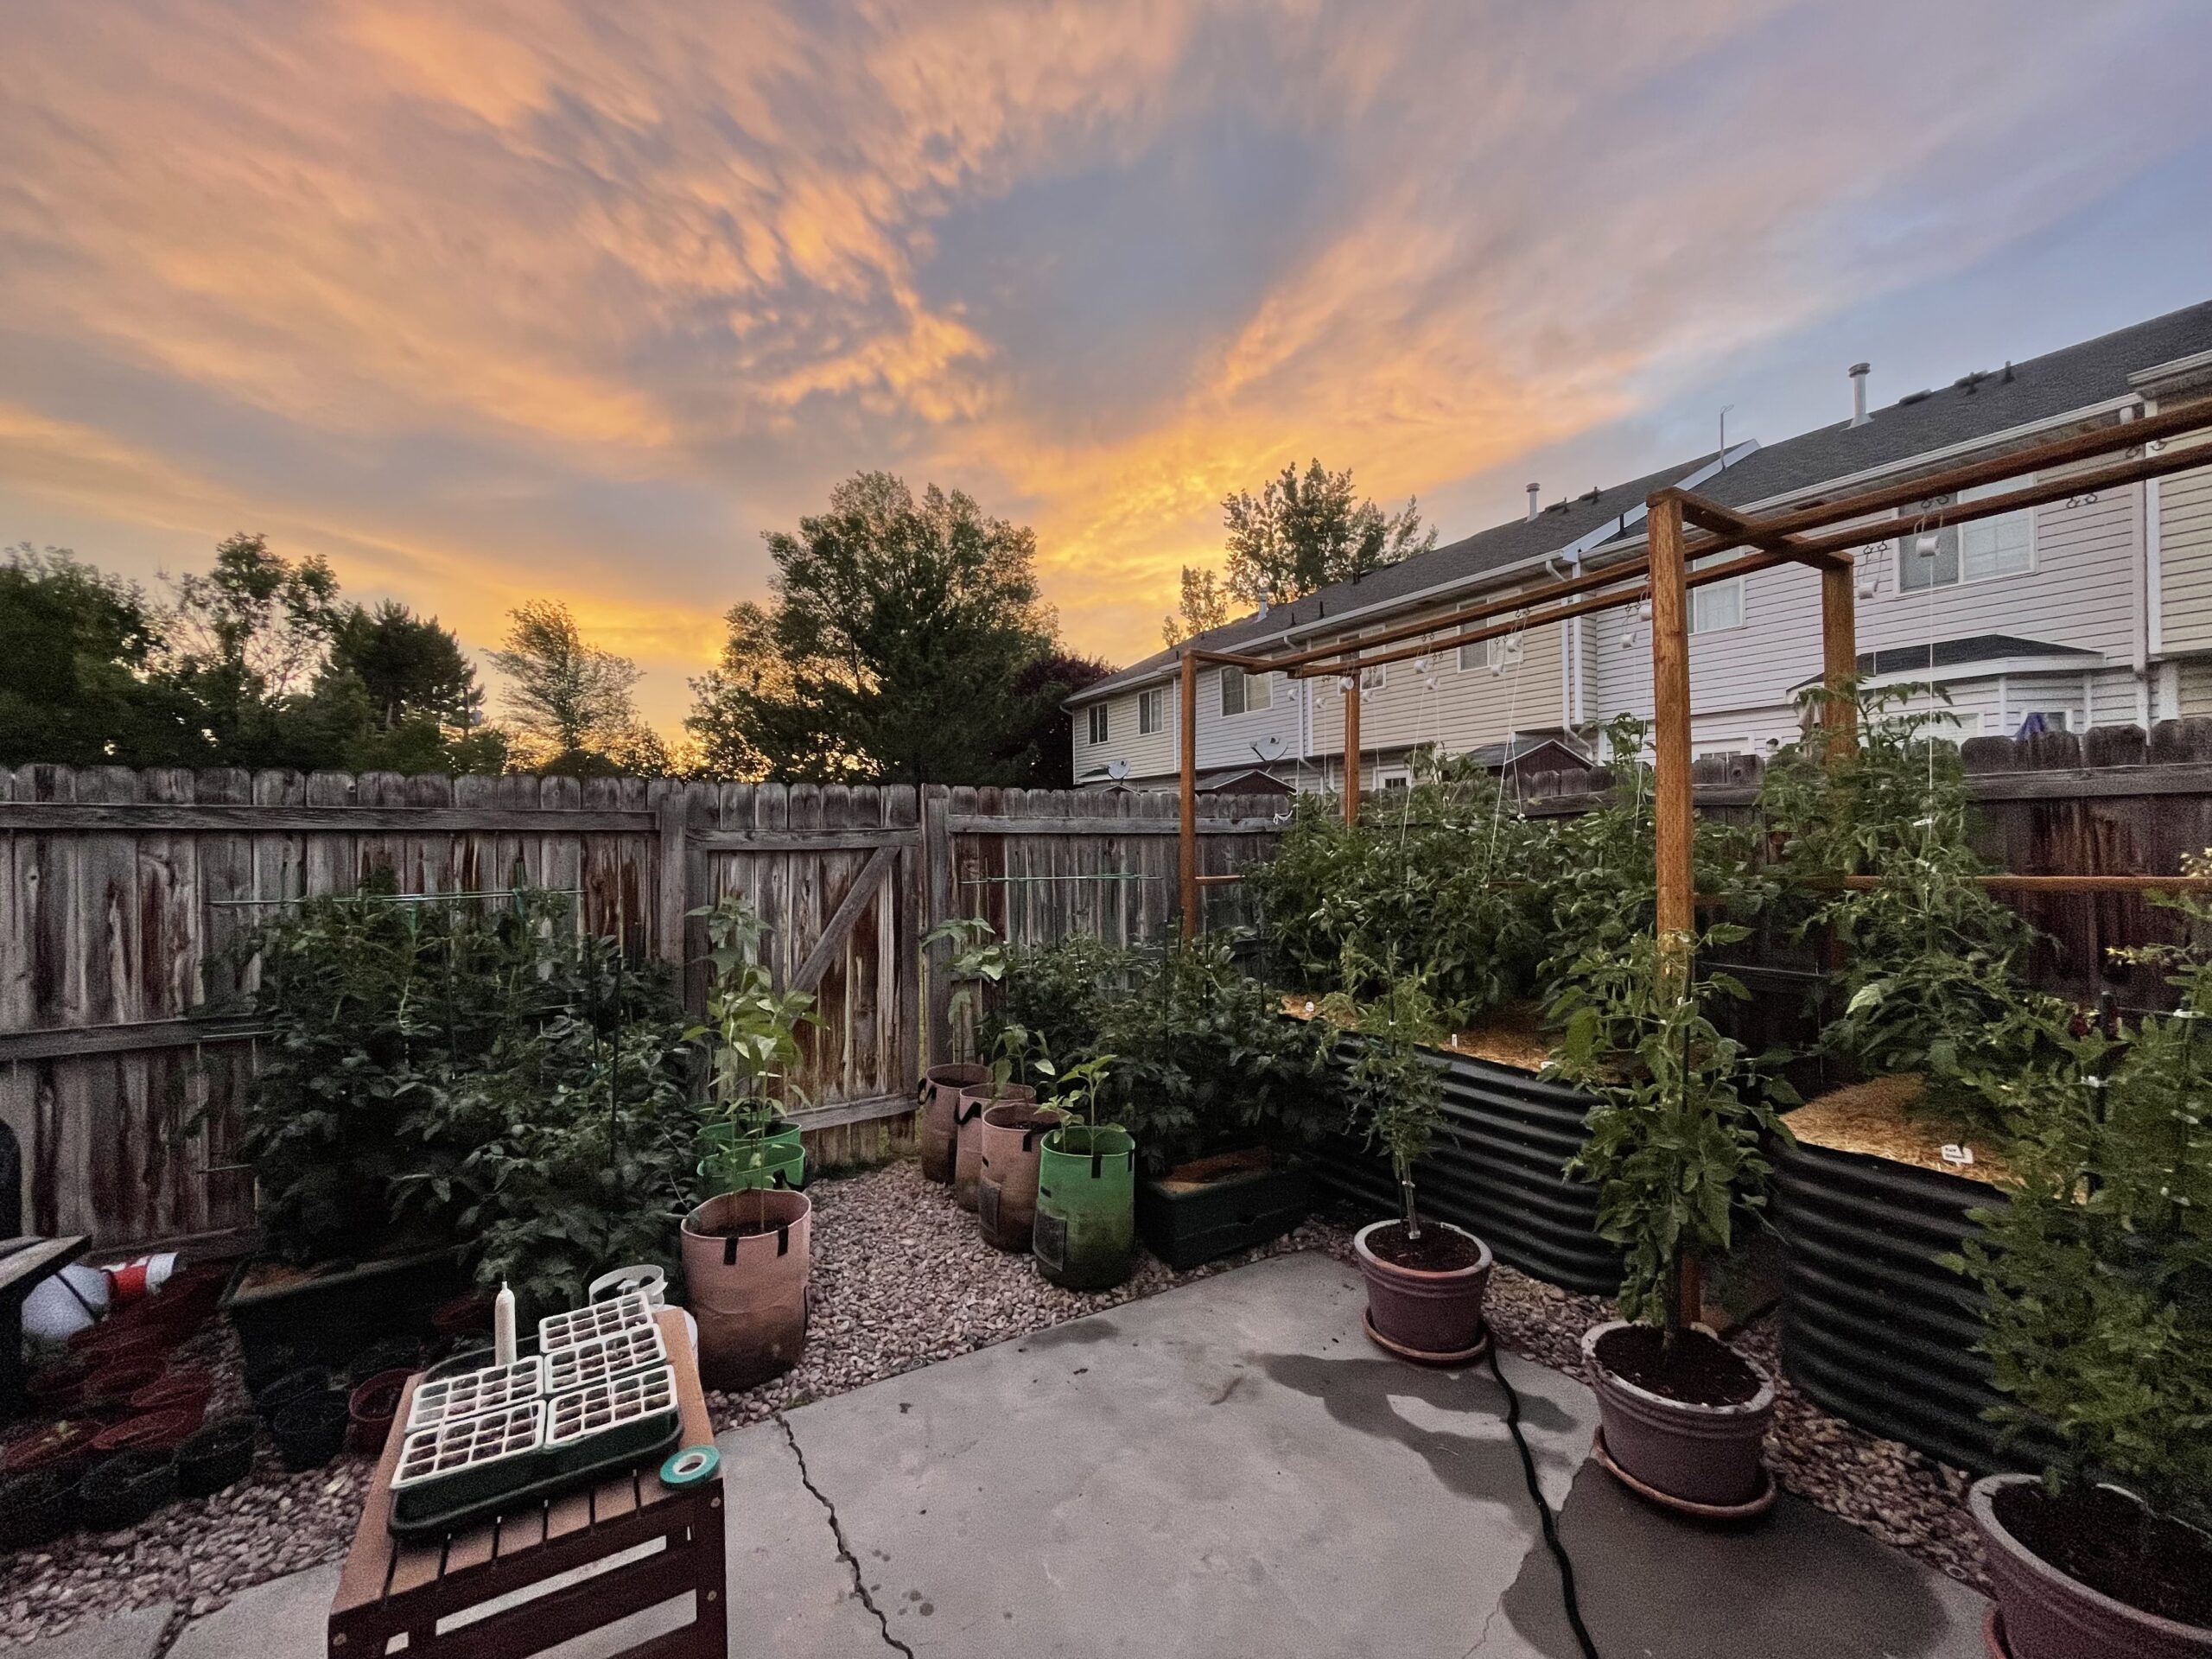
Gardening your own tomatoes is a rewarding experience that provides you with fresh, flavorful produce straight from your backyard. Whether you’re a seasoned gardener or a beginner, growing tomatoes can be both fun and beneficial. Here’s a comprehensive guide to help you get started on your tomato gardening journey.
Table of Contents
Why Should I Grow Tomatoes?
Not only do tomatoes have one of the highest yields per square foot of any garden vegetable, but home-grown tomatoes also taste significantly better than store-bought. With hundreds of varieties available, you can grow unique tomatoes not found at farmers’ markets, saving you money (slow down inflation)!
Tomatoes are versatile ingredients used in dishes from Italian pasta to Mexican salsa and Middle Eastern stew, making them a global staple. This season, I’ll focus on their use in Asian cuisine. Feel free to share any dish suggestions! Here are four of my staple tomato dishes:
1. Fresh Salsa/Pico de Gallo
2. Homemade Pasta Sauce
3. Caprese Salad
4. Tomato Sandwiches
Tomatoes are not only versatile and tasty, but also packed with essential nutrients like vitamins C and K, potassium, and folate. They contain lycopene, an antioxidant that may lower the risk of heart disease and certain cancers. Their high water and fiber content also promote hydration and digestive health, making them an excellent addition to any diet.
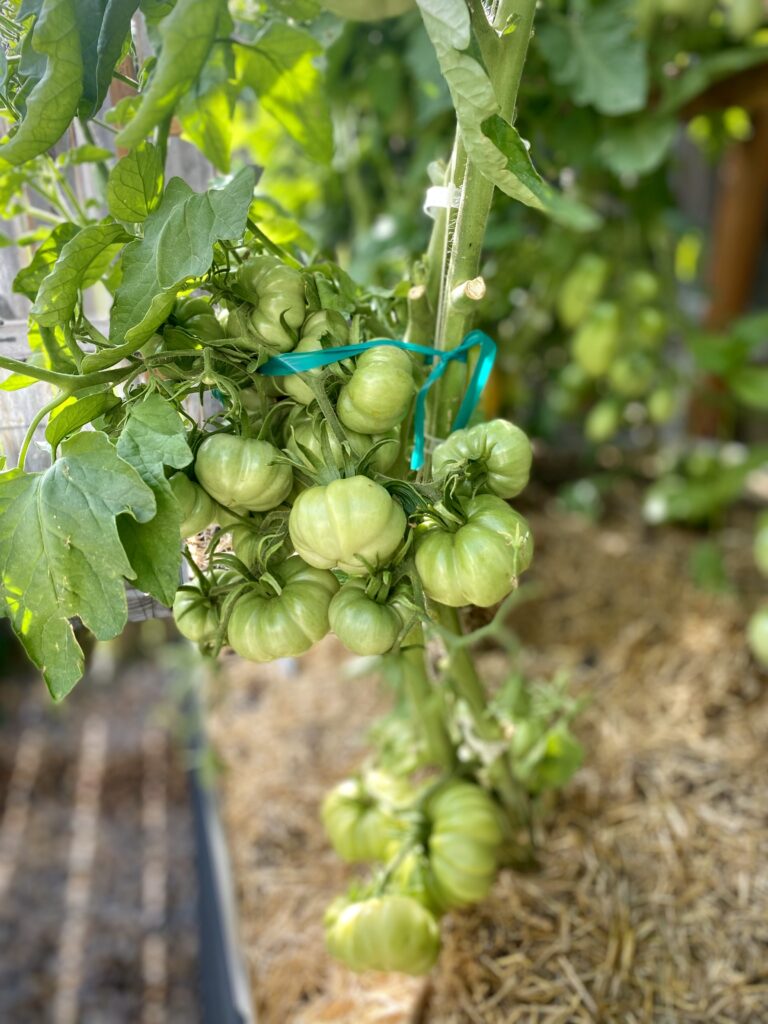
Starting from Seed vs. Buying Starters
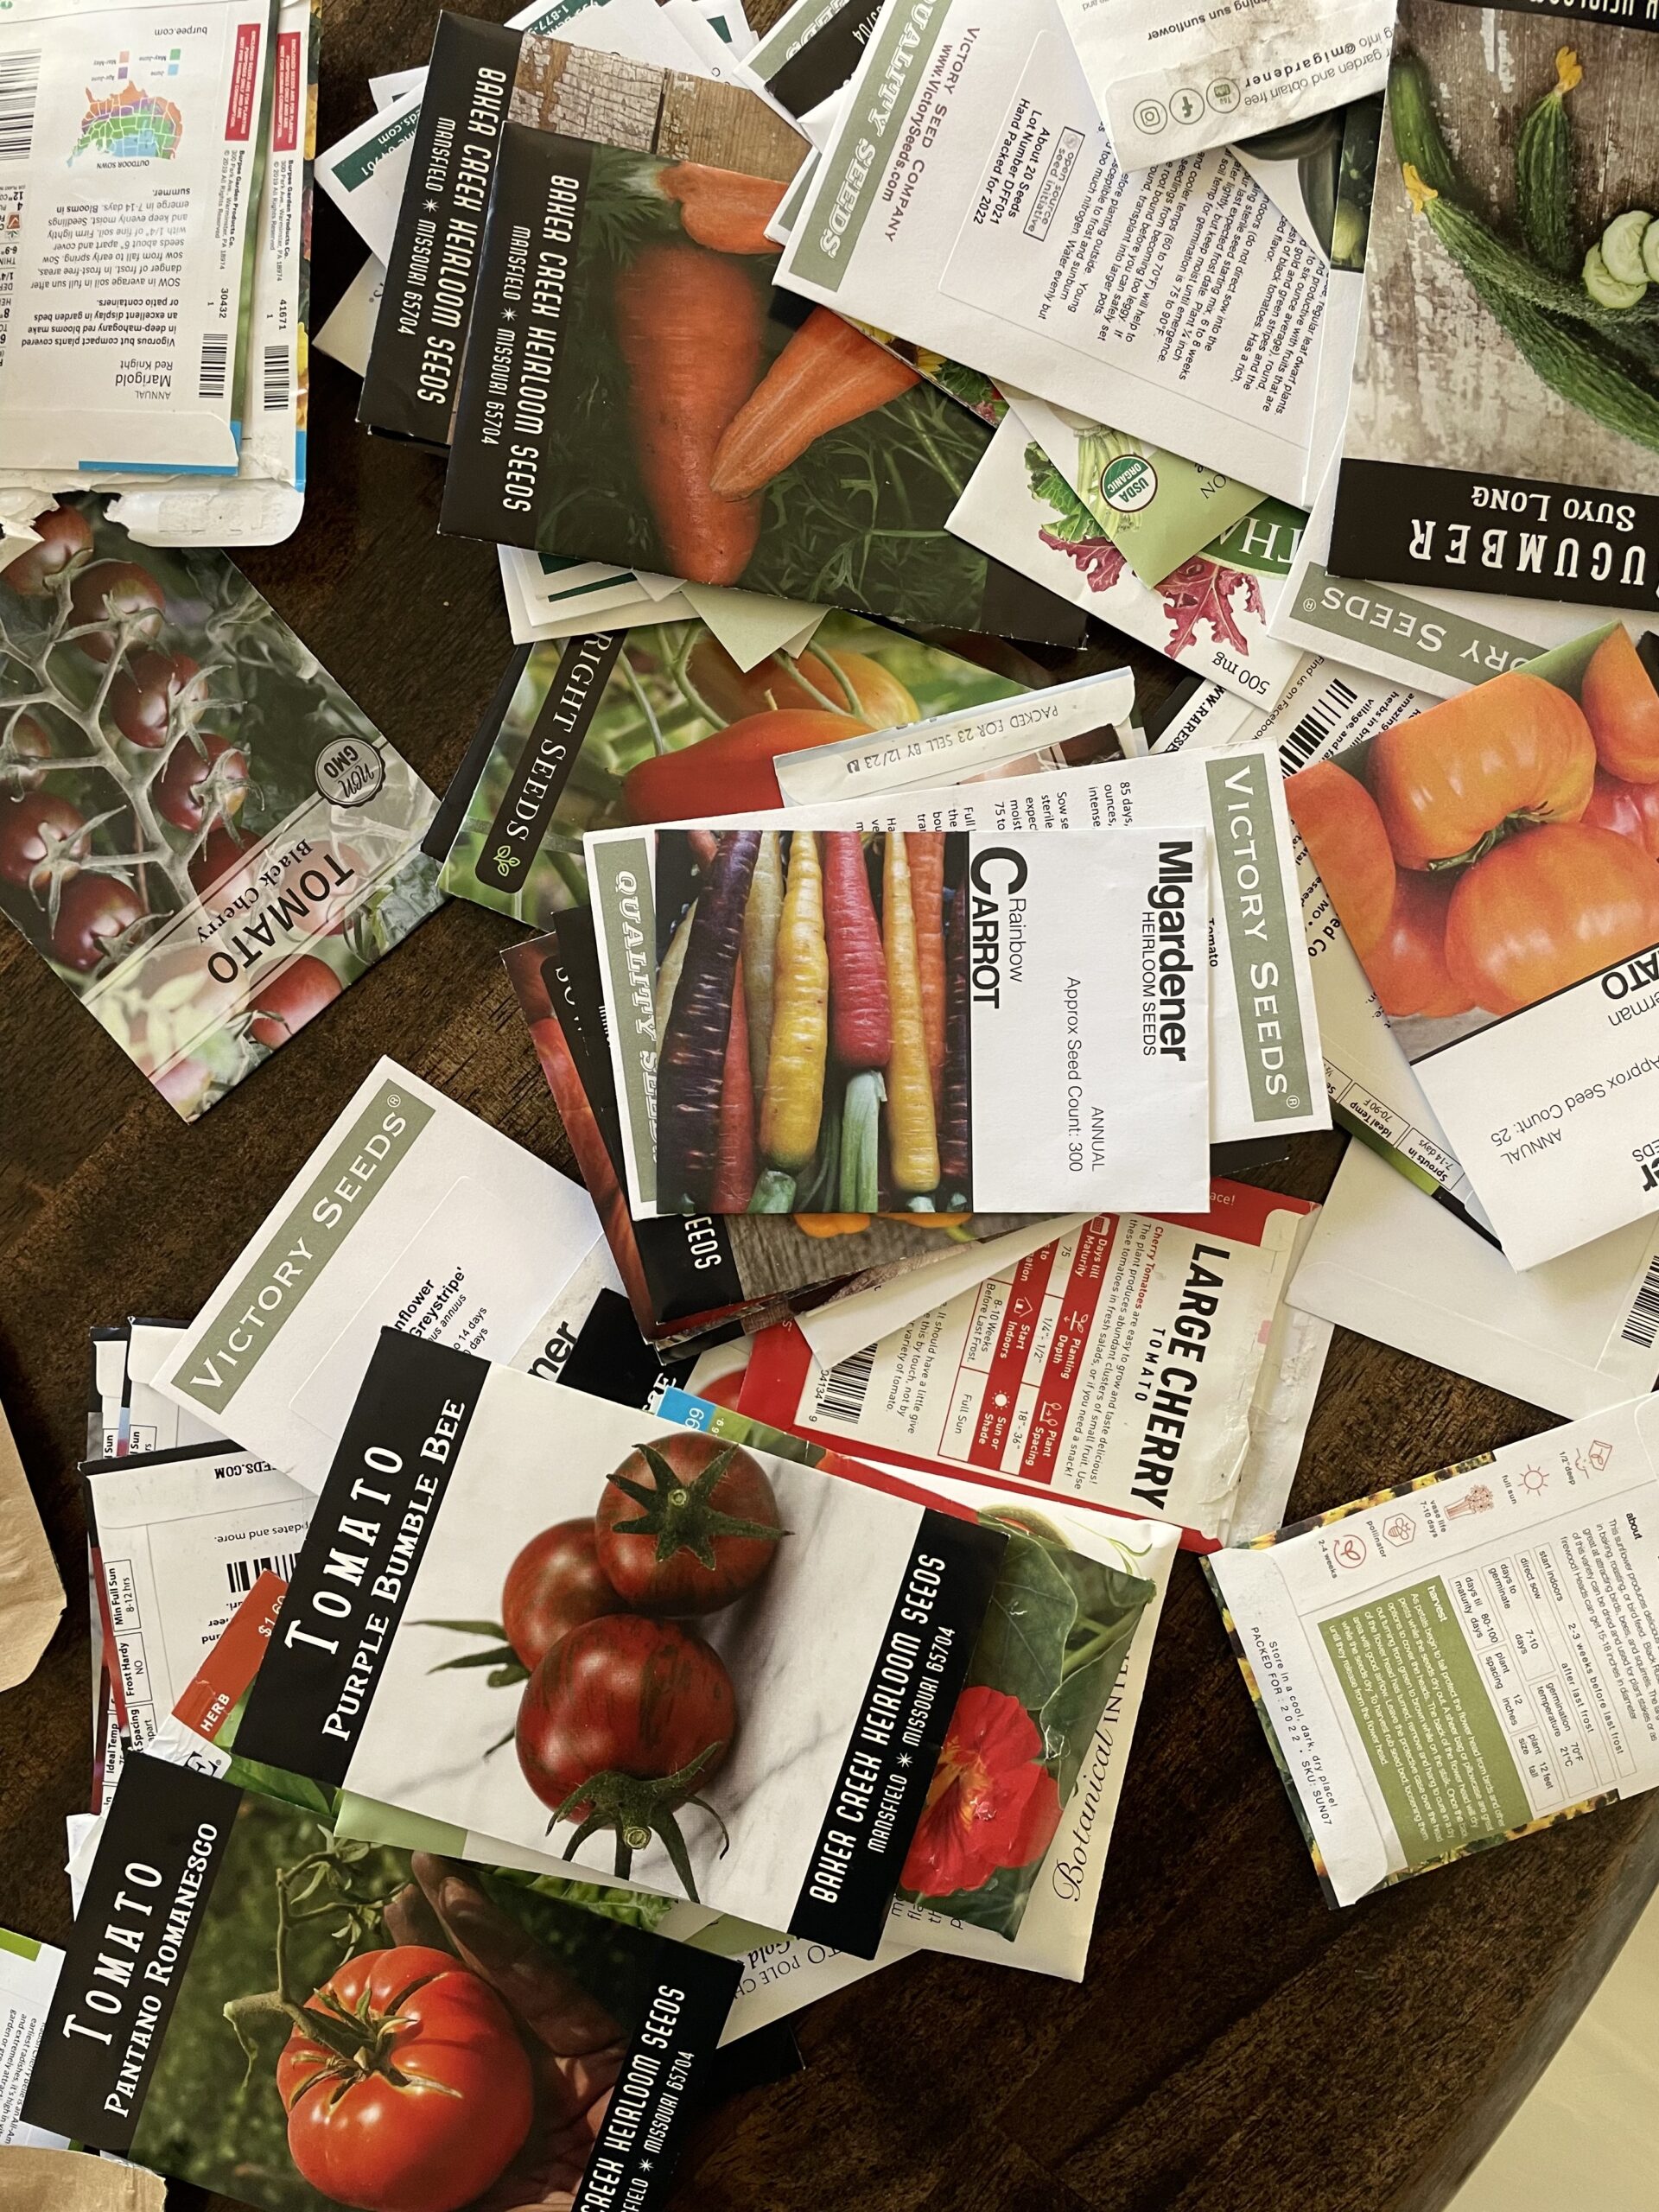
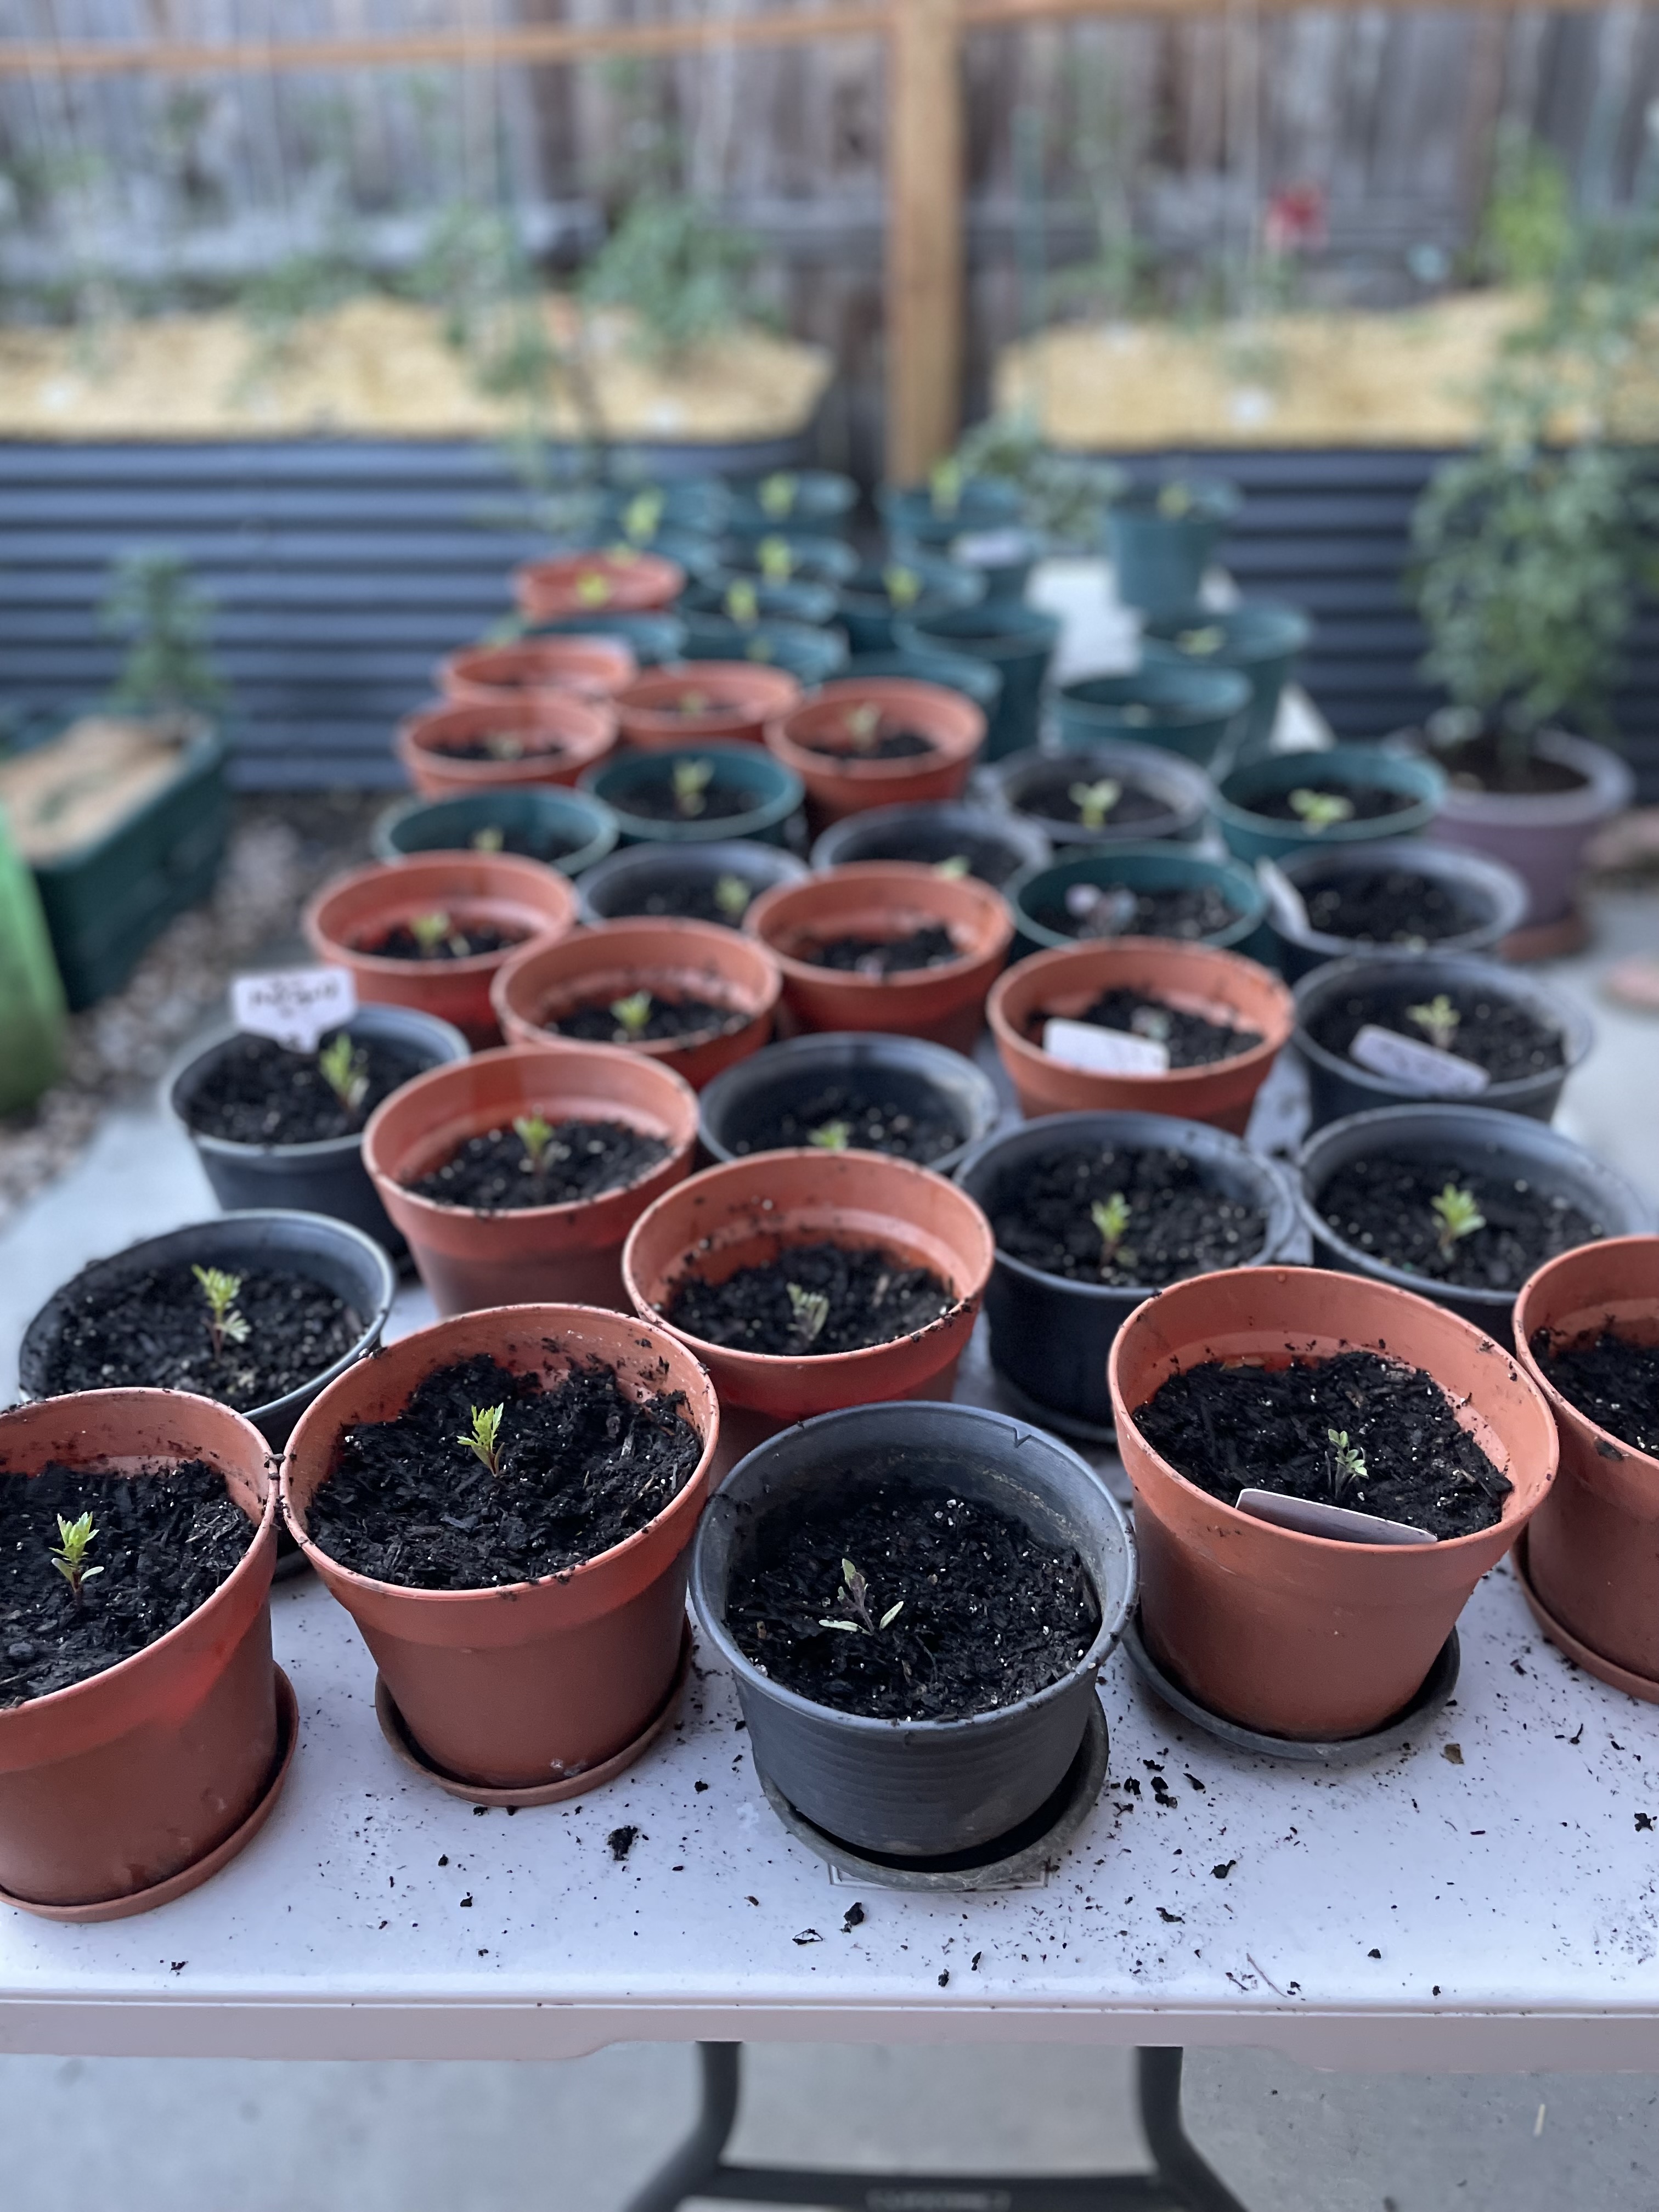
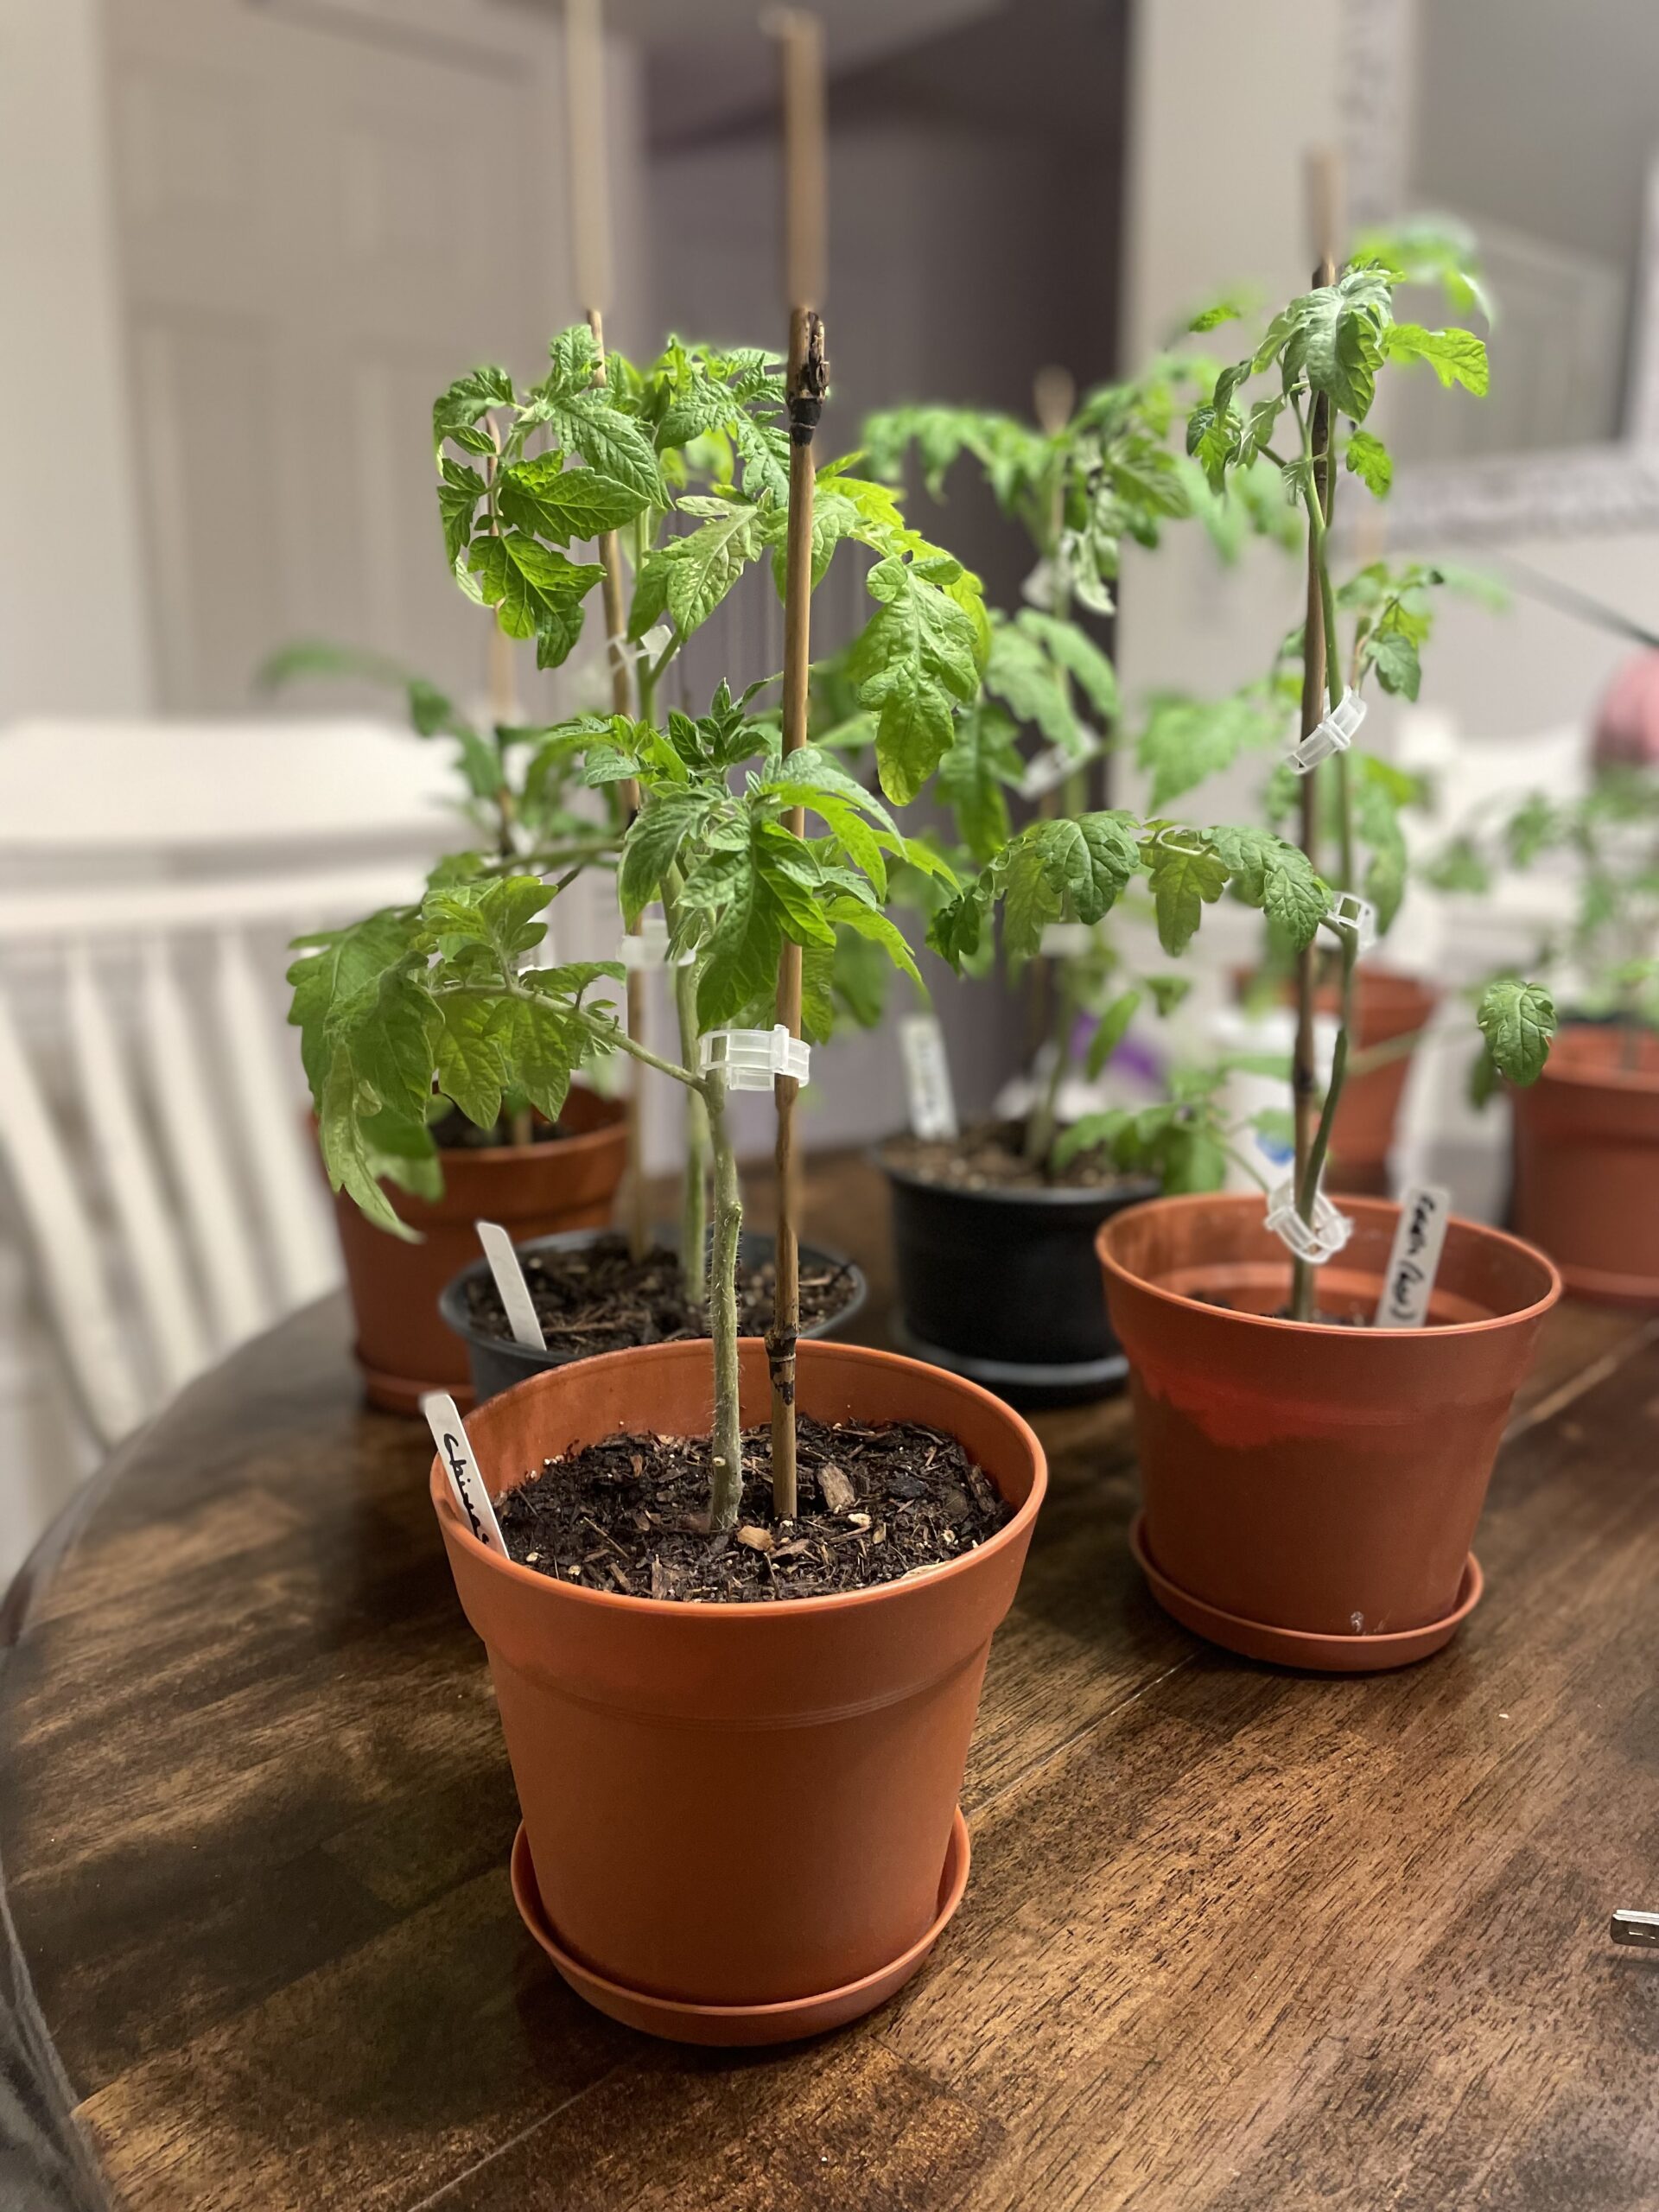
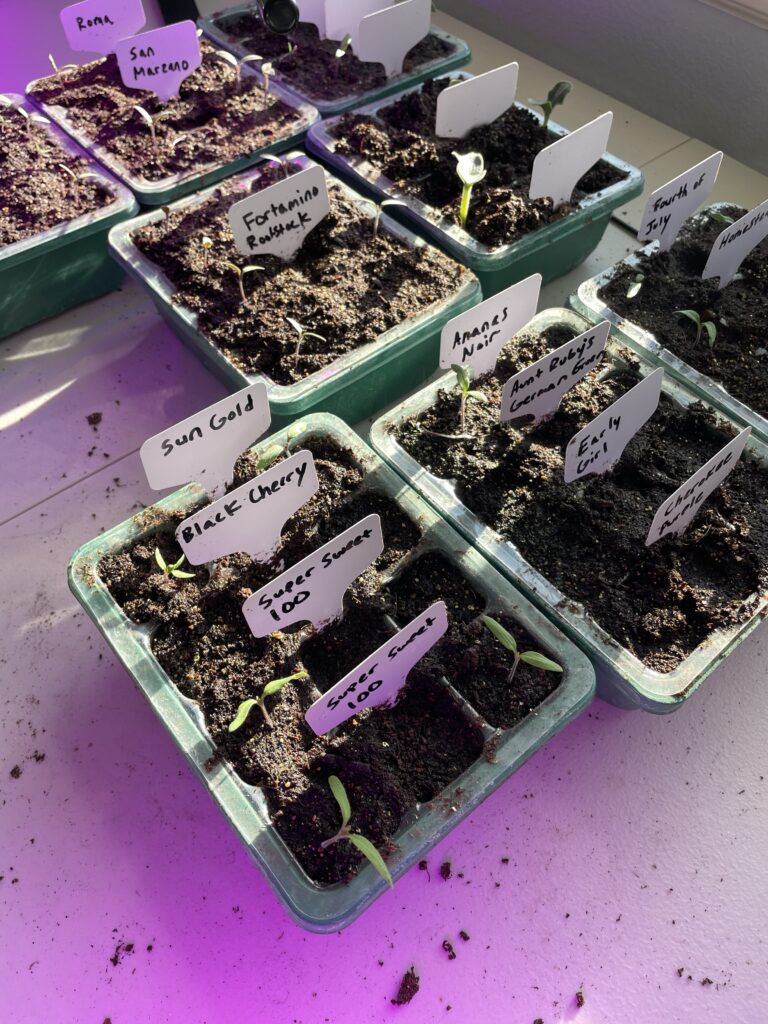
The first question to ask yourself before starting a tomato garden is whether you want to grow your tomatoes from seed or if you want to buy tomato plants (otherwise known as “starters”) from a store. There isn’t a right or wrong answer, as your decision depends on your circumstances. Below is a breakdown of why you might choose either or. In a nutshell, buying starters is easier, but from seed can be more cost-effective.
Pros of Starting From Seed:
- Can grow hundreds of unique varieties (since tomato options from the store and even farmer’s markets are very limited)
- Much cheaper than buying a starter
- Potential for healthier plants
- Extra gratification from seeing the whole process
Cons of Starting From Seed:
- More time and effort (it will take an extra 1-2 months)
- Need to buy seed starting trays and mix, which can add up
- May need to buy indoor grow lights
- May need a place in your house (assuming you don’t have a greenhouse) to plant your seeds if the weather is too cold outside
Why I Like Garden Containers
There’s nothing wrong with growing tomatoes directly into the ground, especially if you’re blessed with naturally fertile soil where you live. Still, there are several advantages of using garden containers (also known as raised beds), which is why my townhome garden is exclusively made up of garden containers.
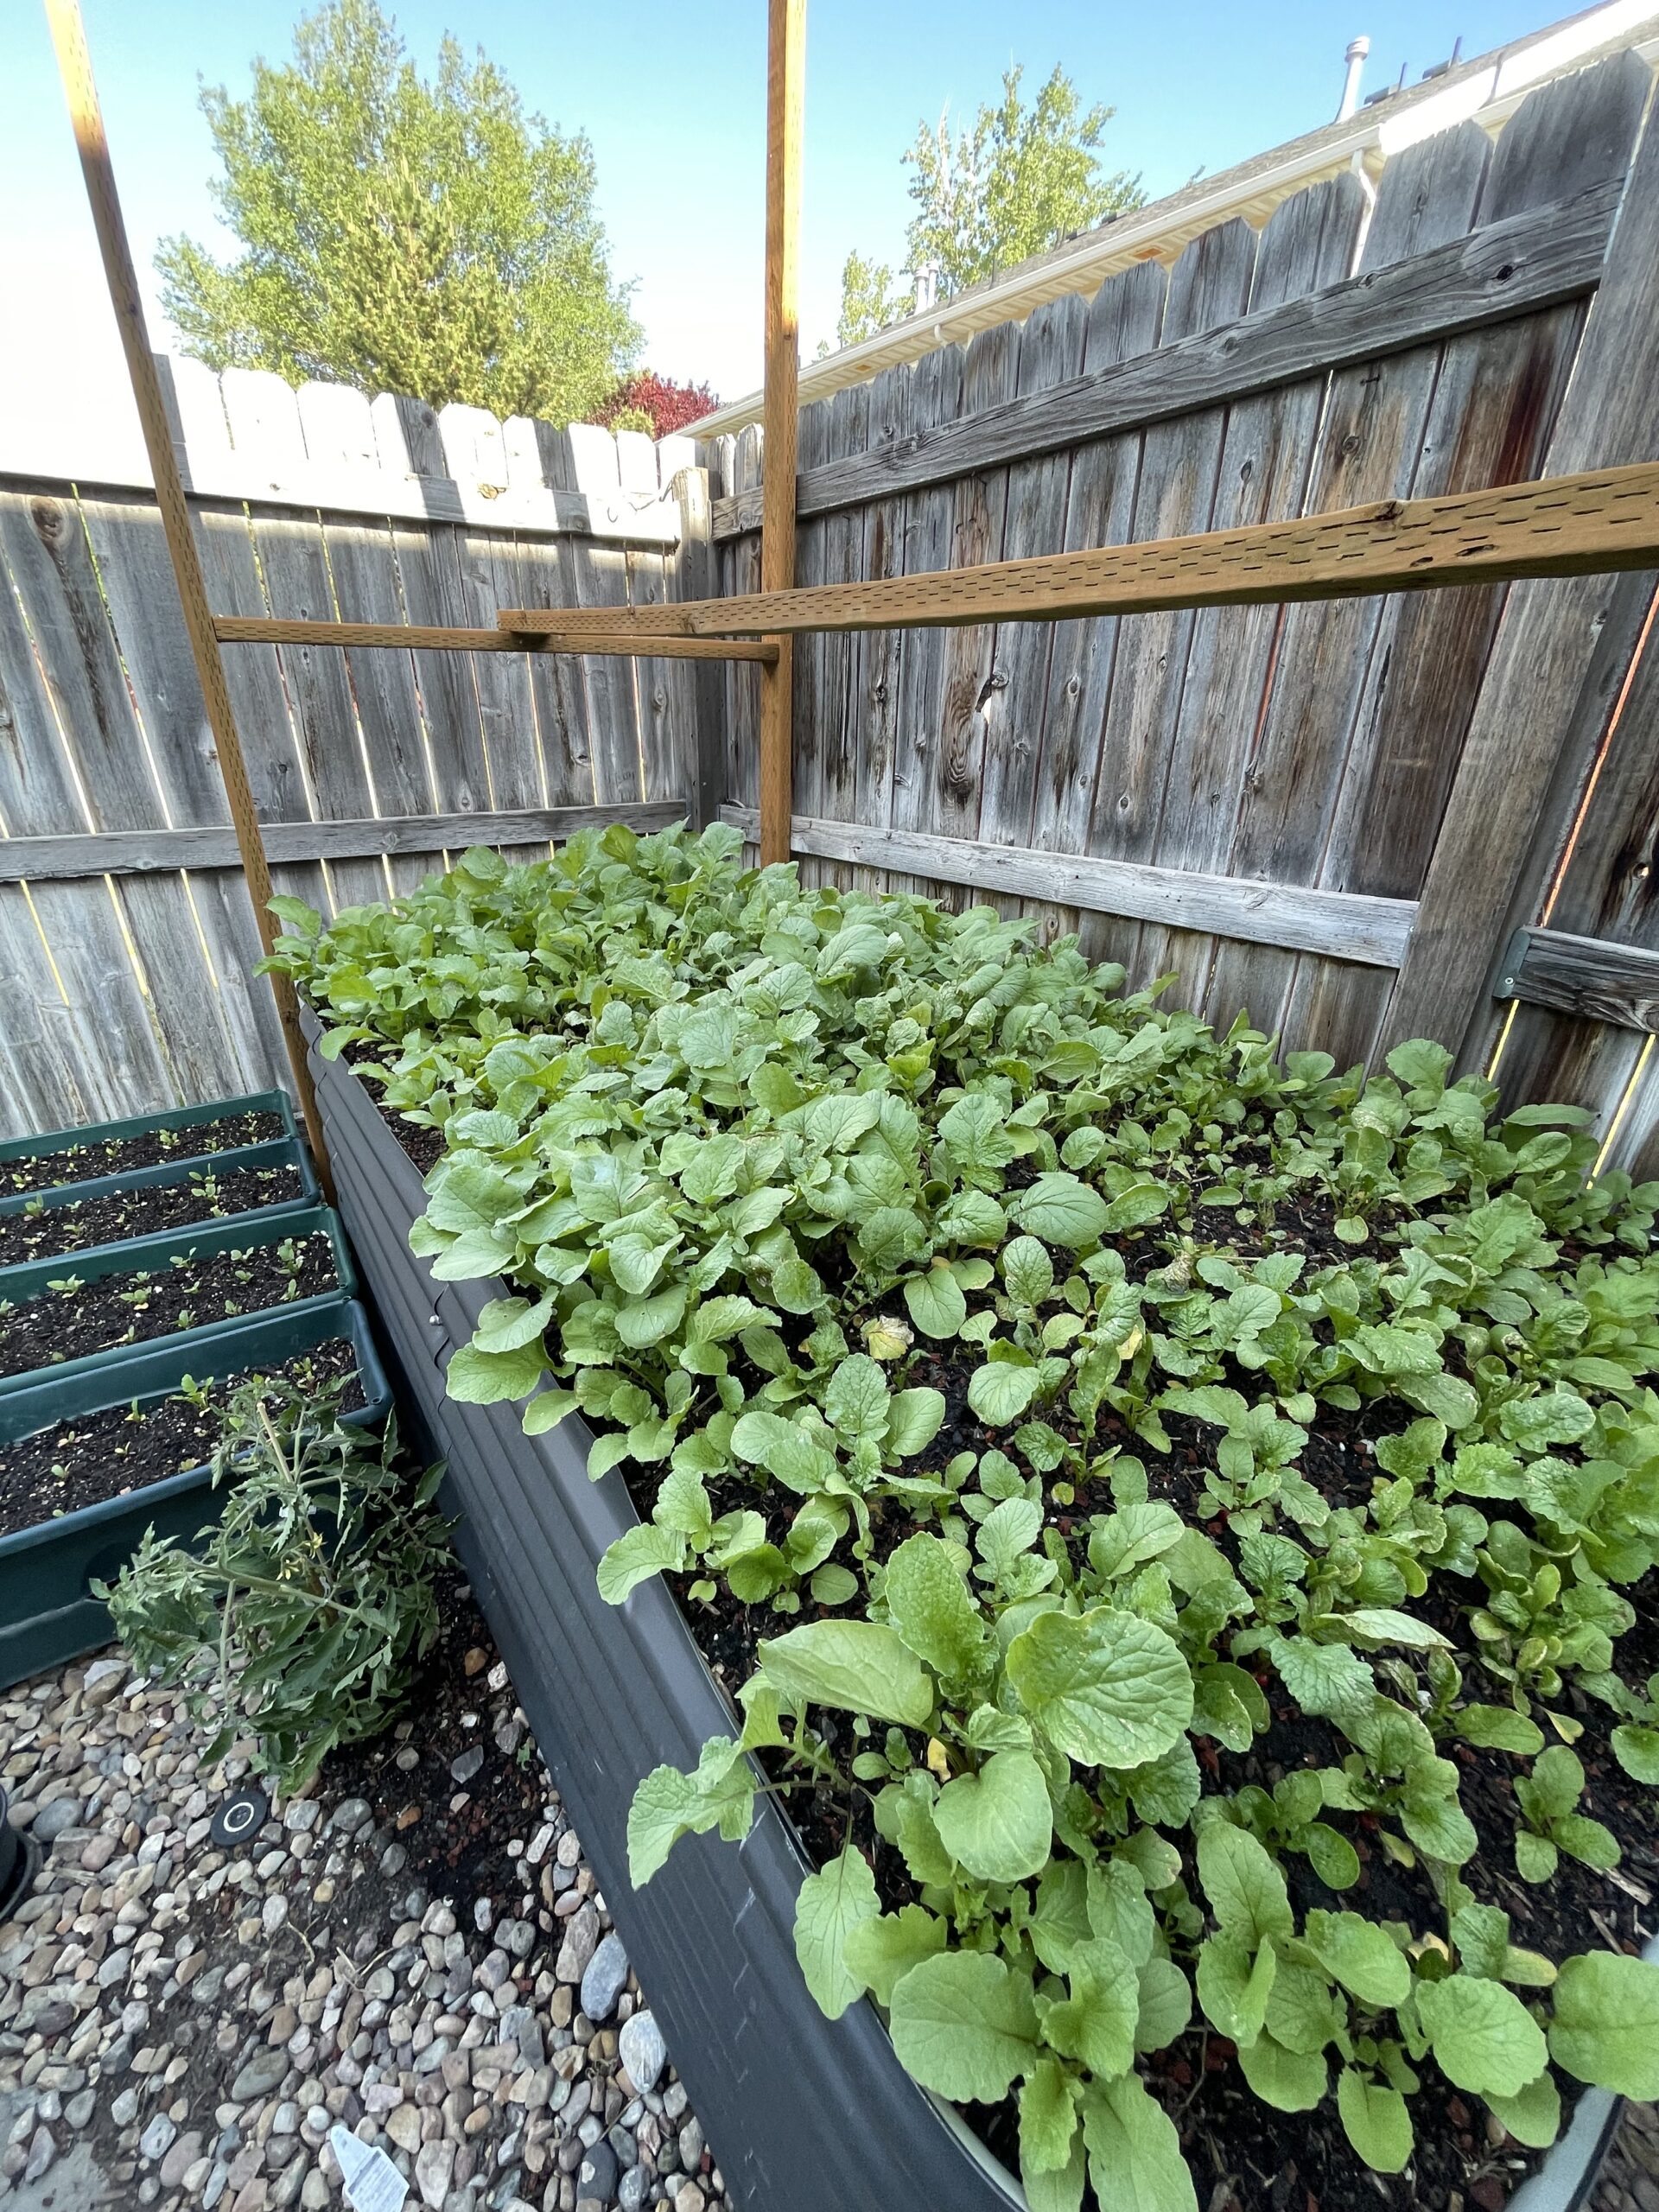
Advantages of using garden containers:
- Soil Control: You have control over the soil quality your tomatoes start with (this is especially important in areas that have more temperamental climates, like where I live in Utah). Soil should be nutrient dense, have adequate aeration, and healthy biodiversity.
- Goodbye, Back Problems: Because of the added height on garden containers, you won’t need to bend over as much – this is huge for people like me who have back problems!
- Less Time Watering: Garden containers can carry more water, thanks to their height, thus you have the ability to deep water the soil. This means you don’t have to water as frequently, especially if you don’t have an irrigation system!
- Healthier Roots: Because of the deep watering, the roots stretch downwards, deep into the bed in order to access water. This encourages strong, healthy root growth.
- Longer Harvest!: Due to insulation that the garden container provides from ground temperature fluctuations, you can have an extended gardening season.
- Decorative Appeal: Many people prefer the look of garden containers as opposed to in-ground gardens.
- Less Weeding: Since most weed spores hit the sides of the garden containers, they will not sprout nearly as frequently (even though I love most aspects of gardening, like every normal person… I despise weeds/weeding).
My Setup
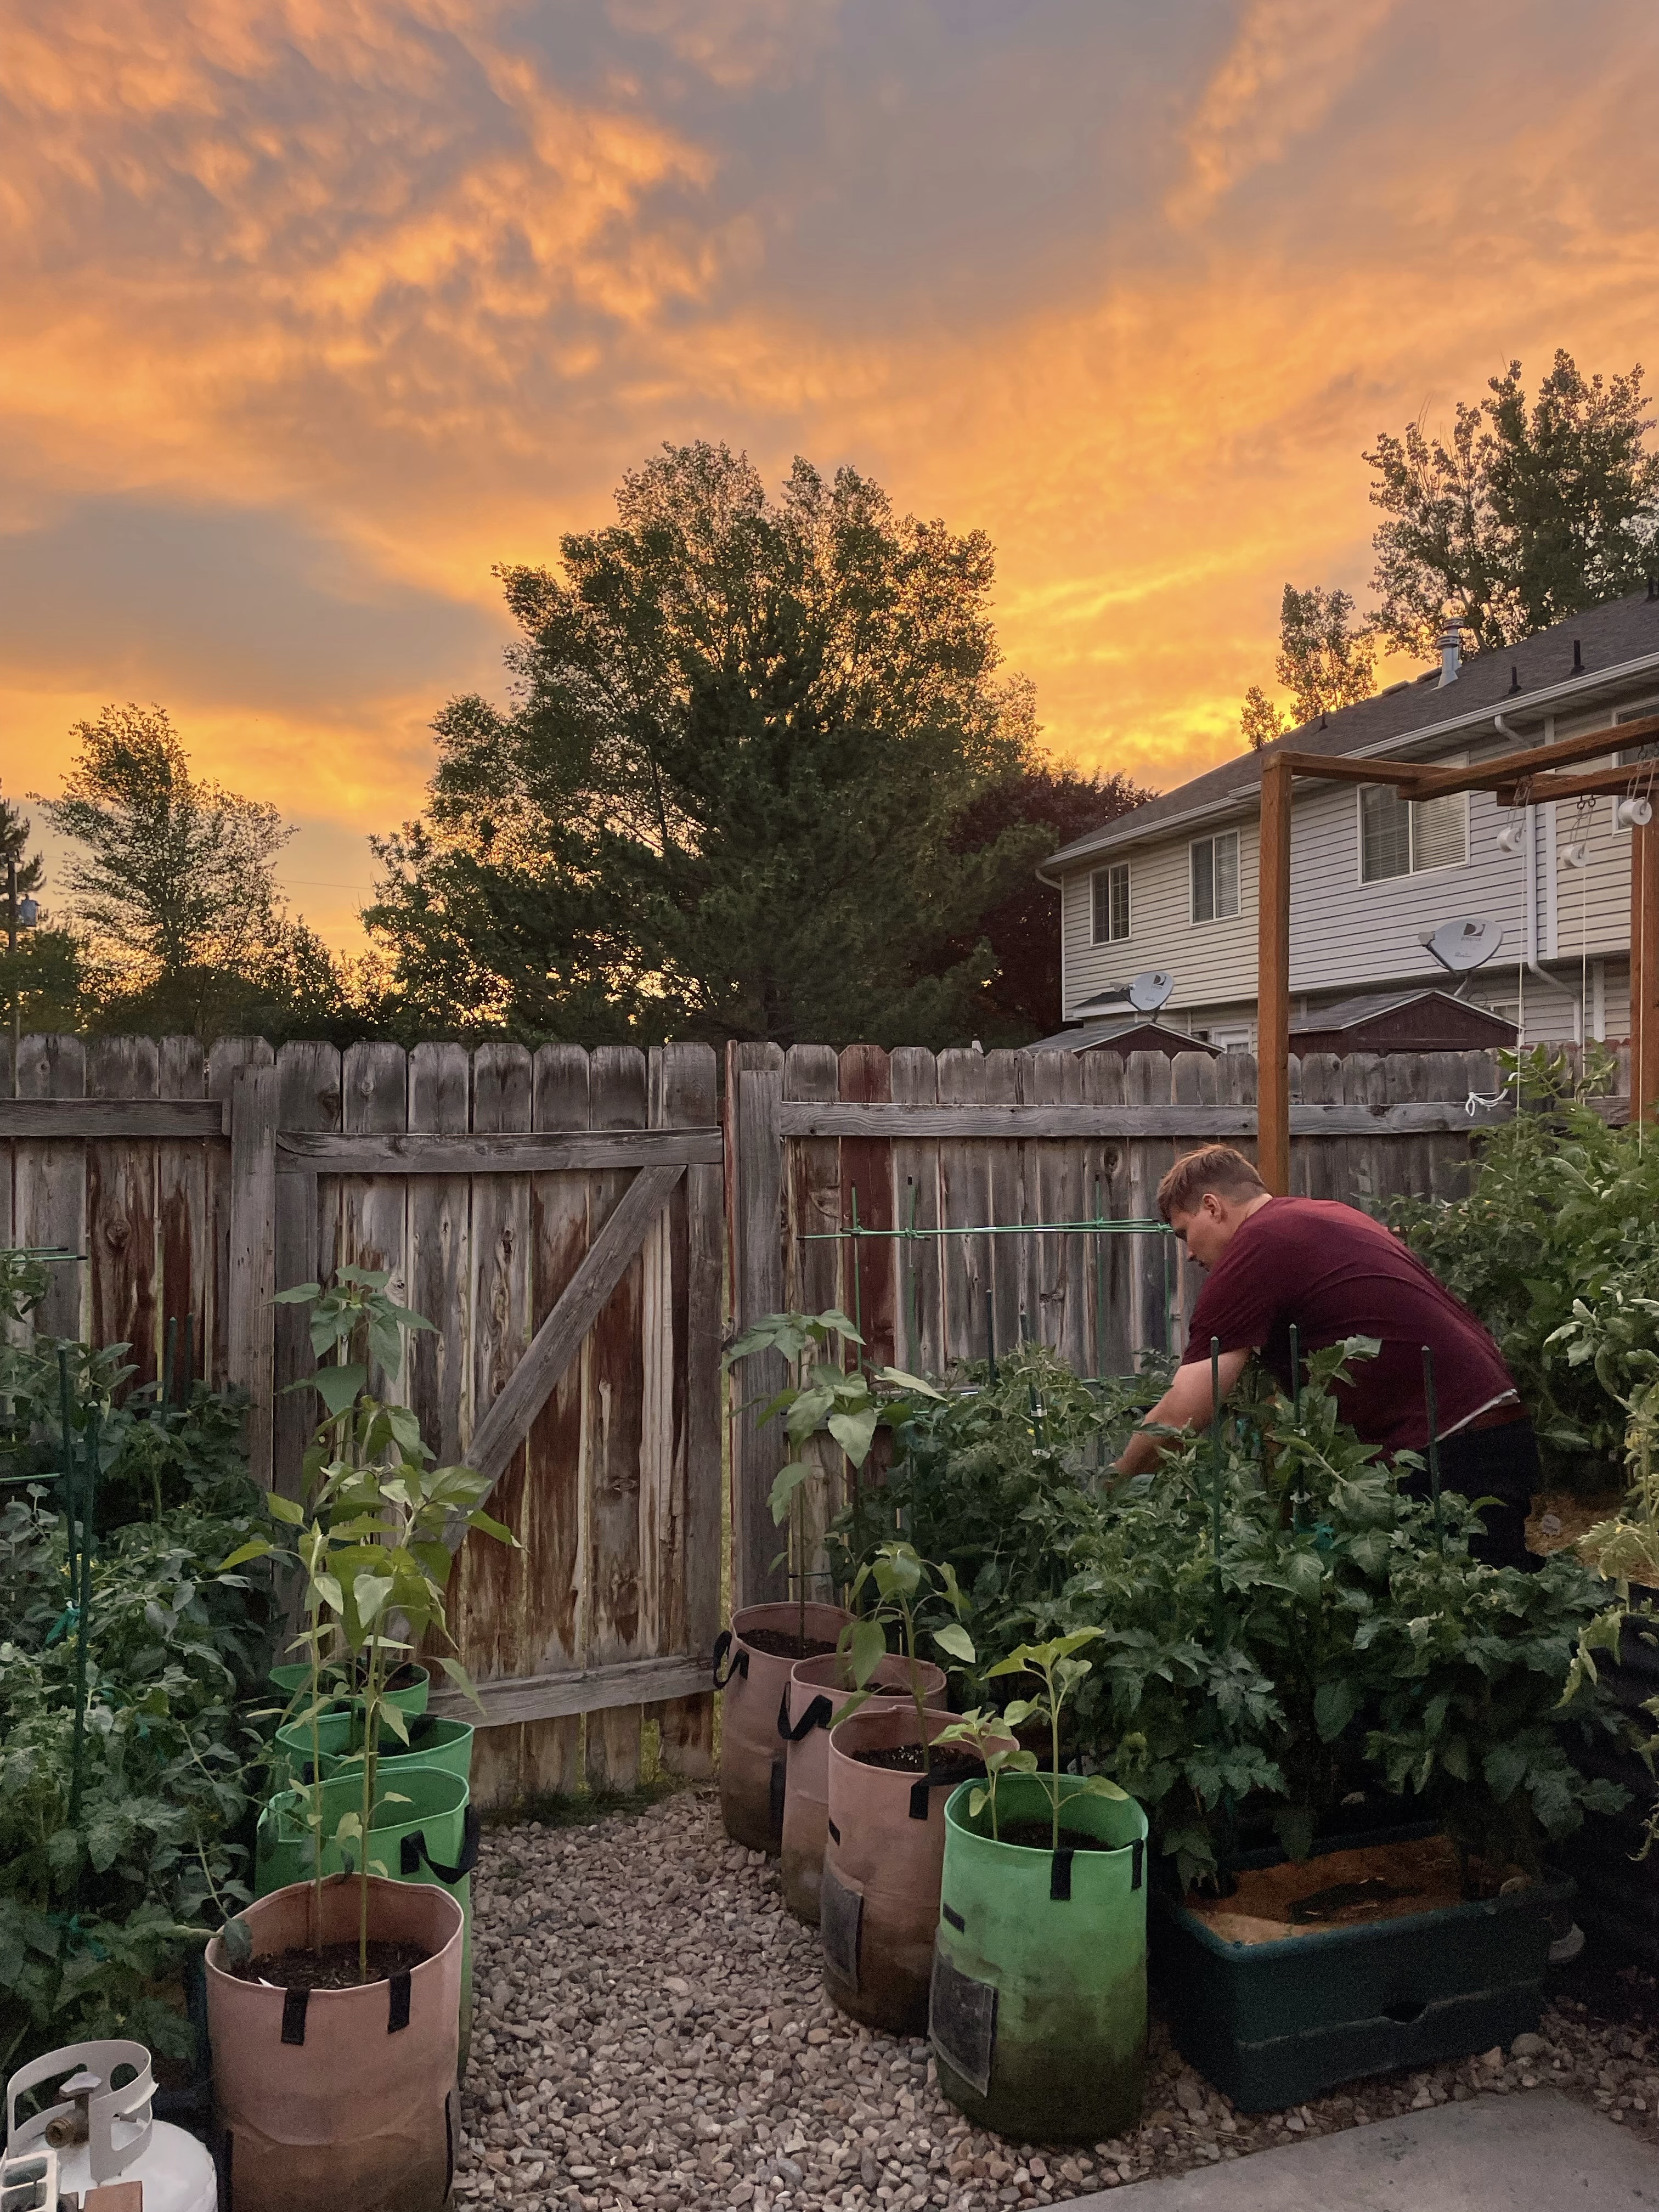
I highly recommend growing tomatoes with garden containers if you are wanting a smaller garden. A fool-proof way to begin is by buying a Garden Patch grow box – their product is so well-engineered and reasonably priced.
These grow boxes have a three-gallon water tank that plant roots can drink from, which means you don’t have to water as often. They also come with a weed blocker “mulch” that not only includes fertilizer, but also tells you the spacing to plant your seedlings.
These grow boxes yield so much per square foot, and are incredibly space-efficient! It’s pretty insane and so innovative that with just a couple of grow boxes, you can feasibly grow a harvest more impressive than if you had a decent-sized garden! Apart from beginners, this setup is perfect for people with limited space.
I have about 10 of their grow boxes in my garden. If I was starting out, I would probably start with either one grow box if I just wanted to dabble with gardening, or with a pack of three if I wanted to jump right in.
Soil & Compost
One major advantage of garden containers is starting with high-quality soil, boosting your chances of success. I buy soil specifically made for garden containers from a local plant nursery. It has small lava rocks mixed in for drainage and aeration, as well as a healthy mixture of compost and other additives for water retention and nutrients.
Here is a great tutorial on making your own soil if you want to be the most economical. If not, there are many great mixes at gardening stores or plant nurseries. Before each gardening season, I fortify the soil by amending in some organic fertilizers, such as Espoma’s Tomato-Tone. Most of these powders are slow-release and therefore benefit the plants the whole season.
Every few weeks I use an organic liquid fish fertilizer called Neptune’s Garden for extra nutrition. One advantage of liquid fertilizers is that they are more quickly bioavailable. Periodic fertilizing is essential since tomatoes crave nutrients and I tend to plant densely.
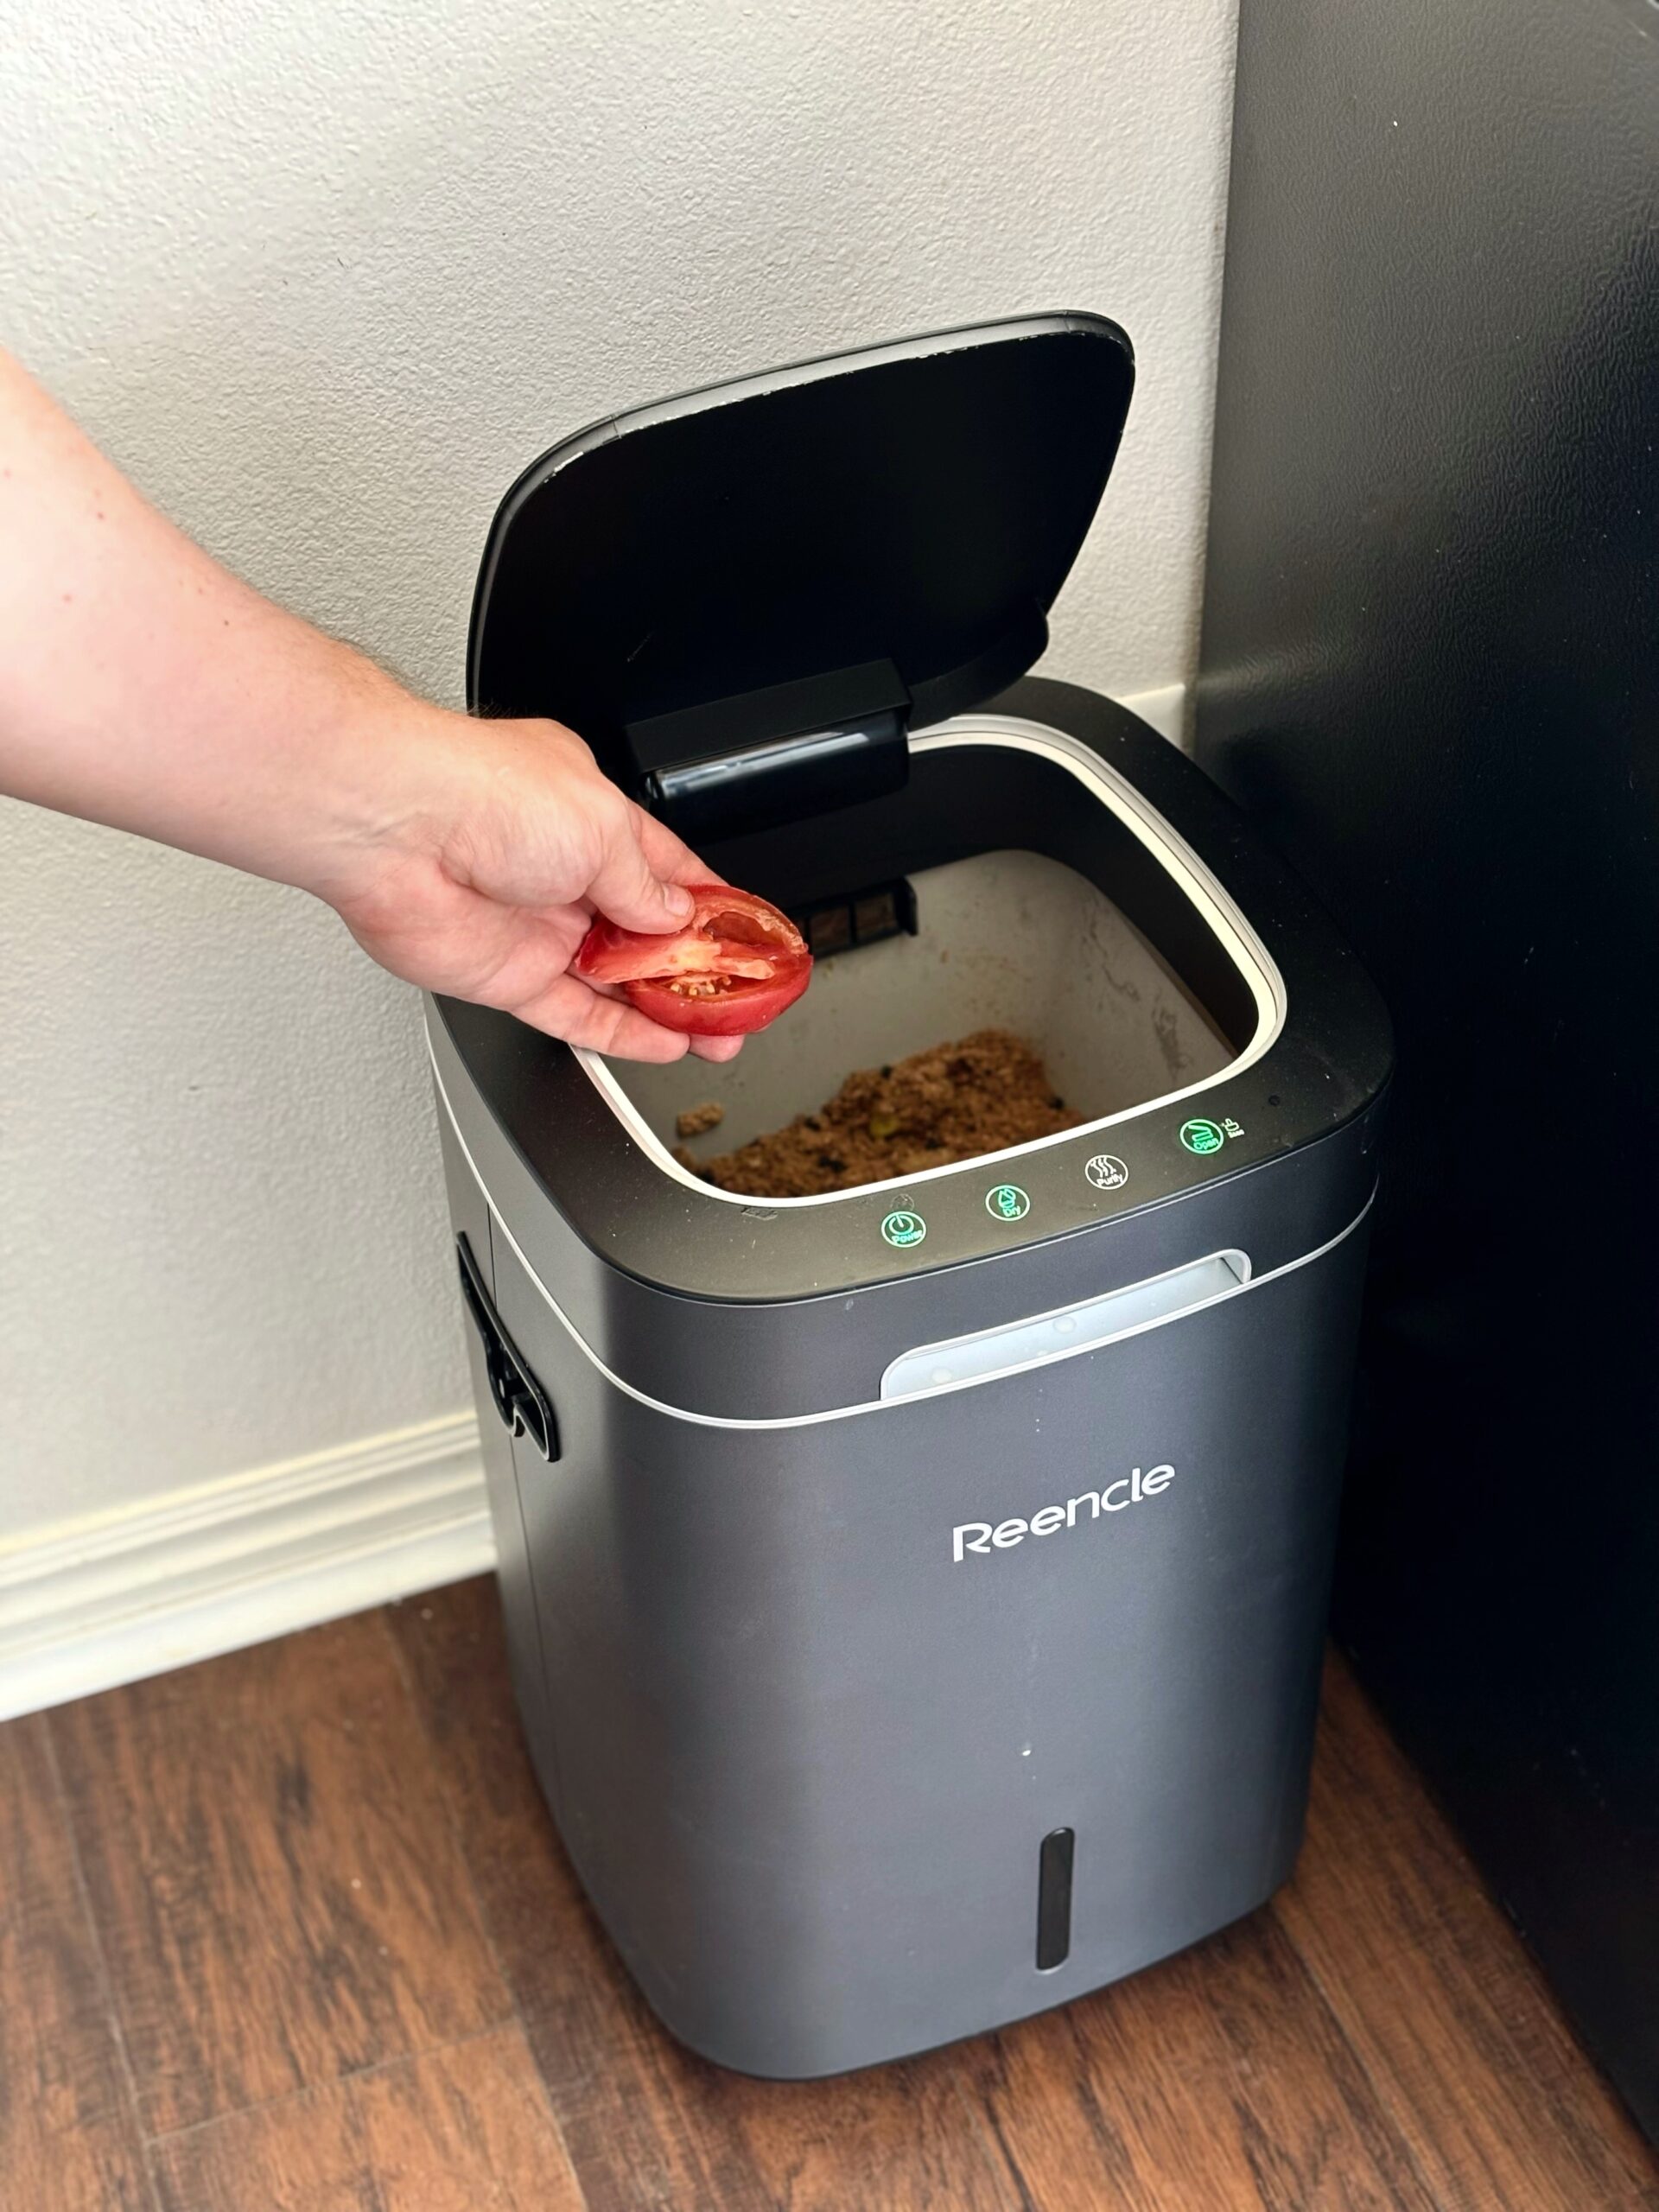
Perhaps an even better long-term alternative to store-bought fertilizers is leveraging your food scraps to make your own compost. For those who don’t know, you can turn food scraps into what is essentially nutrient-rich dirt. In addition, compost helps with water retention much like mulch. It is shocking how much compost you can make in a short amount of time!
I absolutely love my Reencle composter, and will never live without one. It makes ~1-2 gallons of compost per week because the machine accelerates the process. And it doesn’t smell!
In addition to feeling good about reducing food waste, I enjoy knowing the high-quality ingredients that go into my compost. If you have a lot of space in your yard, there are other composting methods that can more heavily incorporate plant matter as well (e.g. grass clippings), and can also be effective.
Determinate
vs.
Indeterminate
A commonly misunderstood fact is that there are two main categories of tomatoes, determinate and indeterminate! I’ll explain in the next section what those two types are.
Understanding the differences between indeterminate and determinate tomatoes is crucial for several reasons:
- Planting and Space Management: Helps you allocate appropriate space and resources in your garden, as these varieties have different growth habits.
- Support Requirements: It guides you in providing the right support structures, such as stakes or cages, which are essential for maintaining plant health and maximizing yield.
- Harvest Timing: I will talk about what harvest will look like for the two categories below.
- Maintenance and Pruning: This can vary significantly, impacting plant health and productivity.
- Culinary Uses: It allows you to choose the best variety for your intended culinary uses, as different types may be better suited for sauces, salads, or fresh eating.
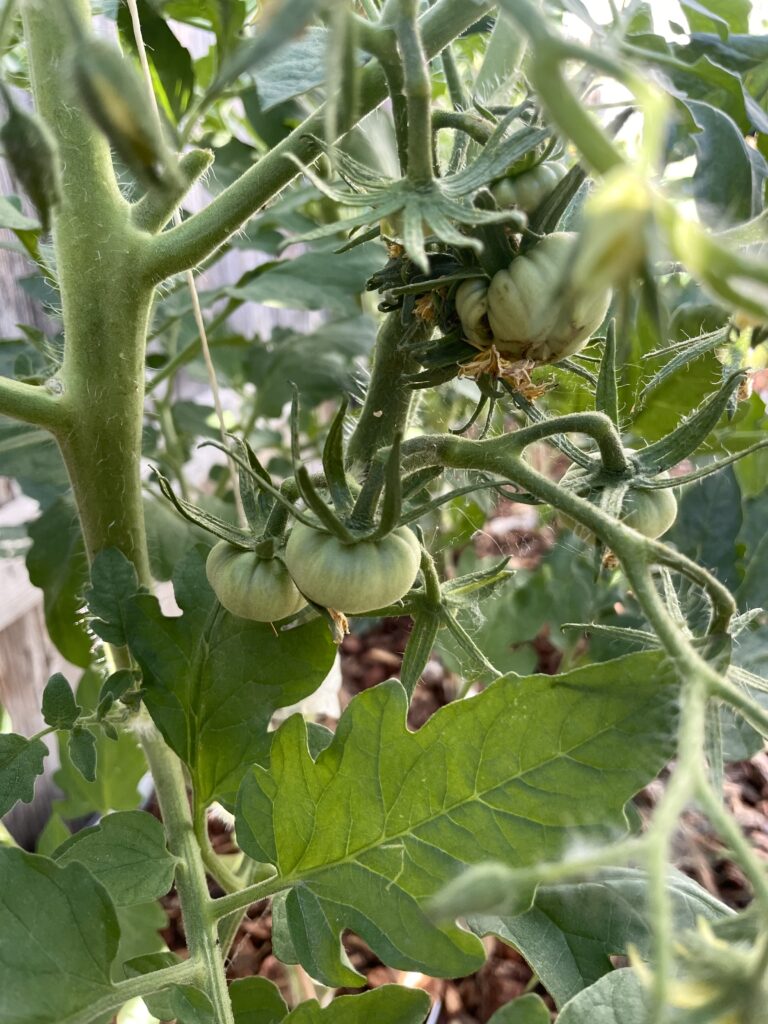
Determinate Tomatoes
Determinate tomato plants have a predetermined size (hence the name), and will generally be shorter, stockier plants that produce most of their fruit in a small window.
They are generally best for making sauces, since most of the harvest lines up around the same time, and making sauces can require a lot of tomatoes! A common example of a determinant variety is the Roma tomato (which is a great tomato for a classic pasta sauce).
Generally, you don’t want to prune determinate tomatoes because they stop growing after a certain height. The exception is cutting off the very lowest branches that are not fruit bearing, as they can hinder airflow and increase chance of disease.
Note: If you have the common cone-shaped wire trellises you should be growing determinate tomato varieties.
Indeterminate Tomatoes
Indeterminate tomatoes are vinier and can grow over 20 feet tall if trellised and pruned a certain way! However, most are closer to six-feet tall. While their height is impressive, supporting indeterminate tomatoes on a trellis can be challenging. They also typically require heavy pruning to remove “suckers” (stems that grow in the “armpits” of the plant), and guide vertical growth.
Indeterminate tomatoes will grow until either the winter frost, or until disease kills them off. Unlike determinate tomatoes, they ripen gradually over an extended period rather than all at once. However, both typically have a similar yield.
Many people believe that indeterminate tomatoes offer a wider array of interesting varieties. Indeterminate varieties are typically the best for tomato sandwiches, and are also the most common cherry tomatoes.
Choosing Varieties
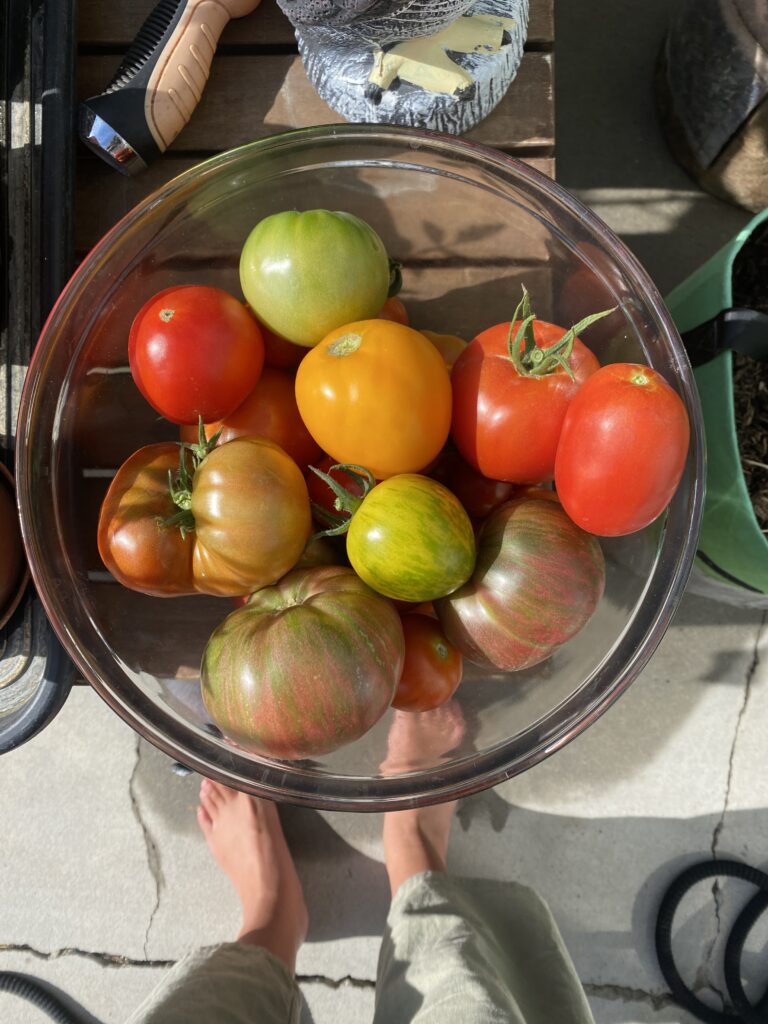
It’s hard to go wrong with any variety of tomato plant, since I think all of them are delicious! Heirloom tomatoes are a popular choice, since the variety has existed for many generations and has not been genetically modified. The downside of heirlooms is that they tend to be less disease-resistant. Fun fact: you can save the seeds from heirlooms to grow the same plant the following year.
Conversely, “hybrids” (genetically-modified plants) have seeds that will grow a different plant from its parent. For beginner gardeners, I recommend growing hybrid varieties such as Super Sweet 100, which have been bred to grow vigorously and resist diseases, while giving abundant harvests.
A recent class of tomatoes known as “dwarf tomatoes” now exists (as of ~10 years ago), aiming to provide indeterminate-type fruit on determinate-type plants. I recommend watching a video listing the best tomatoes from one of YouTube’s finest gardening channels (see below).
My Favorite Youtube Gardening Channels Besides Real Farmer Jeff
Kevin, founder of Epic Gardening, is so cool and easy to listen to. He’s also the reason Jeff put some Birdies in the garden. He has a modern “homestead” in San Diego, which is the perfect location to have a garden.
The Gardening Channel with James Prigioni
James Prigioni is one of the most positive people, and he has an adorable dog named Tuck, who likes to eat lots of veggies from the garden. We love you, Tuck! James has ~1/4 acre yard in New Jersey that he’s turned into a “Food Forest.”
He places his emphasis on sustainable, organic practices and makes gardening accessible for beginners and experienced gardeners alike. He lives in North Carolina and thus has great tips on combating extreme heat and humidity.
Organic Gardening, Homesteading, and Woodworking
If you’re someone that cares about including minerals and lots of organic additives into your garden, this is the YouTube channel for you. He is a fully-organic Master Gardener.
Tips & Tricks
- Grow Vertically: You can build an effective, inexpensive homemade trellis. Good trellising improves air flow, reducing disease, especially in humid climates. I grow my tomatoes up a string and use clips to fasten the plants.
- Amend Your Soil: Before planting, amend your soil with Espoma Organic Tomato Tone to provide essential nutrients. Space tomato plants 1.5–2 feet apart for stronger roots. Plant deeply, as tomatoes can develop additional roots from buried stems. Transplant outdoors when daytime temperatures exceed 65°F and nights stay above 50°F. Tomatoes thrive at 70-90°F, so consider using shade cloth during heat waves over 100°F for added comfort.
- Mulch Soil: The biggest rookie mistake is often forgetting to mulch the soil. Mulching enhances water retention and reduces disease by minimizing soil splashing on plants during watering. You can use straw (avoid hay with seeds), grass clippings, organic wood chips, or various other types of mulch.
- Don’t Directly Water the Plant: Water at the base of the tomato plant instead of getting the leaves wet. Wet leaves can attract diseases and pick up airborne contaminants. Since some diseases thrive in humid conditions, base watering is crucial. Additionally, strong sunlight can burn leaves when water acts as a magnifier, potentially stressing the plant.
- Create Your Own Compost: Compost boosts nutrients and improves water retention. Use organic, water-soluble fertilizers like Neptune’s Garden every few weeks, as they are less concentrated and unlikely to harm plants. In contrast, synthetic fertilizers can burn roots if overused. If space allows, create a compost pile; otherwise, a Reencle composter is great for recycling food scraps.
- Hand Pollinate: If a tomato flower doesn’t pollinate, you’ll end up with large plants but no tomatoes. While wind and bees help with natural pollination, hand pollinating can boost yields. Gently shake flowering branches or use an electric toothbrush to vibrate the flower base, which visibly releases pollen. High temperatures above 90°F can hinder pollination, so hand pollinate early in the season for better results. Alternatively, plant flowers to attract bees for natural pollination.
- Harvest at the Breaker Stage: The “Breaker Stage” occurs when a tomato is about 50-60% ripened and appears orange-ish (for red varieties). Harvesting at this stage reduces the risk of pests and rain splitting the fruit. Tomatoes will continue to ripen after being harvested, making early collection a good strategy to avoid spoilage.
- Add Dolomite to Soil: To prevent “Blossom-End Rot,” which causes tomatoes to rot at the flower end, lower soil pH. This condition arises from insufficient calcium, often due to inadequate watering, and can be exacerbated by overly acidic soil.


Thanks for the inspo! I have just been getting into gardening and need all the help I can get.
This broke down the basics without being overwhelming. I especially appreciated the seed vs. transplant guidance.