
Hey all! Real Farmer Jeff here.
Getting your seeds to sprout successfully is one of the most crucial steps in gardening. And yet, many gardeners struggle with slow or inconsistent germination. It can be tricky!
The good news is that there are a few simple techniques that can dramatically improve your seeds’ germination rates. To be clear, you likely would only need to use these techniques with seeds that either have poor germination rates or that take a long time to germinate.
In this guide, I’ll share several seed soaking methods, as well as how to use a heat mat.
Let’s get started!
Why Soak Seeds?: Pros & Cons
Soaking seeds before planting can speed up germination and improve success rates! That being said, however, it’s not always the best choice for every seed.
Here’s a look at the pros and cons to help you decide if this method is right for your garden.
Pros of Soaking Seeds:
- Speeds Up Germination: Softens the seed coat for faster sprouting.
- Improves Water Absorption: Ensures the seed has enough moisture to activate growth.
- Increases Germination Rates: Helps stubborn or older seeds sprout more reliably.
- Reduces Dormancy: Some seeds have natural dormancy mechanisms that soaking can break.
Cons of Soaking Seeds:
- Potential of Drowning Seeds: Never exceed 24 hours (most seeds need 6–12 hours).
- Risk of Mold or Rot: Excess moisture can lead to fungal issues.
- Not All Seeds Need Soaking: Tiny seeds absorb water easily on their own.

Seed Soaking Methods
Standard Water Soaking (Most Common): Best for hard-shelled seeds like beans, peas, squash, corn, sunflower, and melons.
- Use room-temperature or lukewarm water (75 – 90°F / 24 – 32°C).
- Soak seeds for 6 – 24 hours, depending on seed type.
- Drain and plant immediately in moist soil.
- Change water if soaking for more than 12 hours to keep oxygen levels up.
⚠ Avoid soaking too long! Seeds can drown if they don’t get oxygen.
___________________________________________________
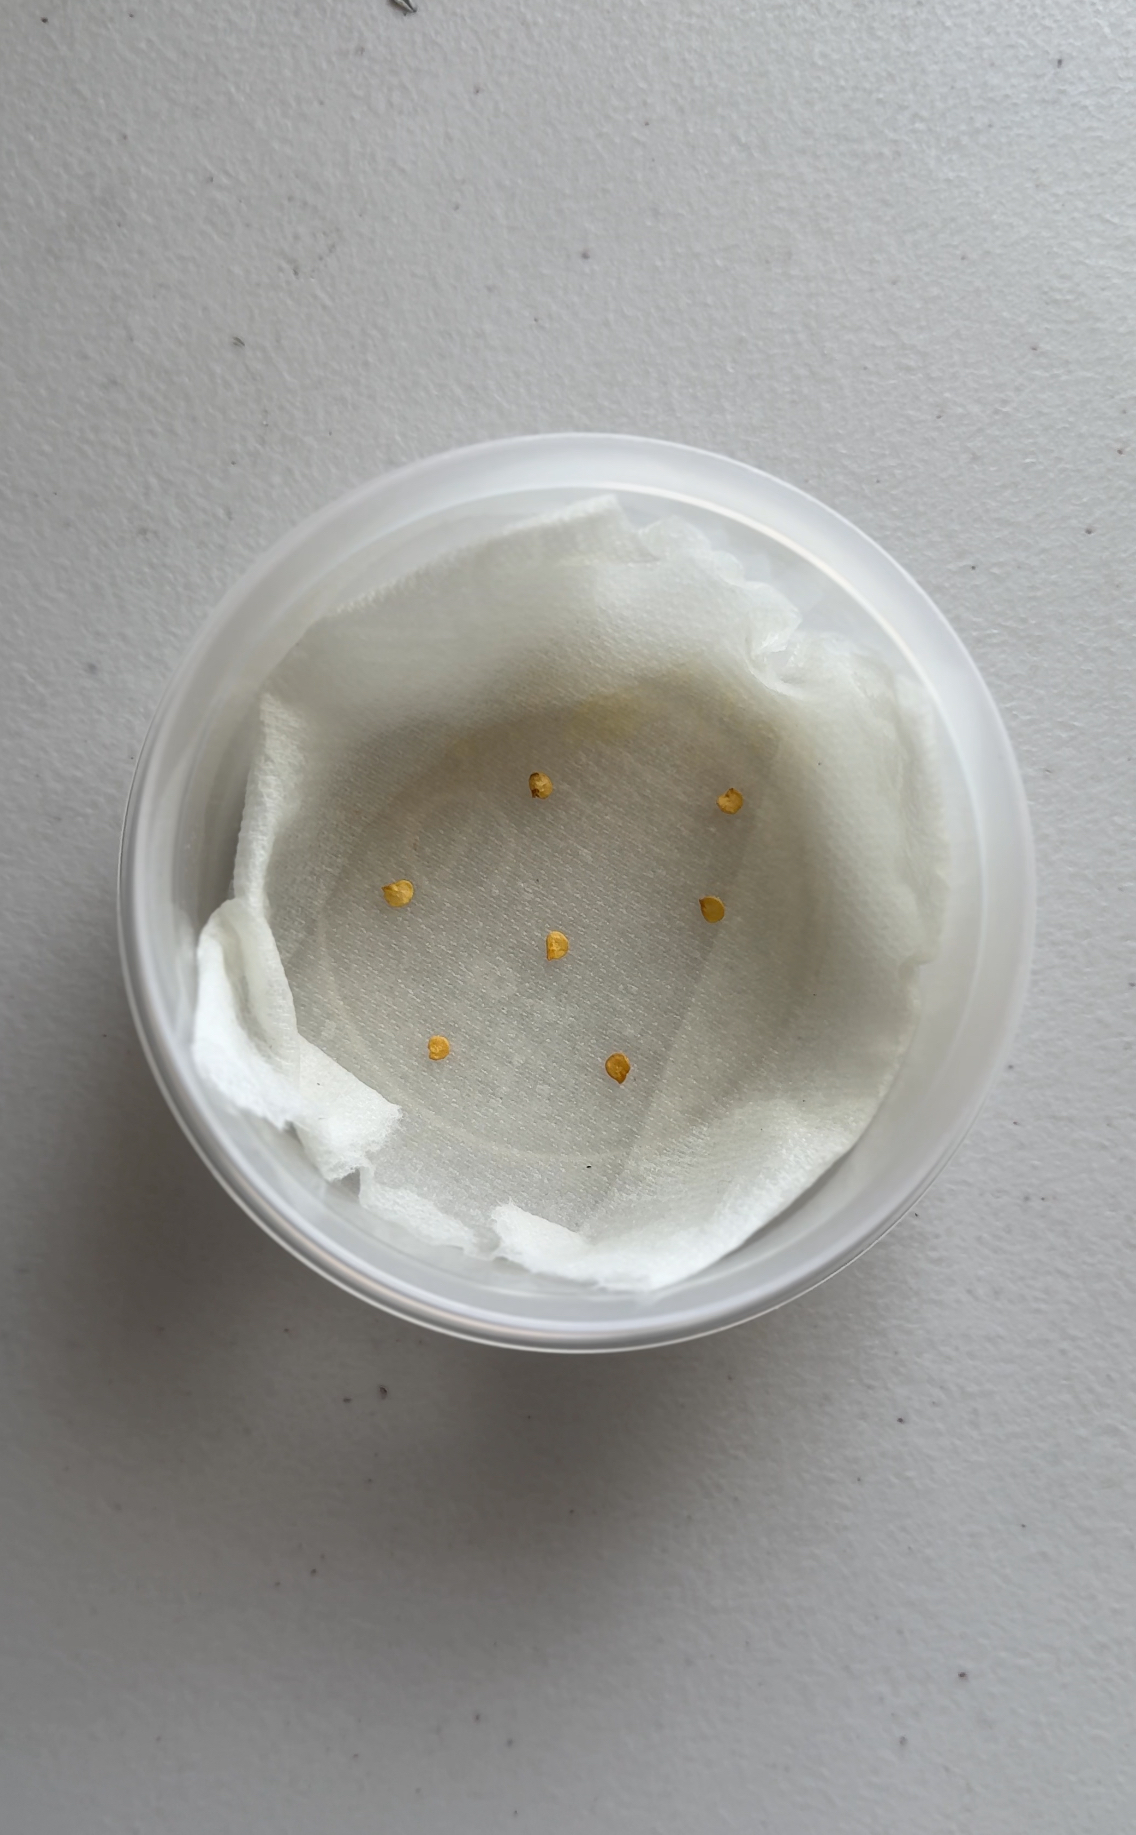
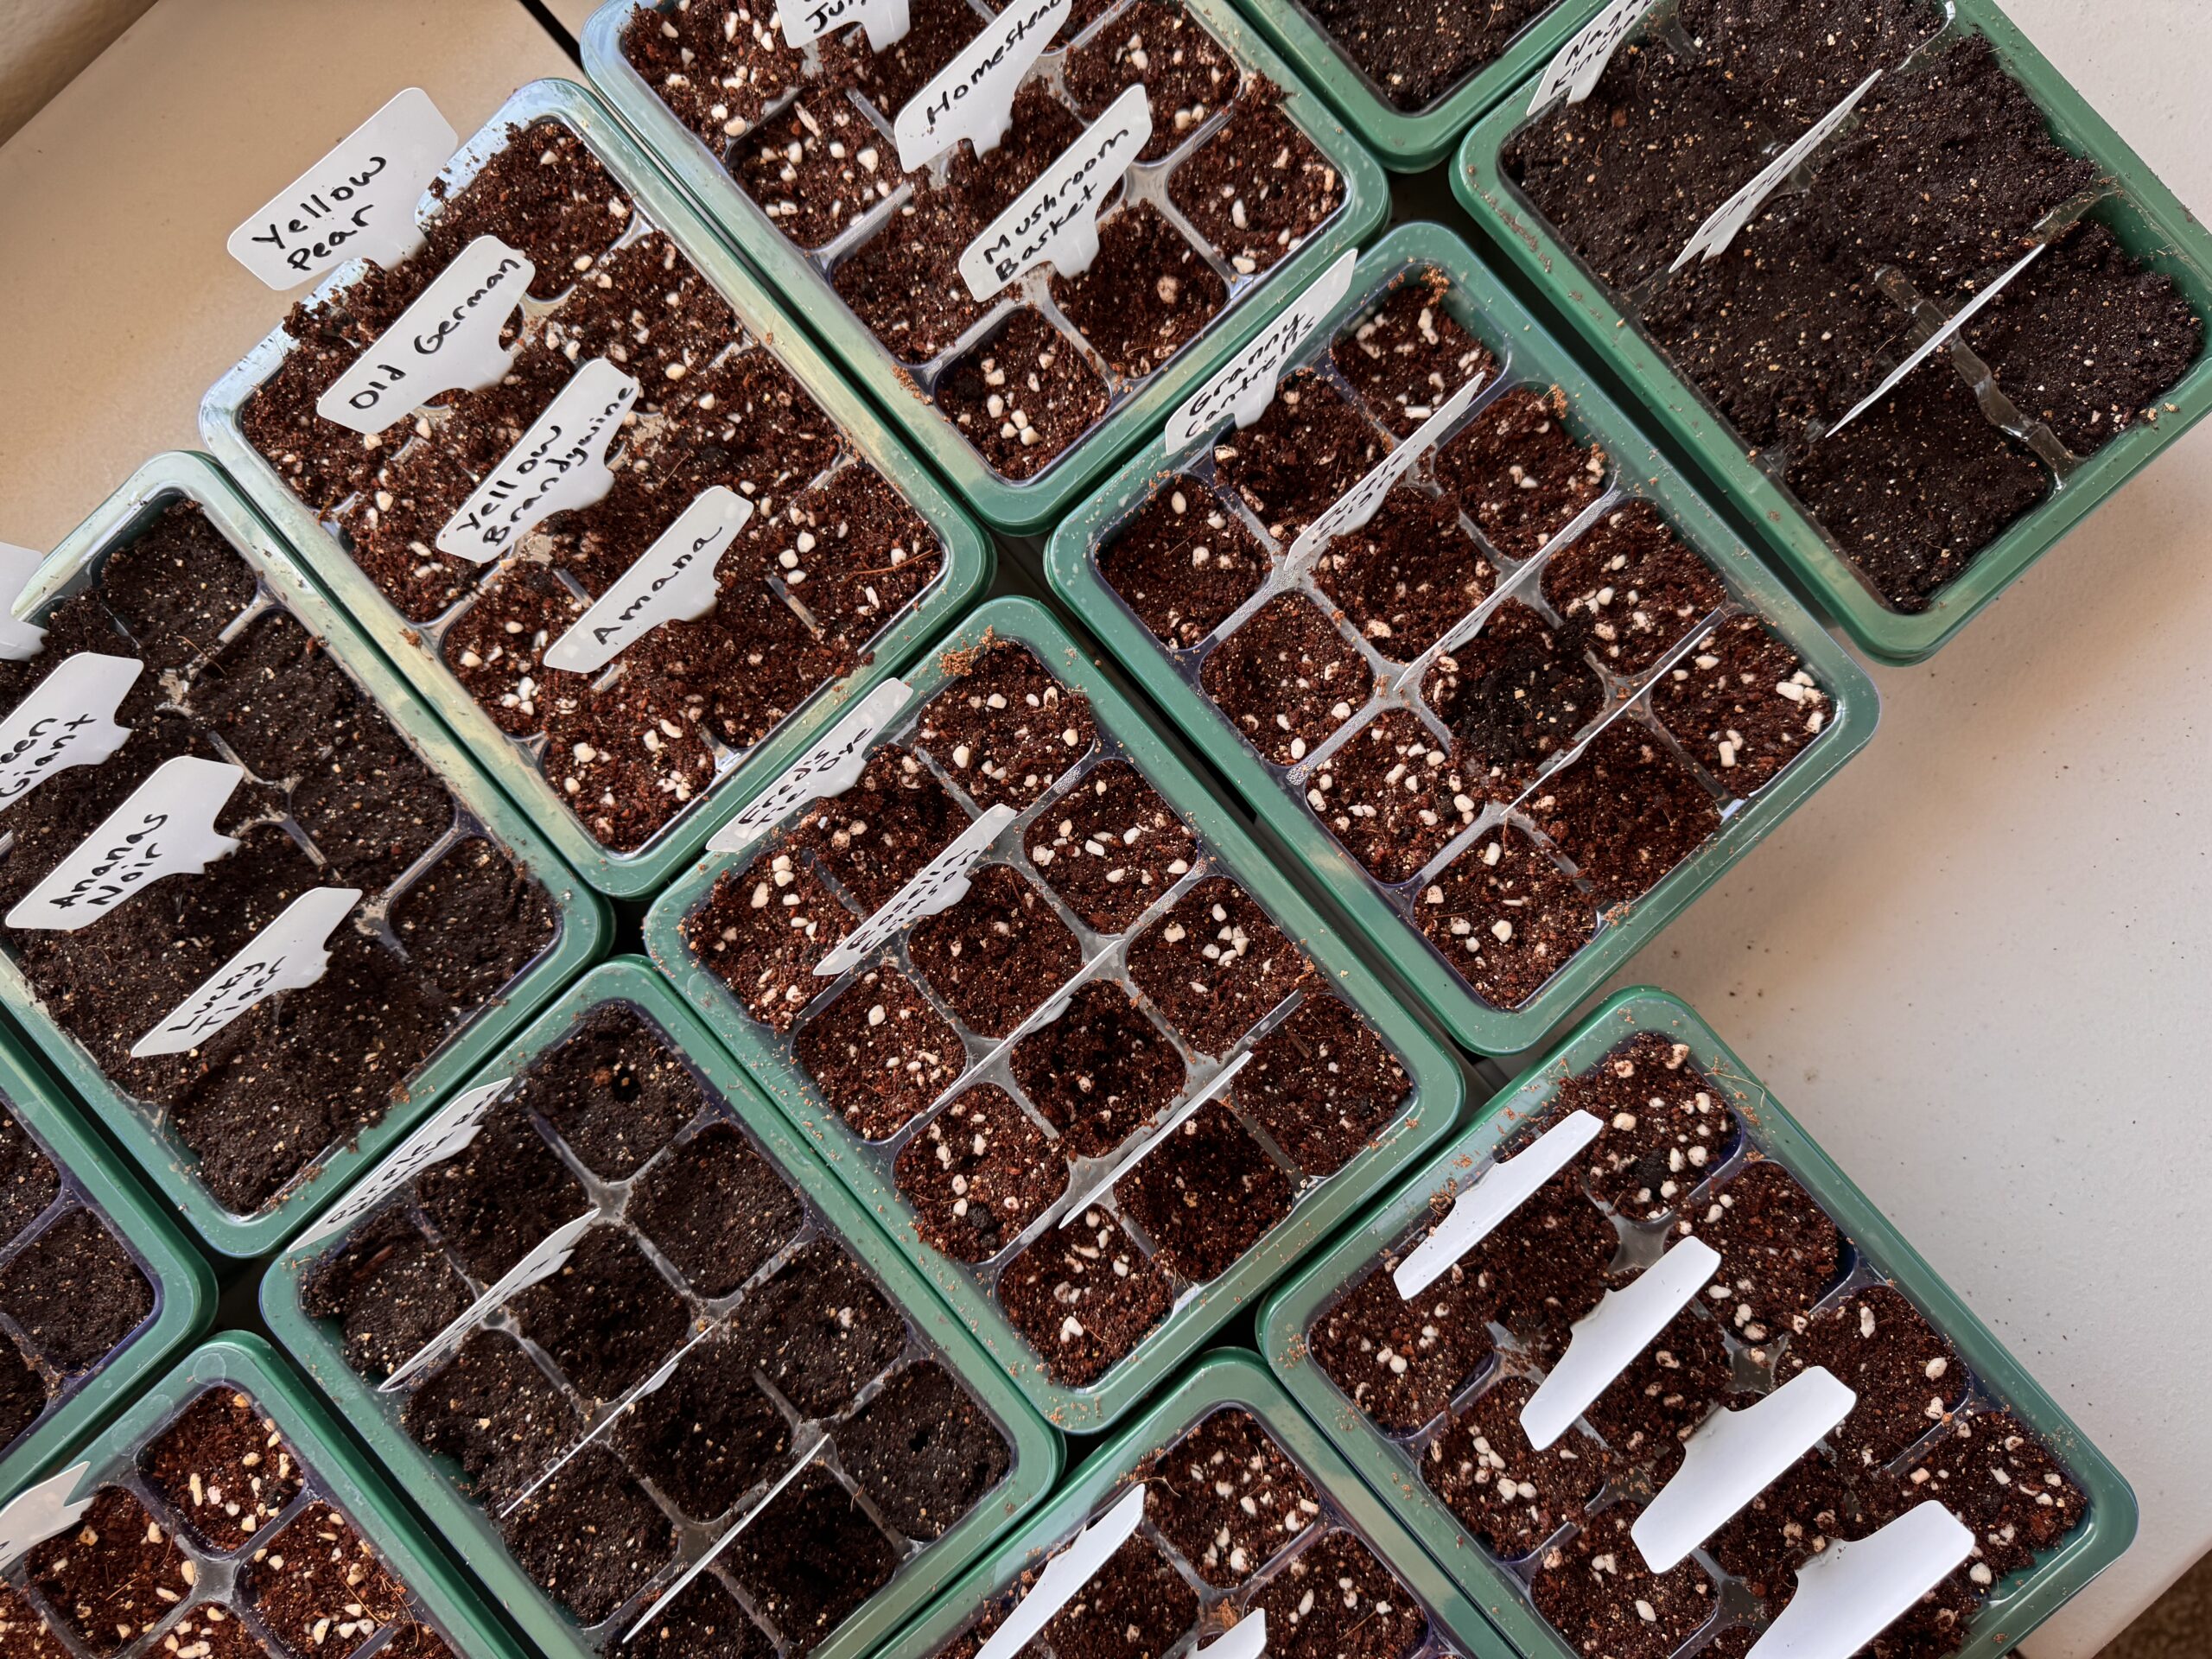
Damp Paper Towel Method (Controlled Germination): Best for small or delicate seeds like tomatoes, peppers, eggplant, spinach, carrots.
- Dampen a paper towel (not soaking wet).
- Place seeds inside and fold the towel over.
- Store in a ziplock bag or container in a warm (70 – 85°F) spot.
- Check daily and transplant as soon as sprouts appear.
Pros: Controls moisture and prevents drowning.
Cons: Requires careful handling when transplanting sprouts.
Scarification (Scratching the Seed Coat): Best for extremely hard seeds like morning glory, nasturtium, okra, and certain tree nuts.
- Use sandpaper, a nail file, or a small knife to gently scratch the outer shell.
- This allows water to penetrate faster.
- After scarification, soak seeds in water for 12 – 24 hours before planting.
Pros: Breaks dormancy in very tough seeds.
Cons: Requires precision—too much damage can harm the seed.

Hot Water Soaking (For Very Hard Seeds): Best for seeds with extra-hard coatings, like lotus, persimmon, and some legumes.
- Heat water to 140°F (60°C) (not boiling).
- Pour over seeds and let them soak until the water cools to room temperature.
- Plant immediately after soaking.
Pros: Mimics natural processes like fire or digestion.
Cons: Can accidentally “cook” seeds if water is too hot.
___________________________________________________
Hydrogen Peroxide Soaking (For Faster Germination & Disease Prevention): Best for older seeds or seeds prone to fungal infections (tomatoes, peppers, cucumbers).
- Mix 1 teaspoon of 3% hydrogen peroxide per cup of water.
- Soak seeds for 30 minutes to 2 hours (depending on seed size).
- Rinse thoroughly before planting.
Pros: Disinfects seeds, reduces mold/fungus risk, speeds up germination.
Cons: Not necessary for fresh or healthy seeds.
Top 20 Most Commonly Soaked Seeds (Ranked by Frequency)

Seeds That Usually Don’t Need Soaking
While soaking can benefit many seeds, some varieties naturally germinate well without extra moisture. Here are the seeds that typically don’t need soaking before planting:
- Tiny seeds like lettuce, basil, celery, arugula, onion, mustard greens absorb water quickly and don’t require soaking.
- Fast-germinating seeds like radish and carrots don’t need soaking but may benefit from the damp paper towel method in dry conditions.

Final Tips for Successful Seed Soaking
- Use Clean Water: If tap water is heavily chlorinated, use filtered or dechlorinated water.
- Don’t Over-Soak: 24 hours is the maximum for most seeds.
- Transplant Carefully: Handle sprouted seeds gently to avoid damaging delicate roots.
- Maintain Moisture: Keep soil damp but not waterlogged after planting soaked seeds.
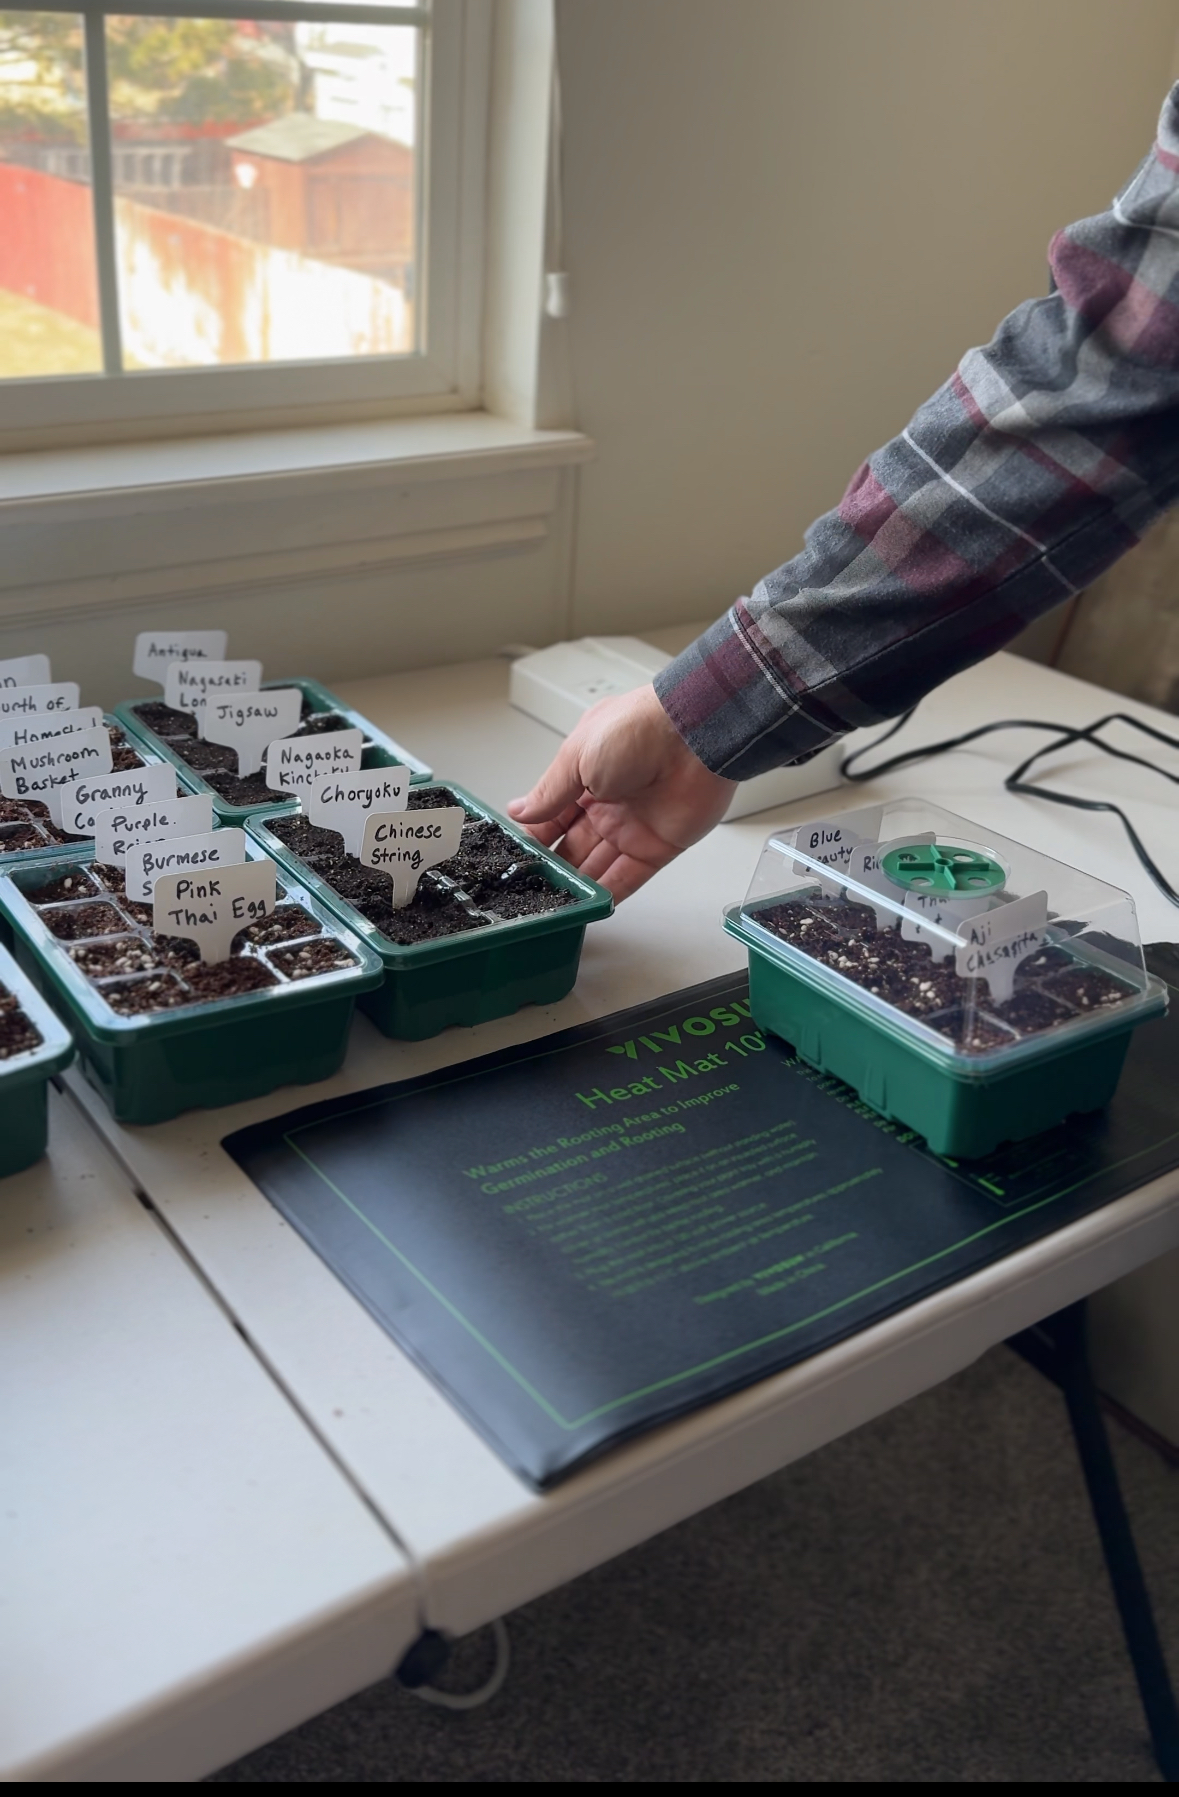
Why Use a Heat Mat for Seed Starting?
A heat mat for seed starting is a thin, electric mat designed to provide consistent, gentle warmth to soil and seedlings. It helps speed up germination by maintaining an optimal temperature, especially for heat-loving plants like tomatoes and peppers, making it easier to start seeds indoors.
Here are some of its benefits:
- Warms Soil Temperature: Seeds germinate best at 70 – 85°F (21 – 29°C), but indoor conditions can be cooler. A heat mat ensures optimal warmth.
- Faster Germination: Some seeds (like peppers, tomatoes, and eggplants) need warm soil to sprout quickly. A heat mat can cut germination time in half.
- Better Germination Rates: Seeds that struggle in cool soil have higher success rates with steady warmth.
- Great for Cool Climates: In colder areas, heat mats allow gardeners to start seeds earlier indoors.
- Prevents Damping Off Disease: Warm, consistent temperatures reduce excessive moisture that can lead to fungal infections.
Heat Mat Pros and Cons
Using a heat mat is not necessarily best for every plant. Here’s the pros and cons to help you decide if it’s the right choice for your seeds.
Pros of Using a Heat Mat:
- Speeds Up Germination: Heat can reduce germination time by several days.
- More Even Germination: Keeps all seeds at a consistent temperature.
- Ideal for Heat-Loving Crops: Tomatoes, peppers, eggplants, and melons benefit most.
- Great for Indoor Gardening: Helps seedlings thrive when ambient temperatures are low.
Cons of Using a Heat Mat:
- Not Needed for All Seeds: Cool-weather crops (lettuce, kale, spinach) don’t need extra warmth and may sprout poorly in too much heat.
- Can Dry Out Soil Faster: The extra heat speeds evaporation, so you must monitor moisture levels more closely.
- Extra Cost & Energy Use: Requires electricity and an investment in the heat mat.
- Seeds May Overheat: If left on too long, seeds or young seedlings can overheat and die. Or the seeds can become to leggy because they may be growing faster than they can sustain with the amount of light they are getting.
General Tips for Using a Heat Mat
- Use a Thermostat: A heat mat thermostat prevents overheating and maintains the ideal soil temperature.
- Only Use Until Germination: Once seeds sprout, remove the heat mat or turn it off to prevent overheating.
- Check Moisture Daily: Soil dries out faster on a heat mat, so keep it consistently moist (not soggy).
- Pair with a Humidity Dome: A clear plastic dome can help retain moisture while the heat mat warms the soil.
- Position on a Flat Surface: Place the heat mat under a seed tray on a stable, heat-resistant surface.
Which Seeds Benefit Most from a Heat Mat?
- Heat-Loving Crops: Tomatoes, peppers, eggplants, melons, cucumbers, squash
- Slow-Germinating Seeds: Peppers, rosemary, lavender
- Tropical Plants & Herbs: Basil, oregano
- ? Not Needed for: Lettuce, kale, spinach, onions, carrots, beets, peas
Thanks for reading along! I hope you’re able to start your seeds successfully for a thriving garden. Best of luck with your harvest this year!
If you enjoyed this blog post, be sure to check out my other gardening blog posts:


I want to try out using a heat mat! And good to know I should take the seedlings off the heat mat once they germinate so they don’t become leggy.
The breakdown on which seeds benefit from warmth vs. room temp was really helpful.