Hey all! Real Farmer Jeff here.
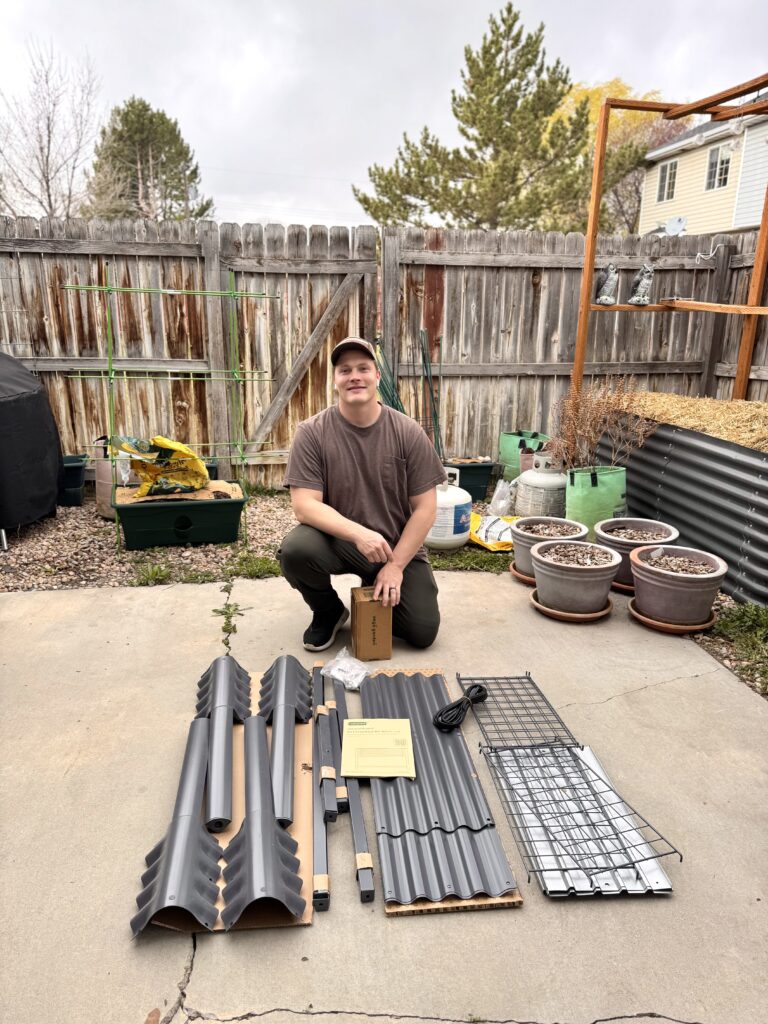
This last weekend I put together my new elevated garden bed from Vego. I thought it may be helpful to share my experience and list some tips that I learned along the way.
First off, here are some of its key features listed on its website:
- Transform small spaces into lush gardens with this durable, easy-to-use elevated bed, perfect for growing fresh herbs and greens
- 20+ year lifespan
- Holds up to 700 lbs
- Perfect for patios, decks, and tight spaces
- Bountiful harvests for gardeners of all levels
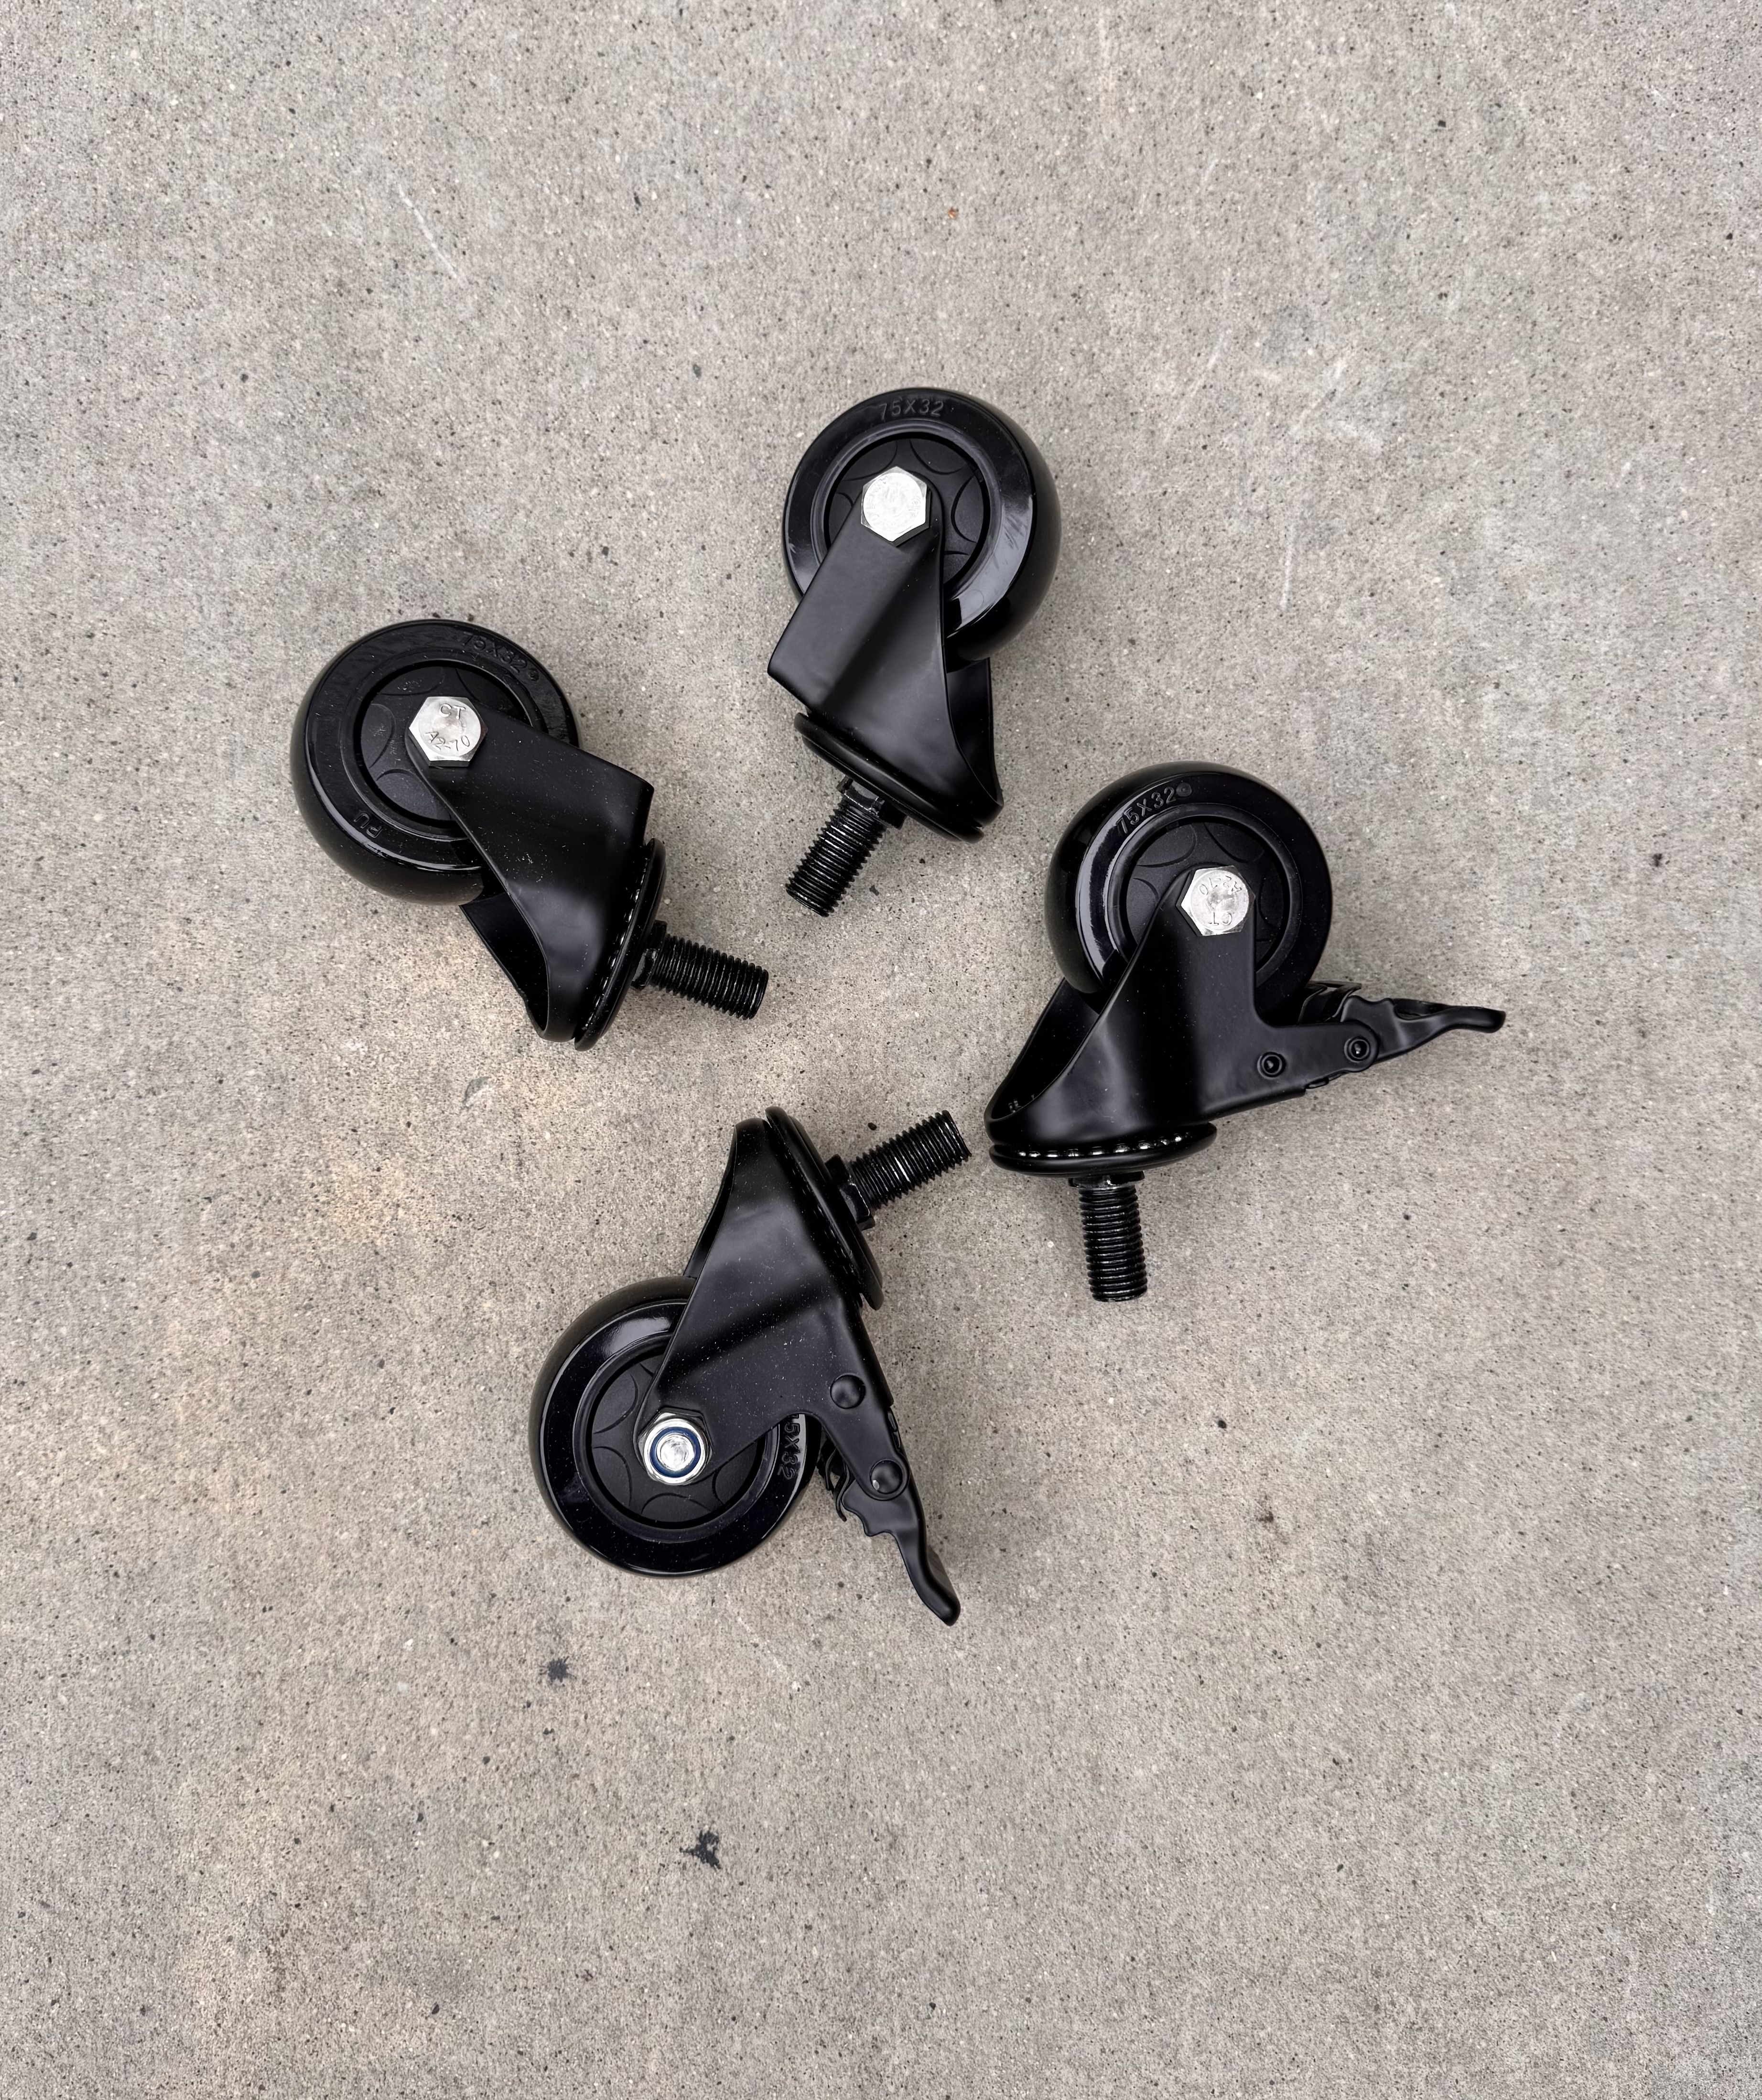
- Optional wheels make rearranging your space simple
Alright, let’s get started! I’ll also link Vego’s elevated garden bed if you want to get a head start and take a look at it:
Durability
This was my first time using any product from Vego, and I was very impressed with how sturdy the bed was.
I still can’t believe that, depending on the size you get, they are rated for 700-1200 pounds! Most of the extra sturdiness comes from the cross beams that connect to the leg and to the bottom panels where you add your soil.
Overall, I would give this elevated garden bed a 10/10 for durability.
I’m curious if Vego’s traditional steel beds are also similarly durable with cross beams and other features. Steel garden beds can last upwards of 30 years which is a big draw of using them over wood.
Instruction Manual and Install
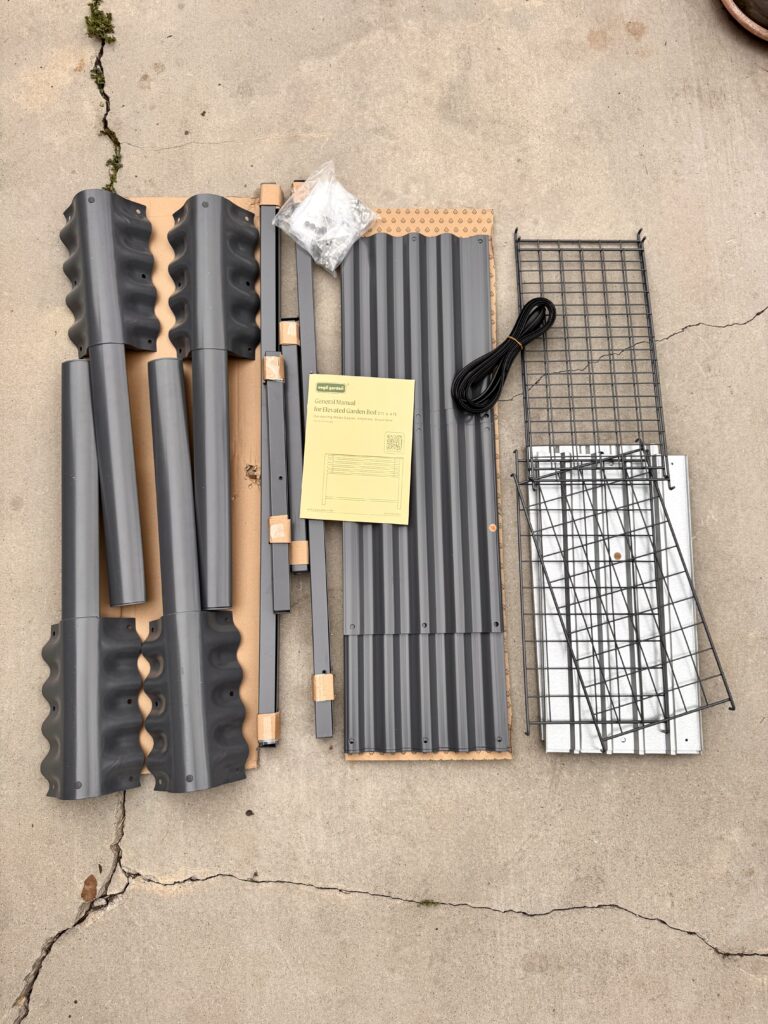
I was impressed with how clear the instruction manual was, which contributed to a quicker and straightforward install. Here are some other points that stuck out:
- The plastic strip that goes on top of the garden bed to protect from jagged edges was by far the nicest one I have ever seen on a galvanized steel bed. I have seen others that are more plasticky, but this one almost felt like leather (even though I’m sure it was still some sort of sturdy plastic).
- The graphics in the manual were helpful, and red coloring enabled to see which parts went on the outside of the garden bed.
- The package came with a pack of zip ties that I never needed in the install. I’m still not 100% how they were supposed to be used, but I’m assuming they were optional to hold some of the initial structure together before using screws.
- One of the main suggestions in the instruction manual is to not tighten the screws all the way until the end. Definitely follow this advice so that later pieces have the room to maneuver into place.
Main Features that Stand Out
The main thing that I’m excited for with this bed is that it has wheels!
A large portion of my townhome’s small backyard is a concrete slab. I have other containers that can go on concrete such as grow bags, pots, or even Garden Patch Grow Boxes, but they are a lot more tedious to move around. Having a container with wheels is great for more flexibility with my small space. Additionally, I can move the plants where they prefer to be based on the sun.
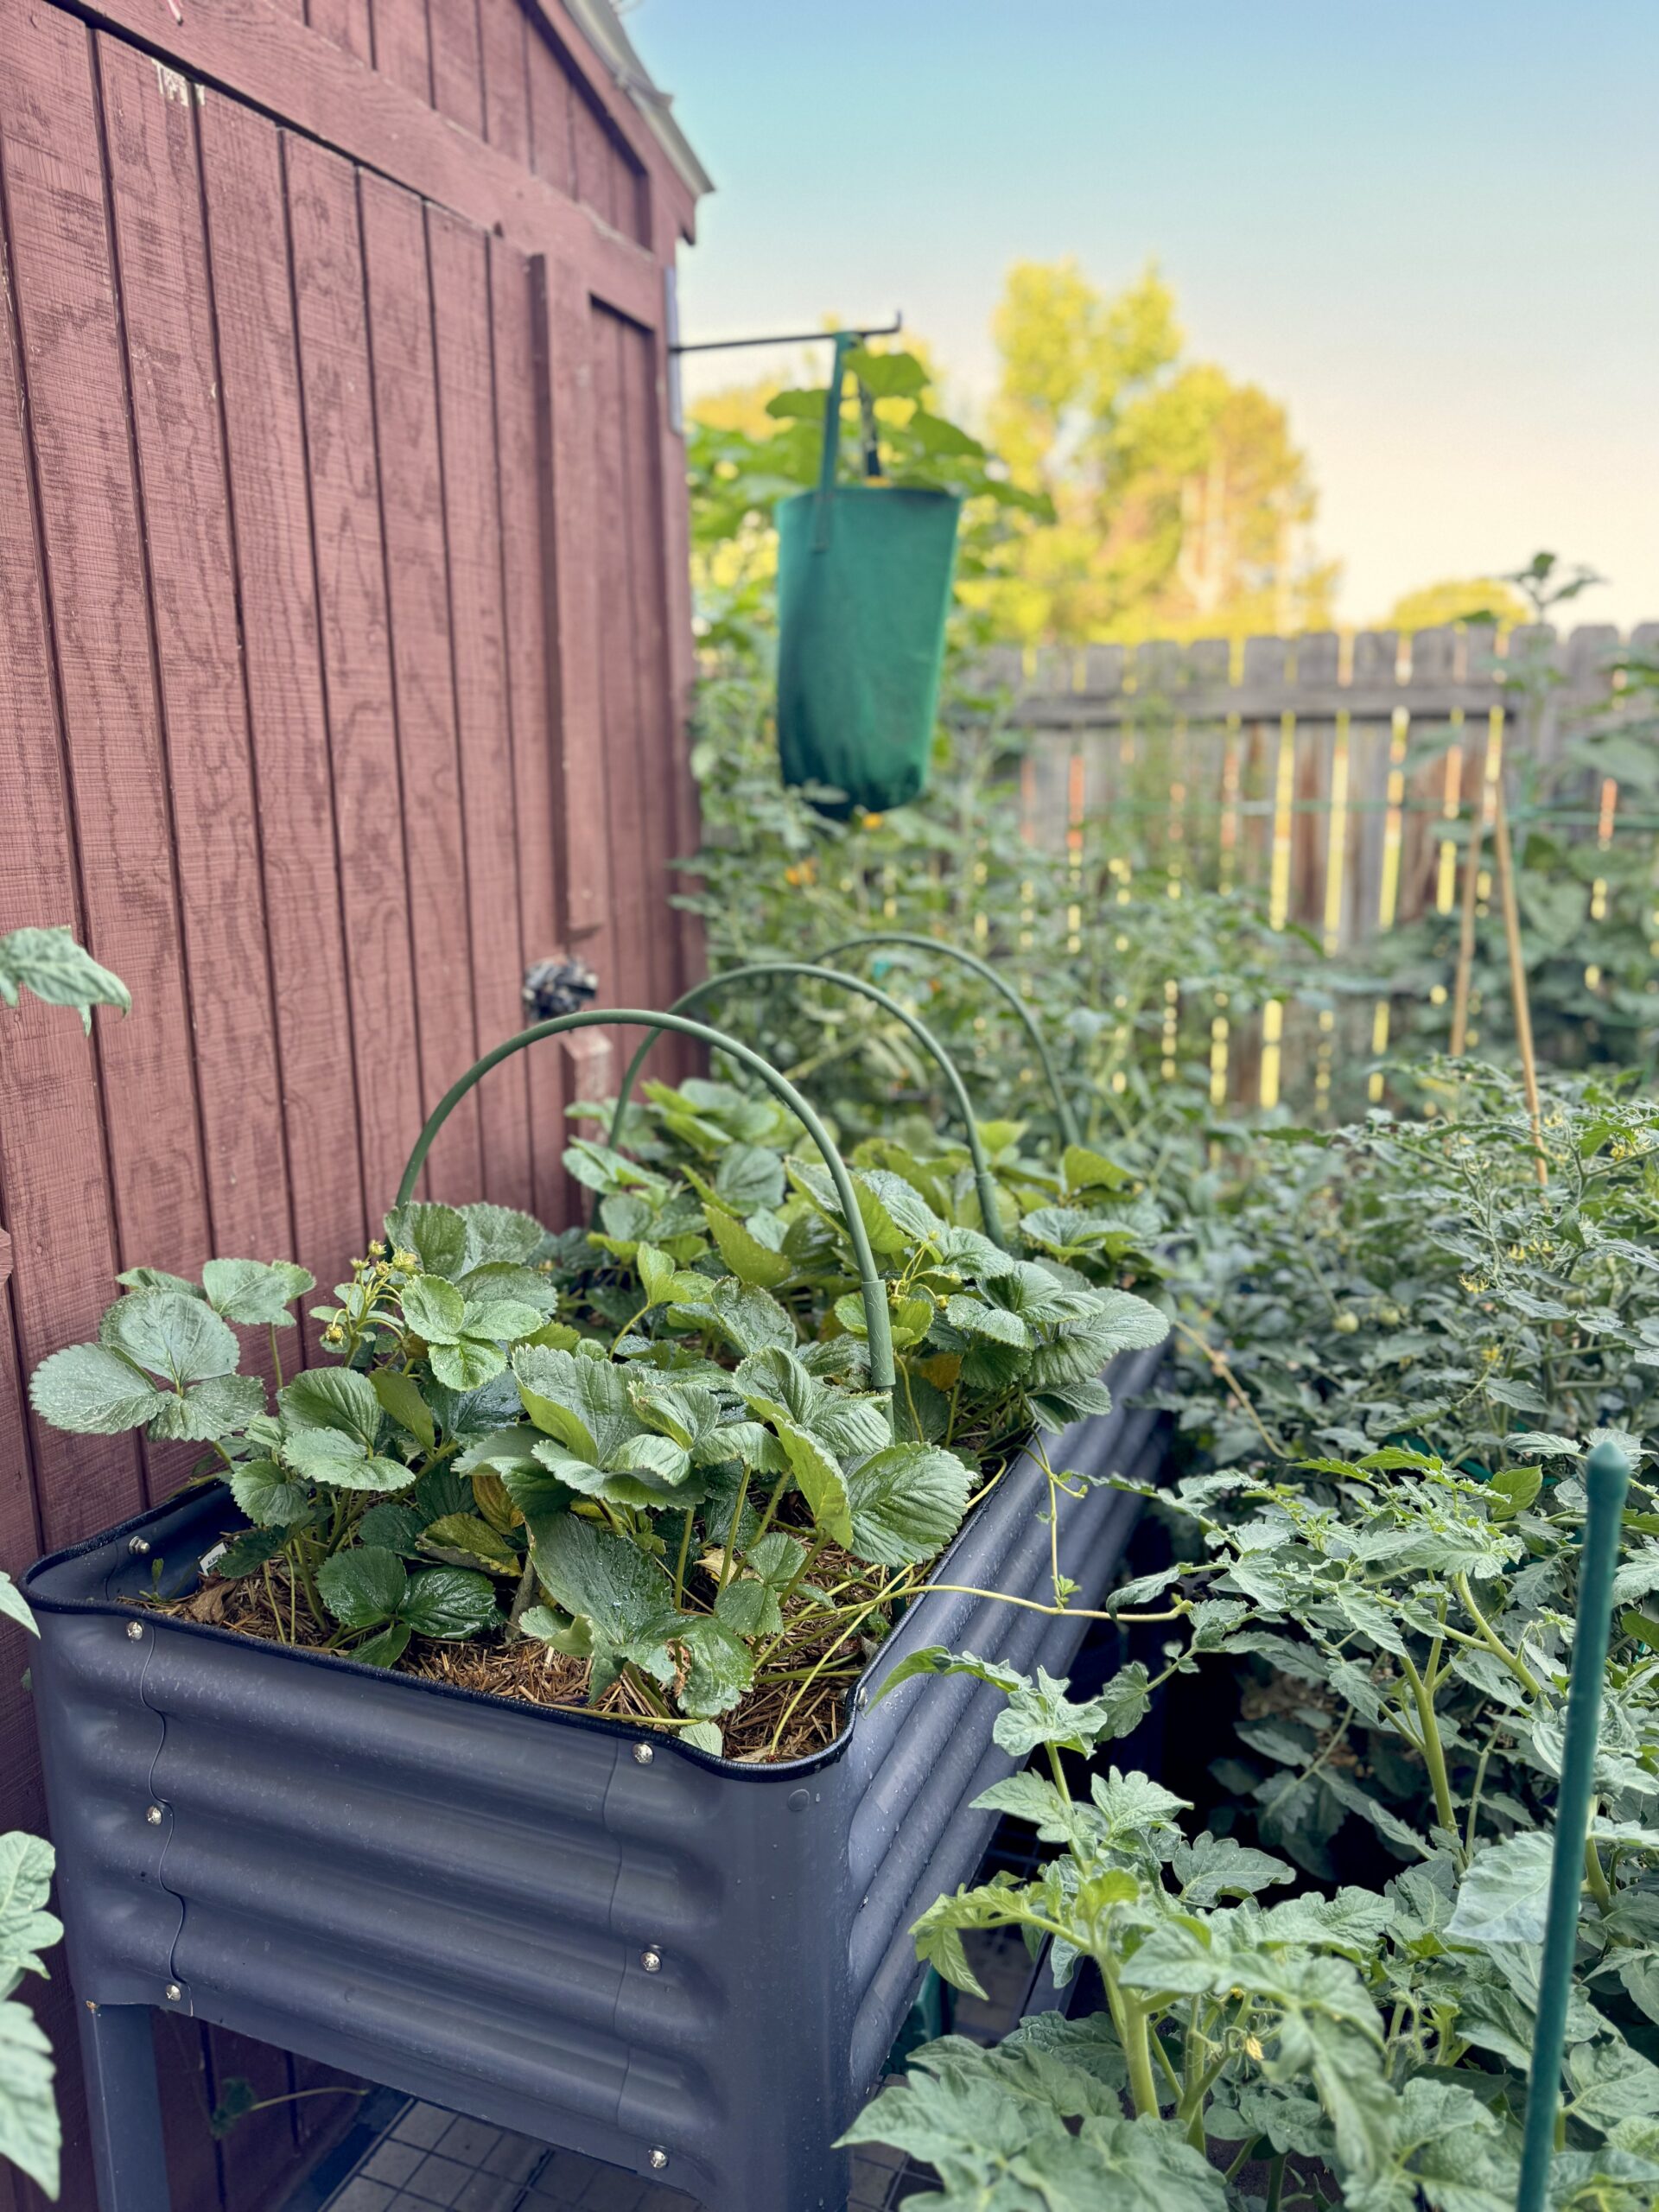
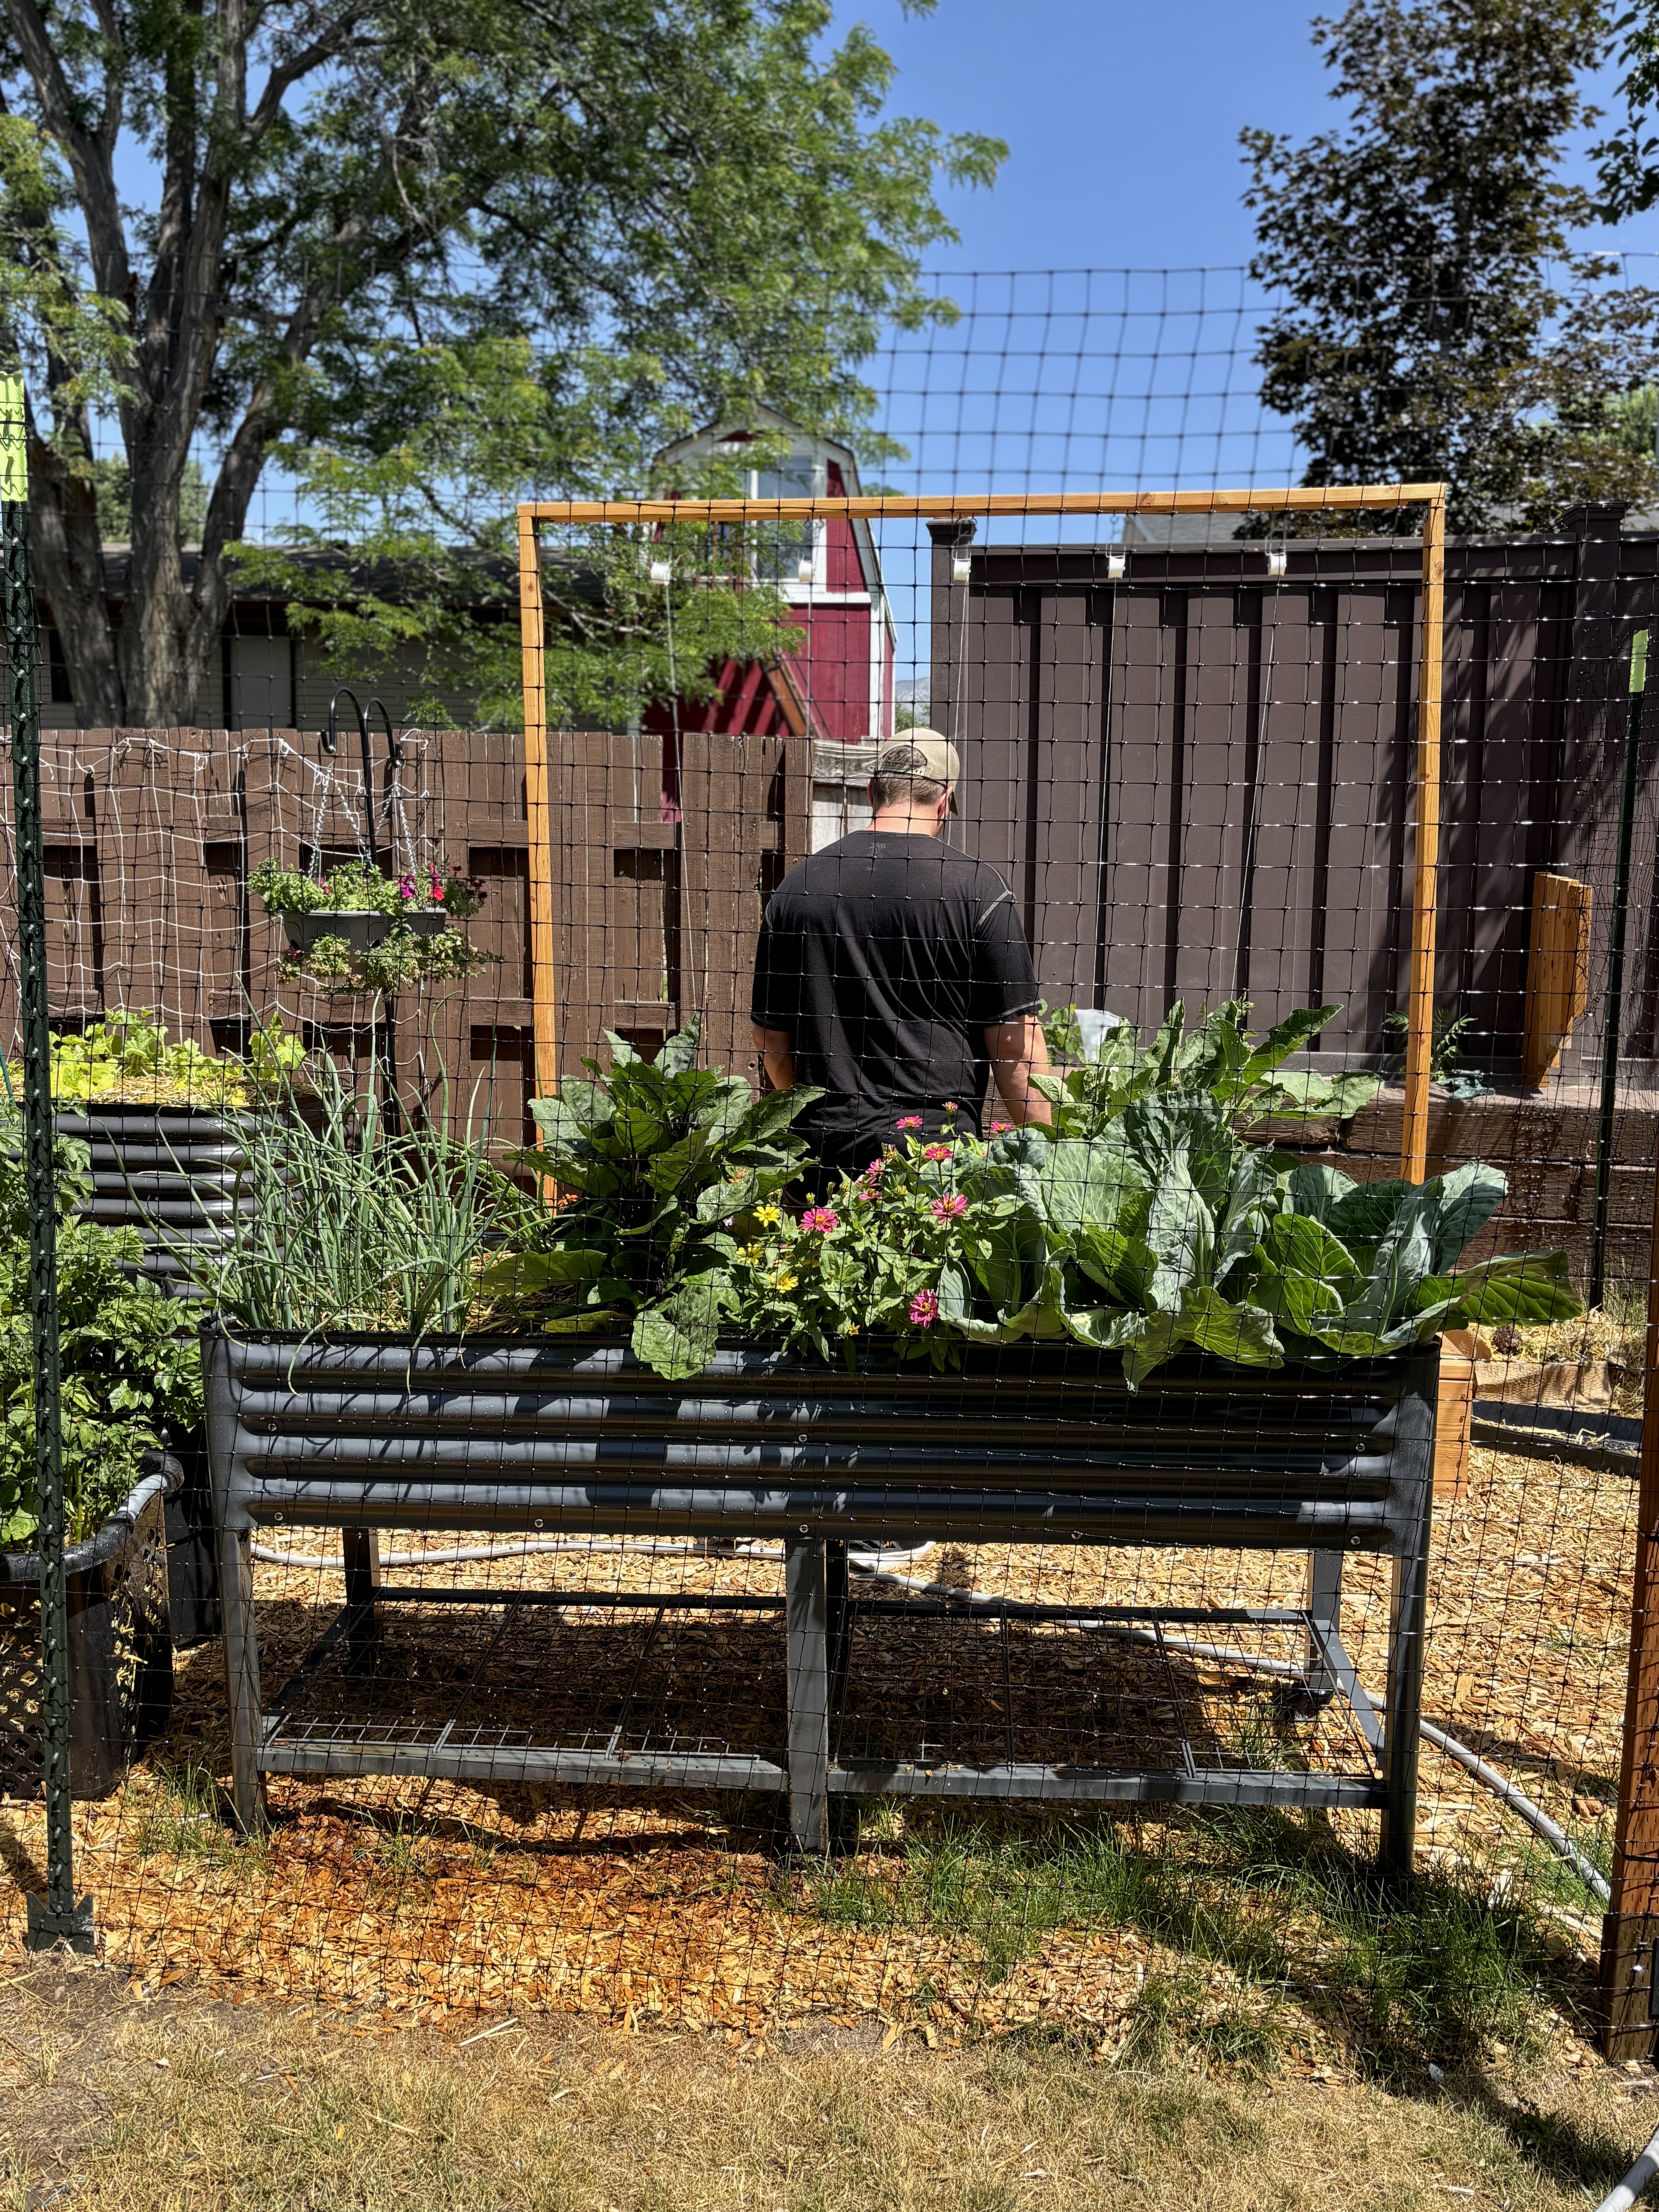
The other main feature of this bed is that it is extra elevated, since the wheels add a few extra inches. I love elevated garden beds because they are great for my back.
This bed is unique in that it is so tall, but the bed itself is only a foot deep so you don’t need an exorbitant amount of soil. In my opinion, this solves one of the main pain points of raised beds, which is spending extra money on soil or needing to find organic matter to throw in the bottom of the bed such as sticks, grass clippings, straw bales etc.
Whether or not you decide to buy Vego’s Elevated Garden bed, from my first experience with their products, I am impressed with Vego. It definitely appears that they make high quality products.
If you enjoyed this blog post, be sure to check out my other gardening blog posts:





I’ve also noticed that vego has high quality products! Been very happy with the traditional beds I bought from them.
These look great and hold a surprising amount of soil. I was able to grow tomatoes and lettuce in one.