Hey all! Real Farmer Jeff here.
As many of you know, my favorite garden vegetable/fruit to grow are tomatoes.
I’m sure many of you have used the classic cone-shaped wire trellises. Unfortunately, they don’t work that well for tomatoes. There are several types of trellises that work much better.
In this post I will describe my favorite tomato trellis (which I firmly believe is one of the best you can use to maximize tomato harvest and garden space) and then walk you through the simple steps to build one for yourself.
At the end of the article, I will list a few other common tomato trellises that are also great and that you may prefer depending on your situation.
Let’s get started!

My Favorite Tomato Trellis
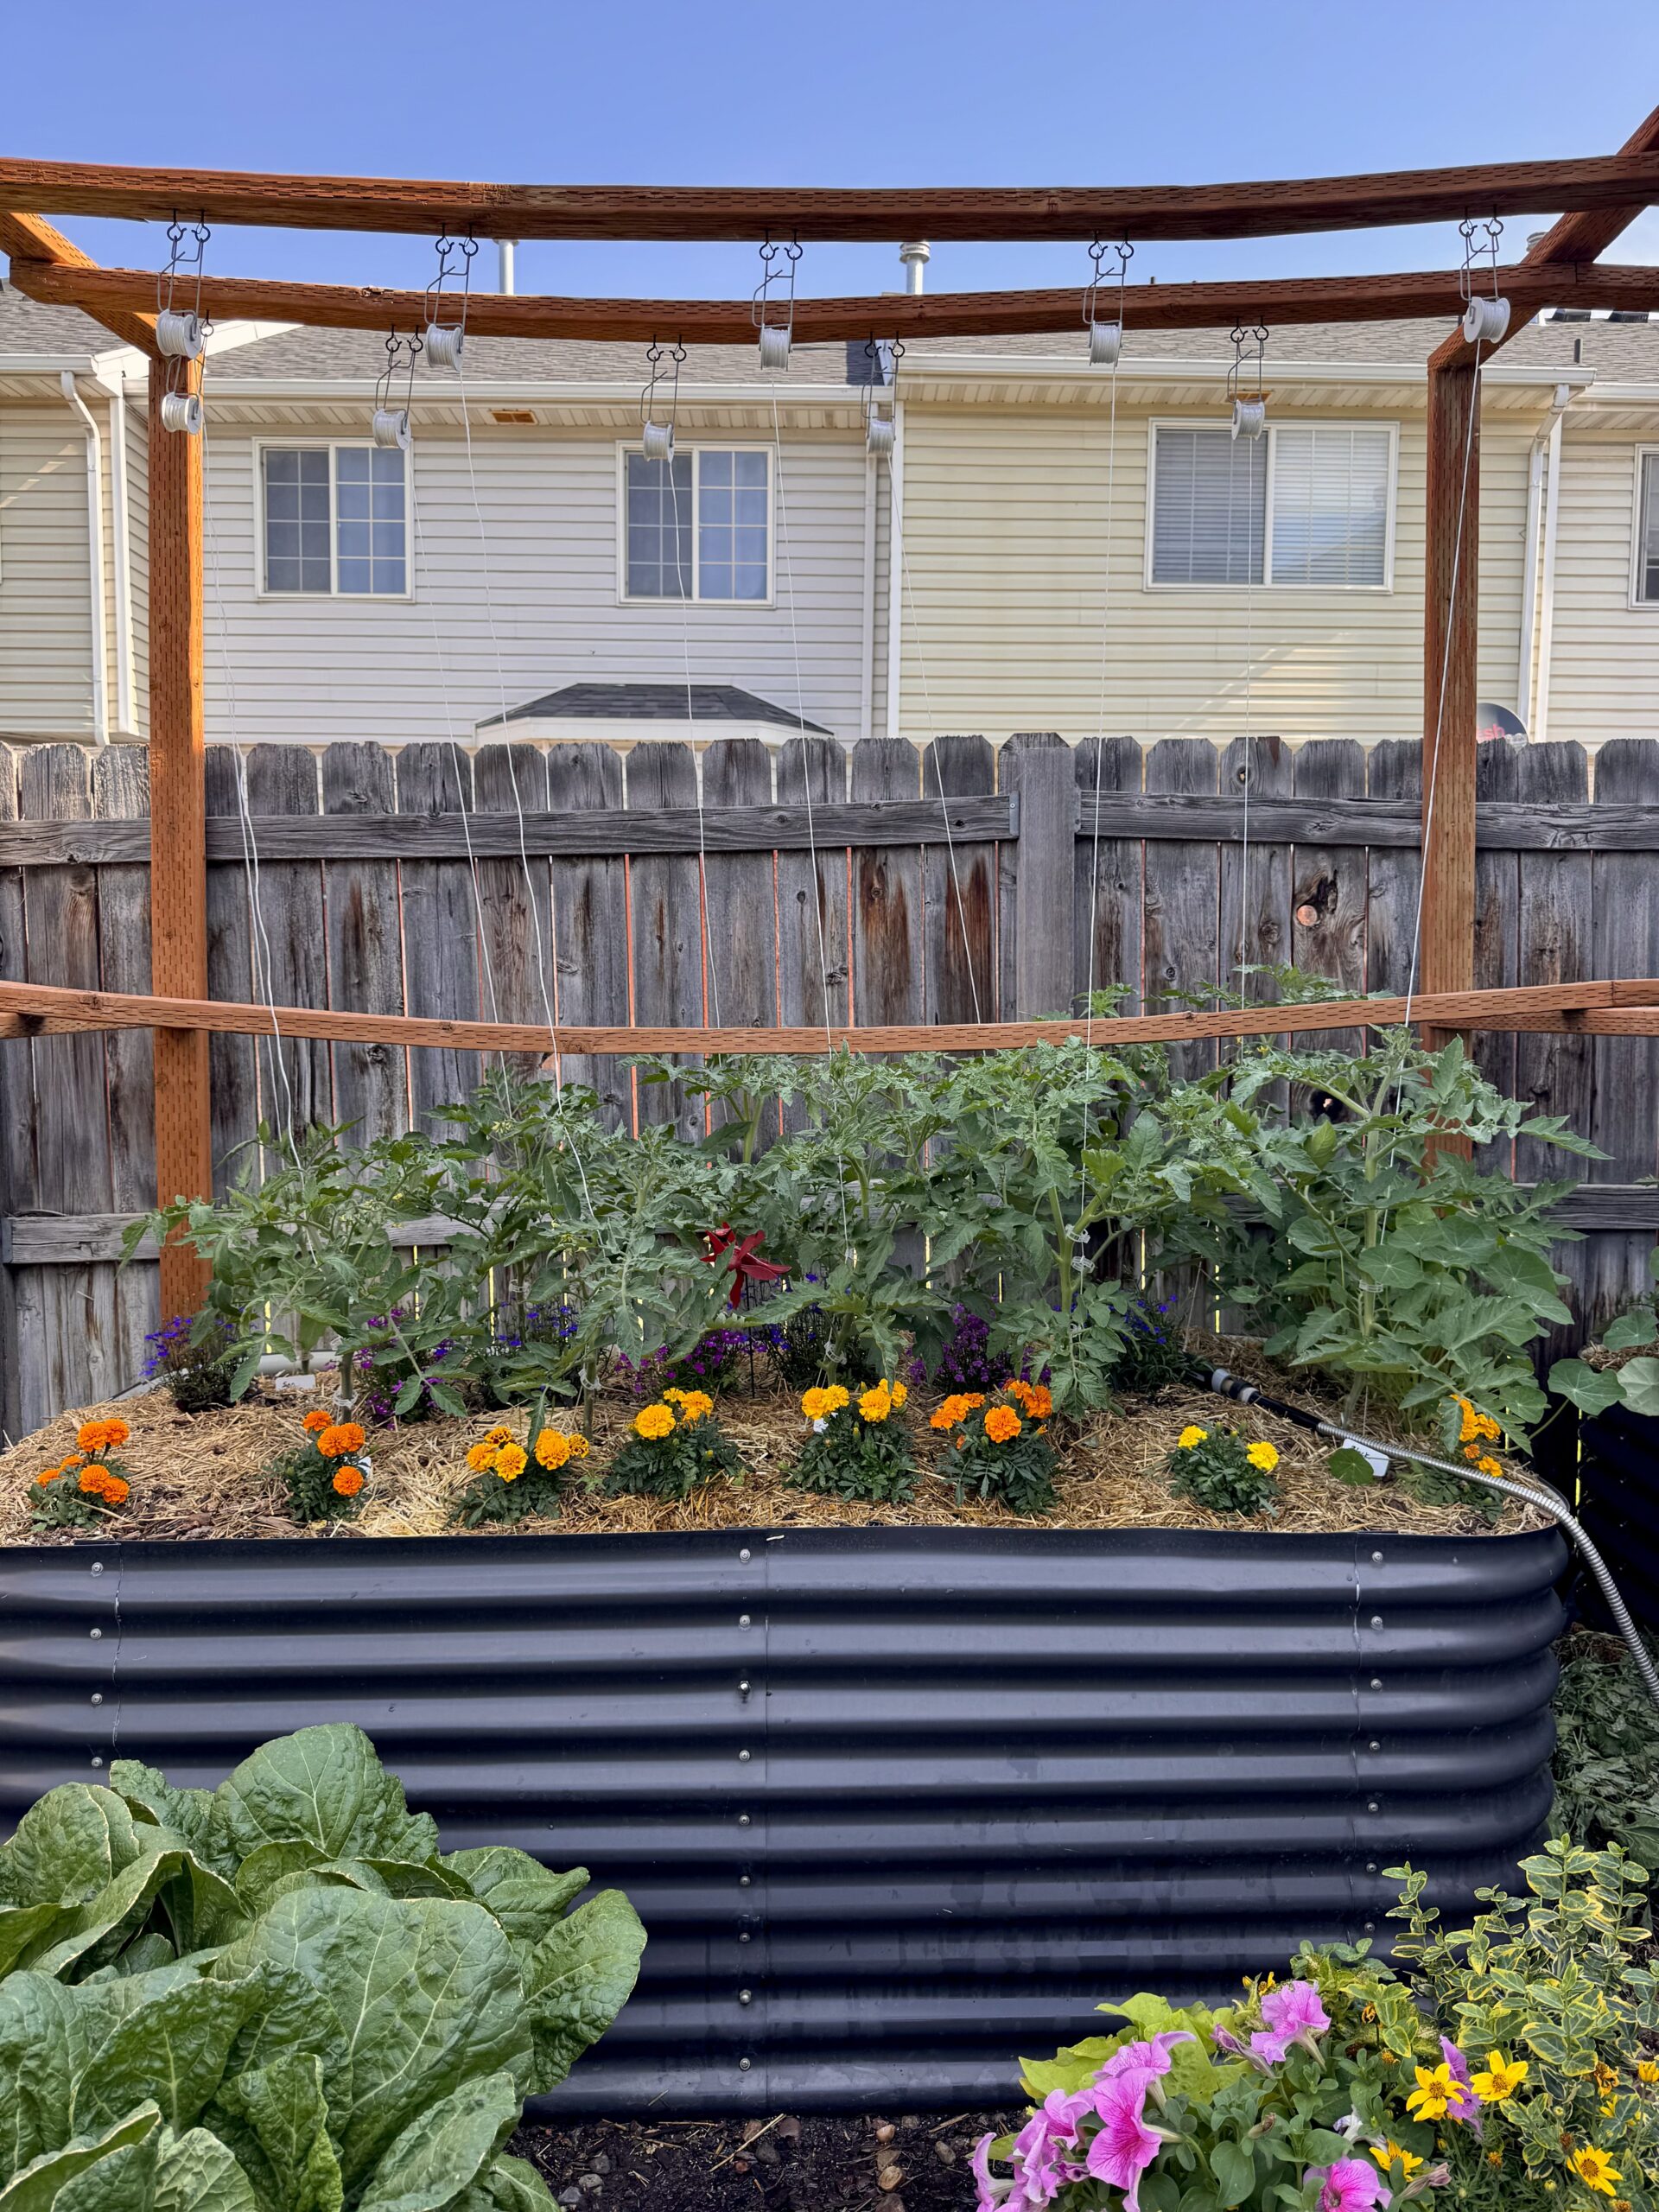
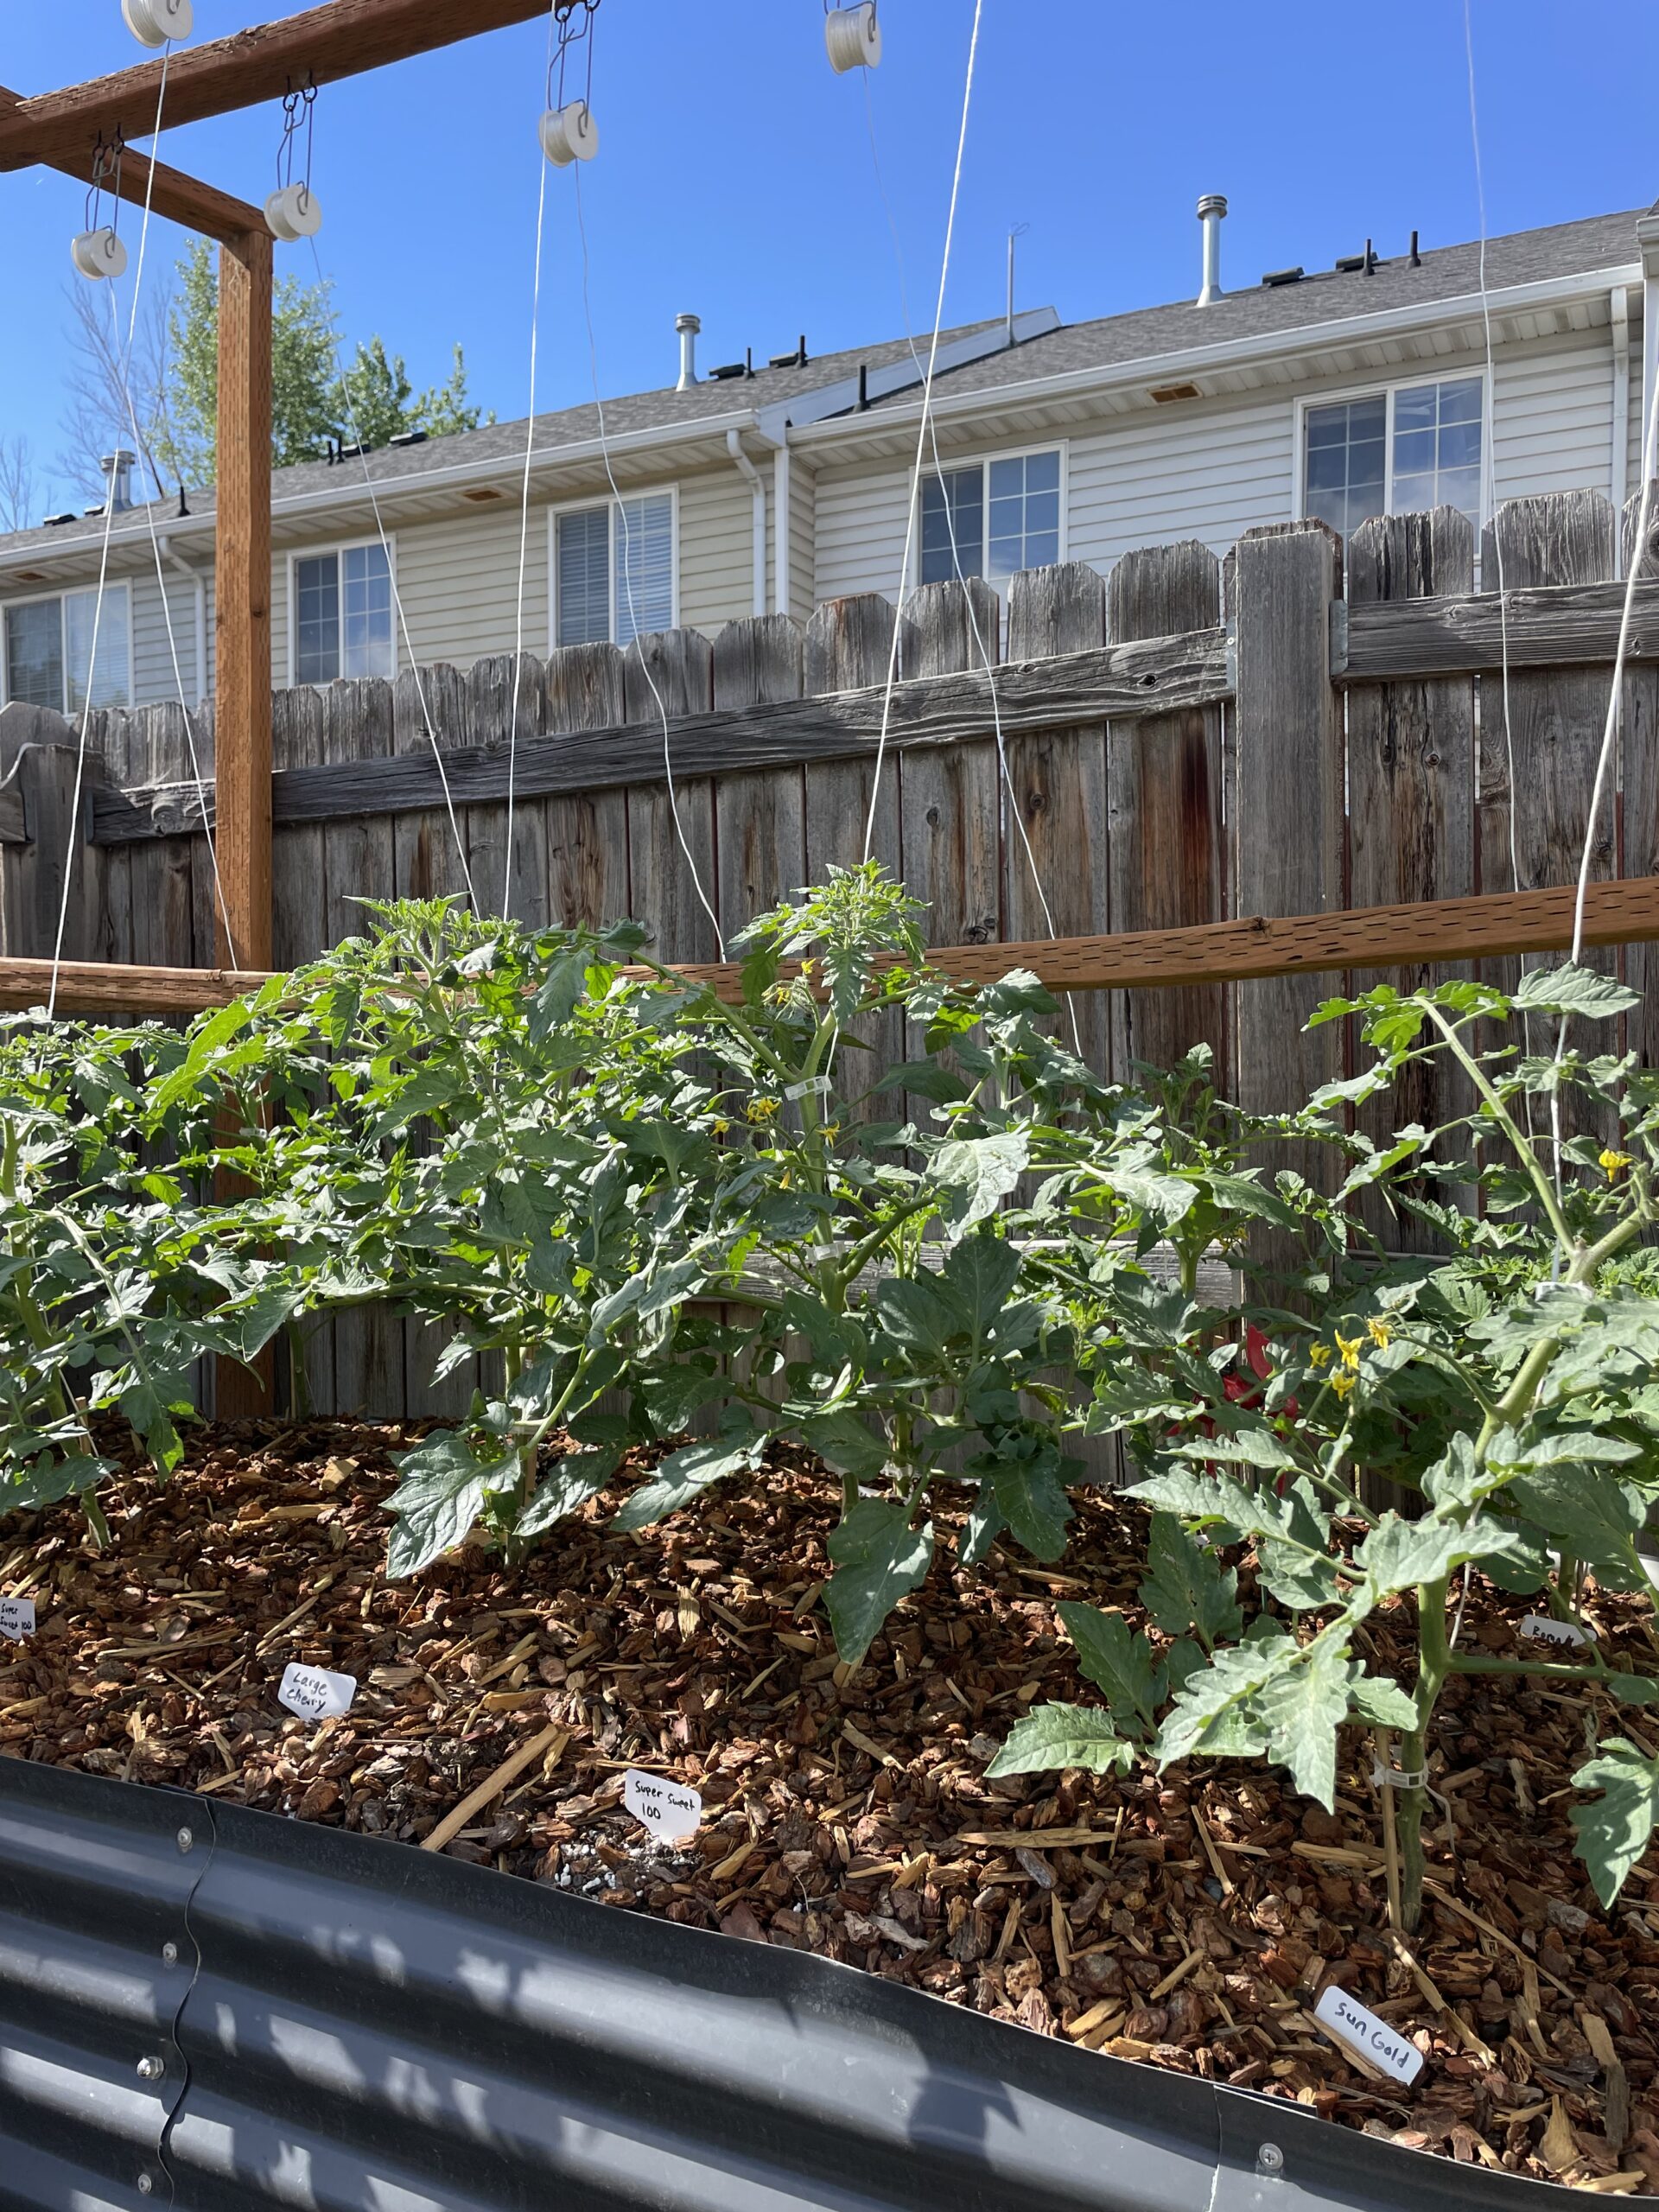
Pictured below is my favorite tomato trellis that I built myself – it uses clips to secure the tomato plants to strings, which are supported by a wooden frame. You do not need a wooden bed for this type of trellis! I have also used it for my steel raised beds as well.
Please note that this trellis is best suited for indeterminate tomato varieties. I will touch more on that in this blog post.
This trellis method is great for three reasons:
- Smooth End-of-Season Cleanup:
- At the end of the season, I can snip the strings and remove all my tomato plants in a matter of minutes.
- Easy Pruning:
- I can prune my tomatoes more easily because the trellis doesn’t impede the branches.
- Larger Harvest:
- Allows me to pack the plants in tighter and maximize my harvest.
- Inexpensive & Simple:
- The tomato clips are incredibly easy to use and inexpensive.
Supplies You’ll Need
You can build this tomato trellis for very cheap or you can invest a little more in nicer hardware to make it extra sturdy. Click on each of the respective items to find my linked recommendations (besides the wood, which you will need to buy in person).
Here are the supplies you’ll need:
- Wood: Three 2x4s (I bought ones that were 10 feet long)
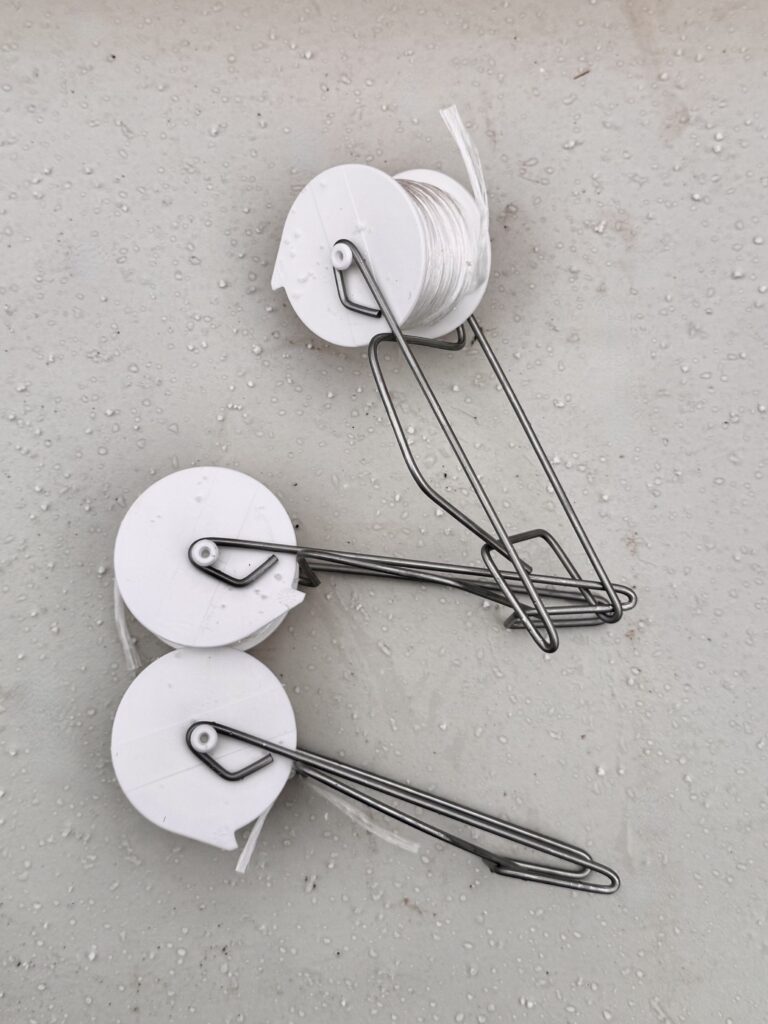
- Roller hooks with string
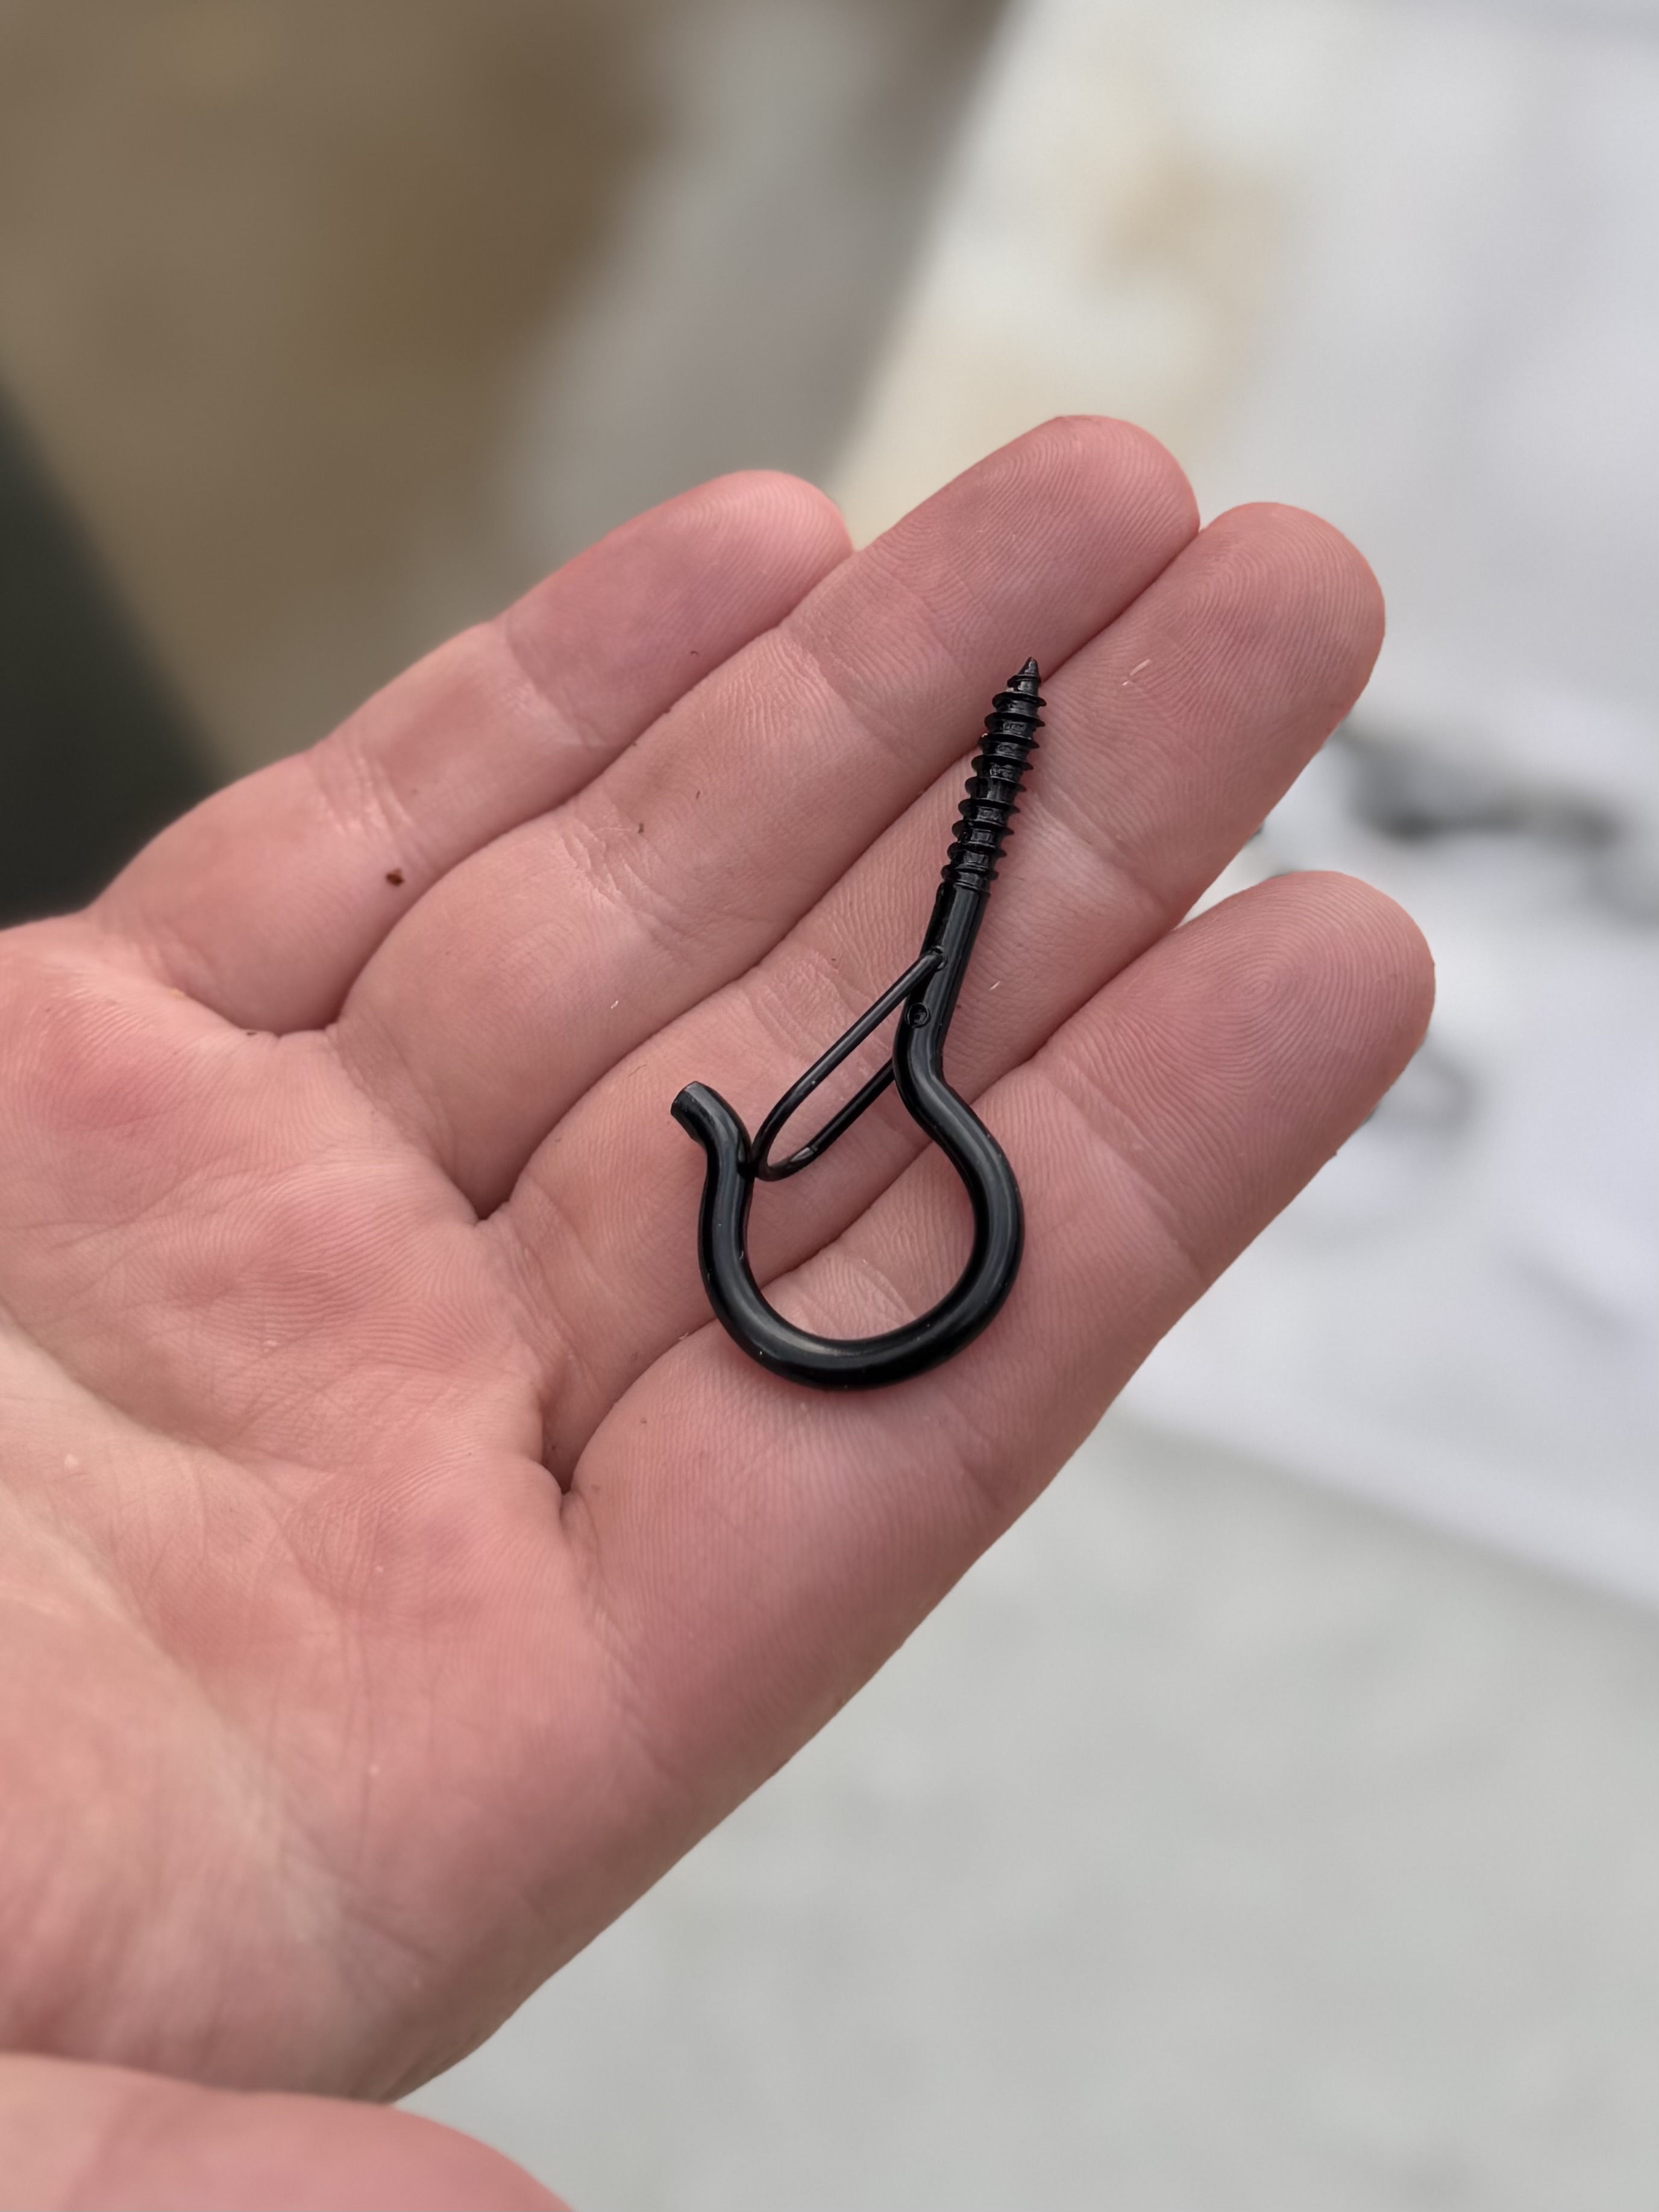
- Screw hooks
- Tomato Clips
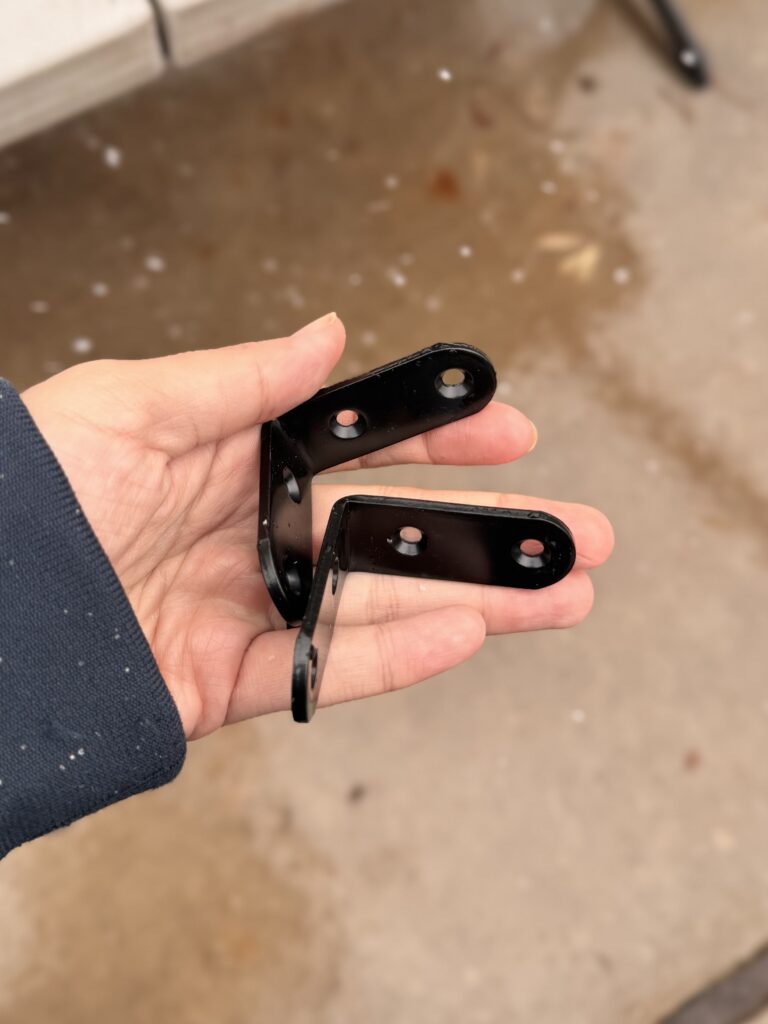
- L-Brackets
- 1.5-Inch Deck Screws
- 3-Inch Deck Screws
- Optional: Landscape Staples (to anchor the string in the dirt)
Steps to Build:
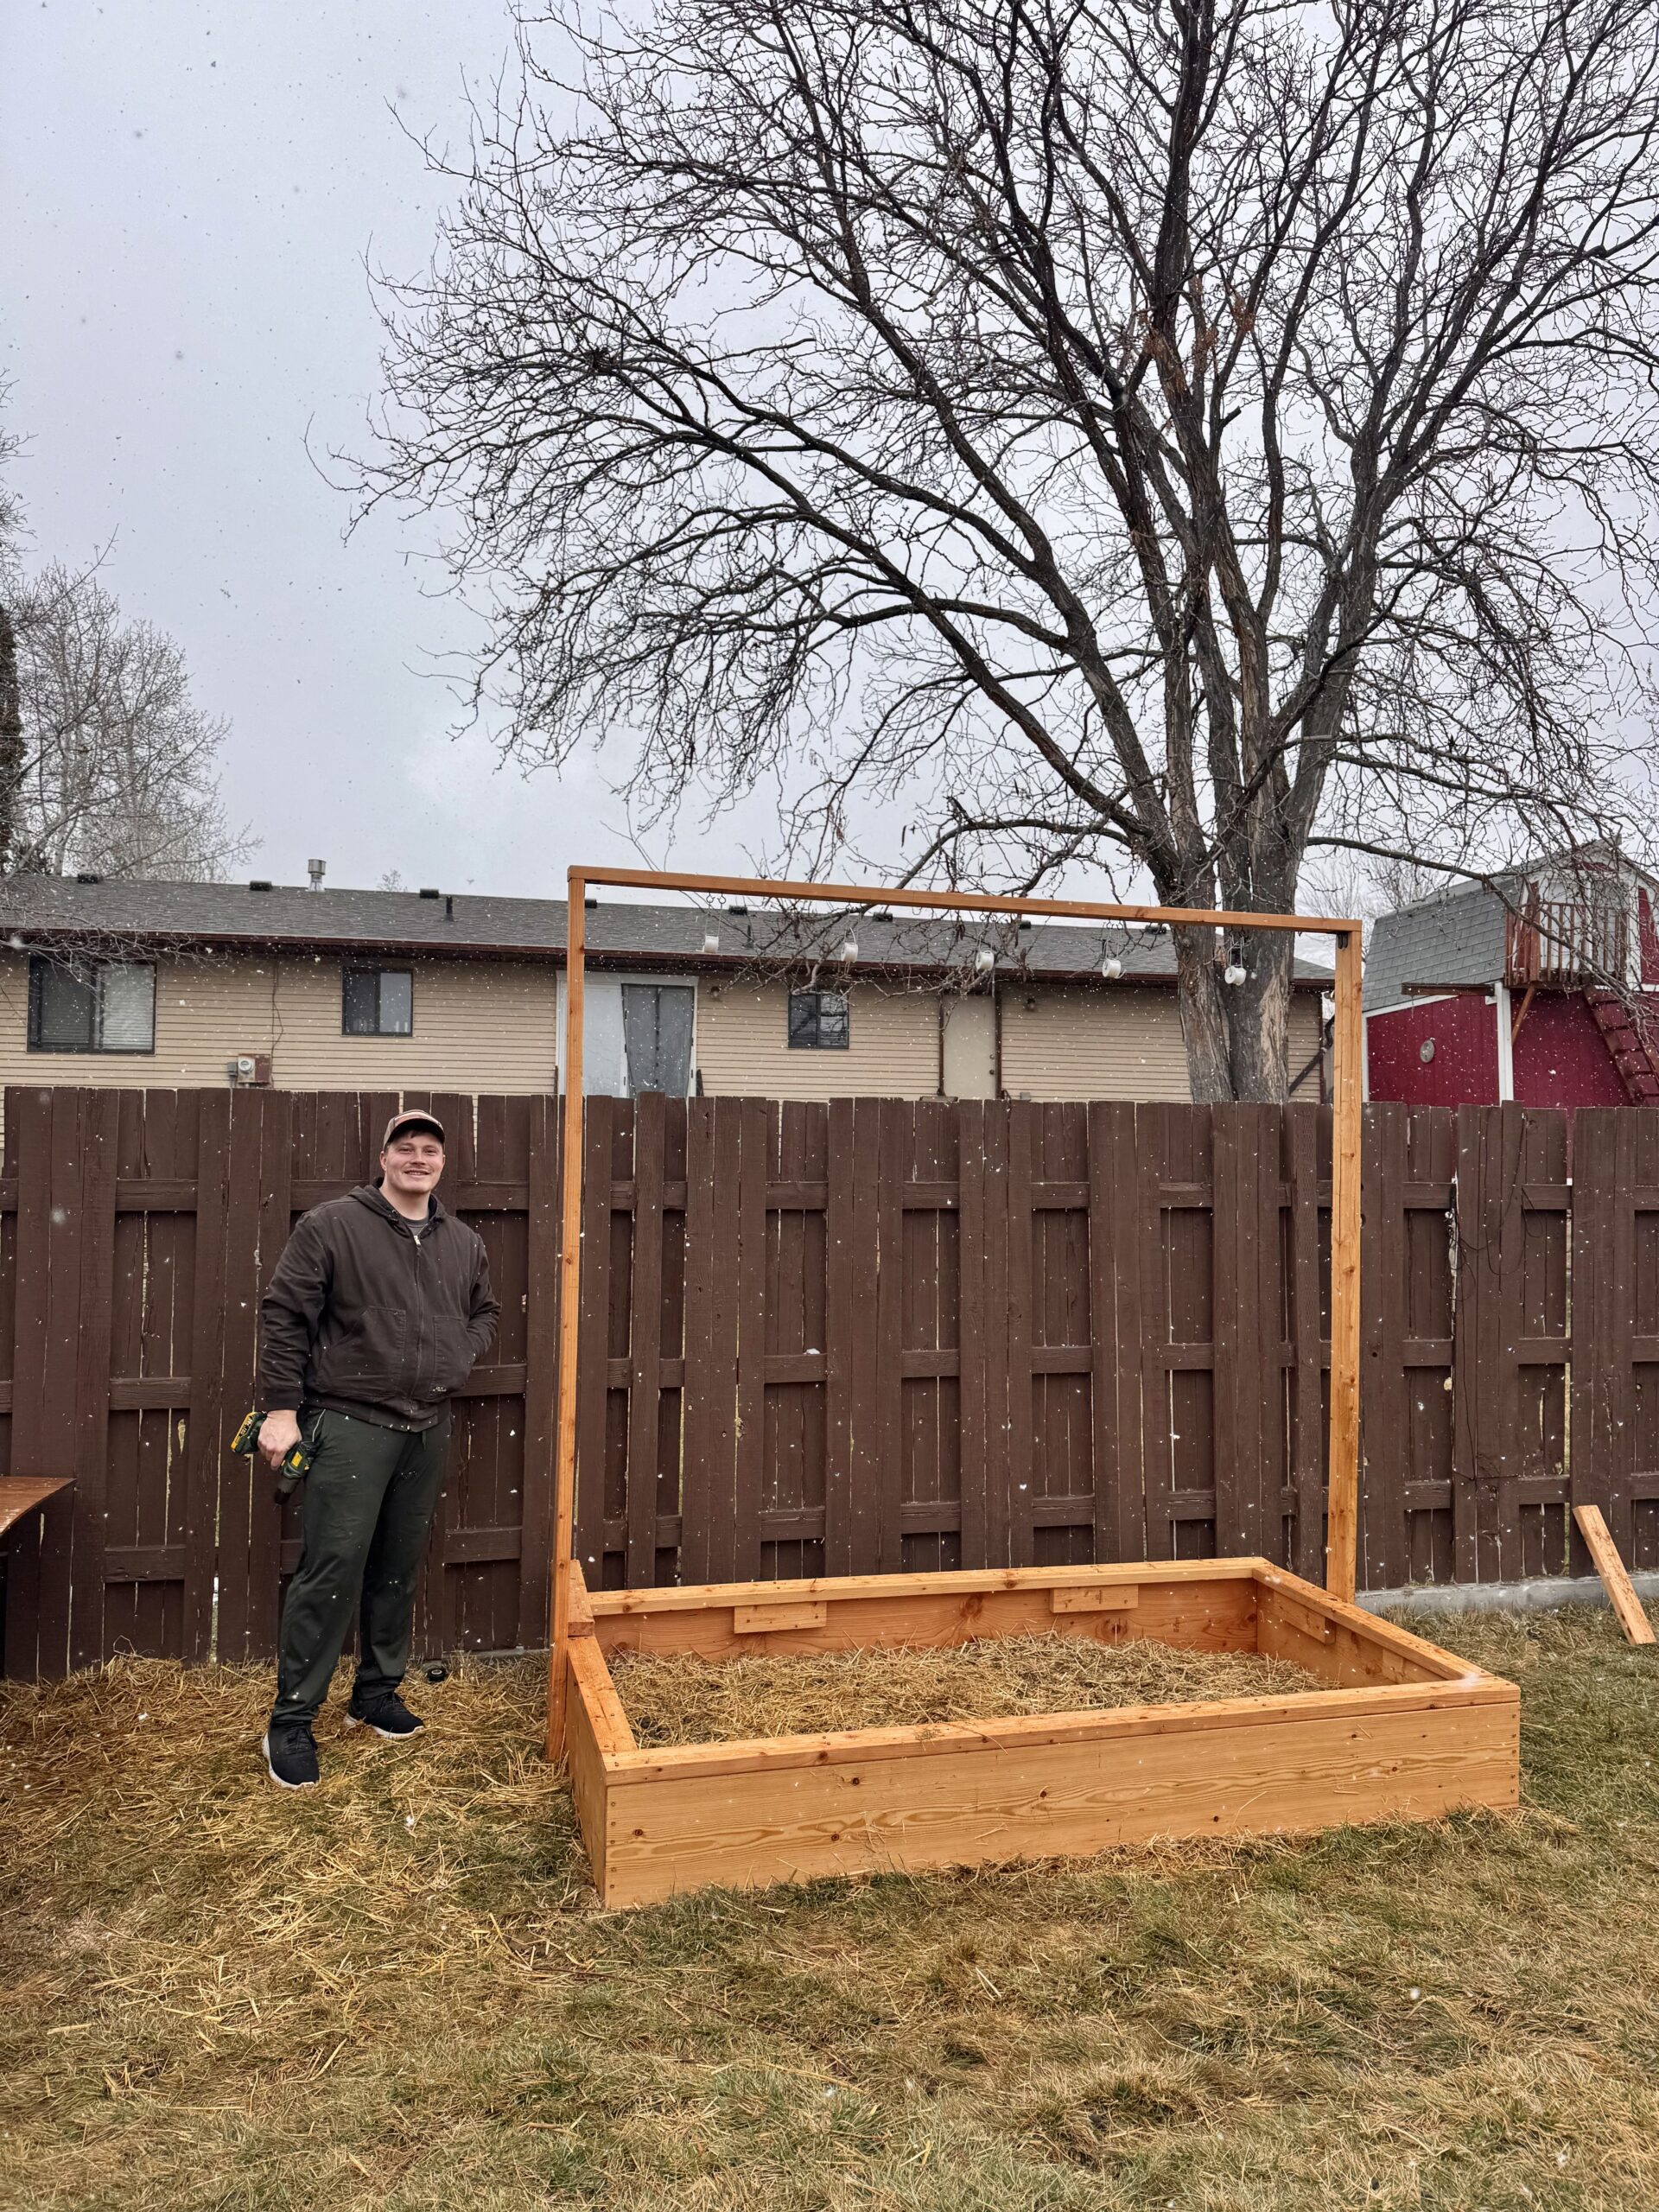
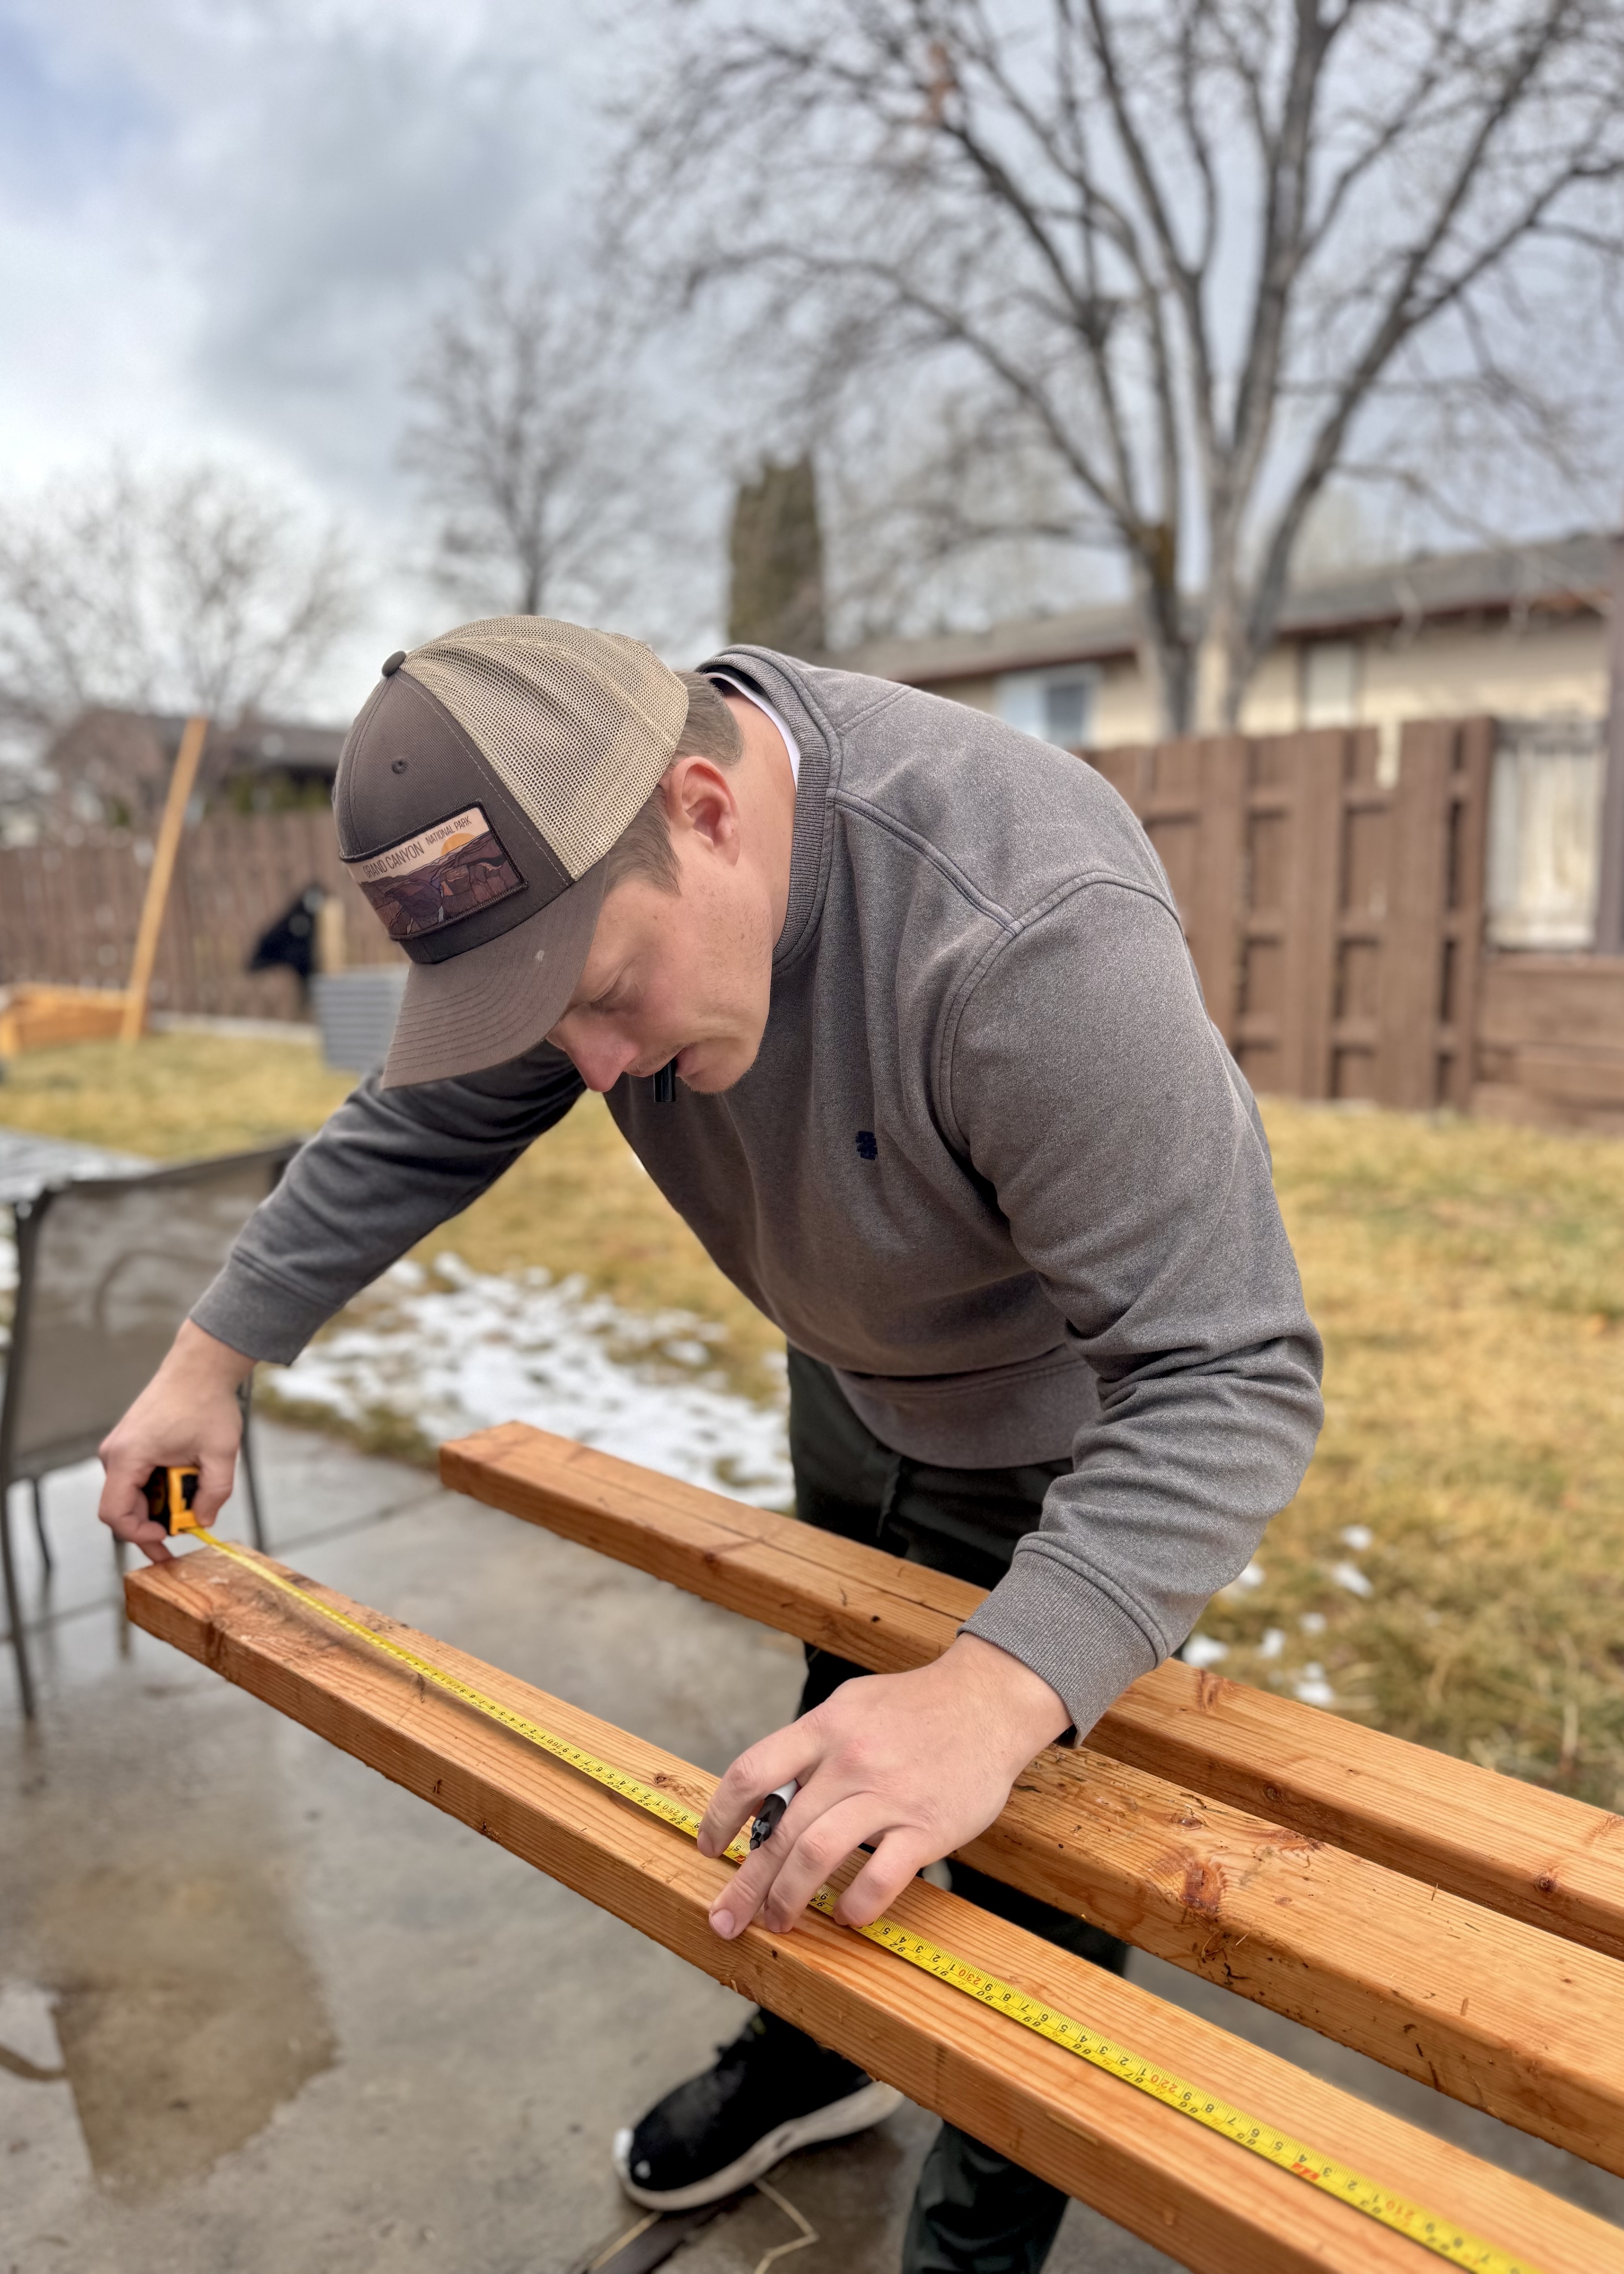
1. Cut Your Wood to Size: At Home Depot or similar stores, you can request wood cuts (or do it yourself). I recommend building an 8-foot trellis, but adjust for your setup. Buy two 8-foot boards for the vertical posts and one board 3 inches wider than your garden bed for the horizontal post. This is to account for the two 8-foot boards’ width.
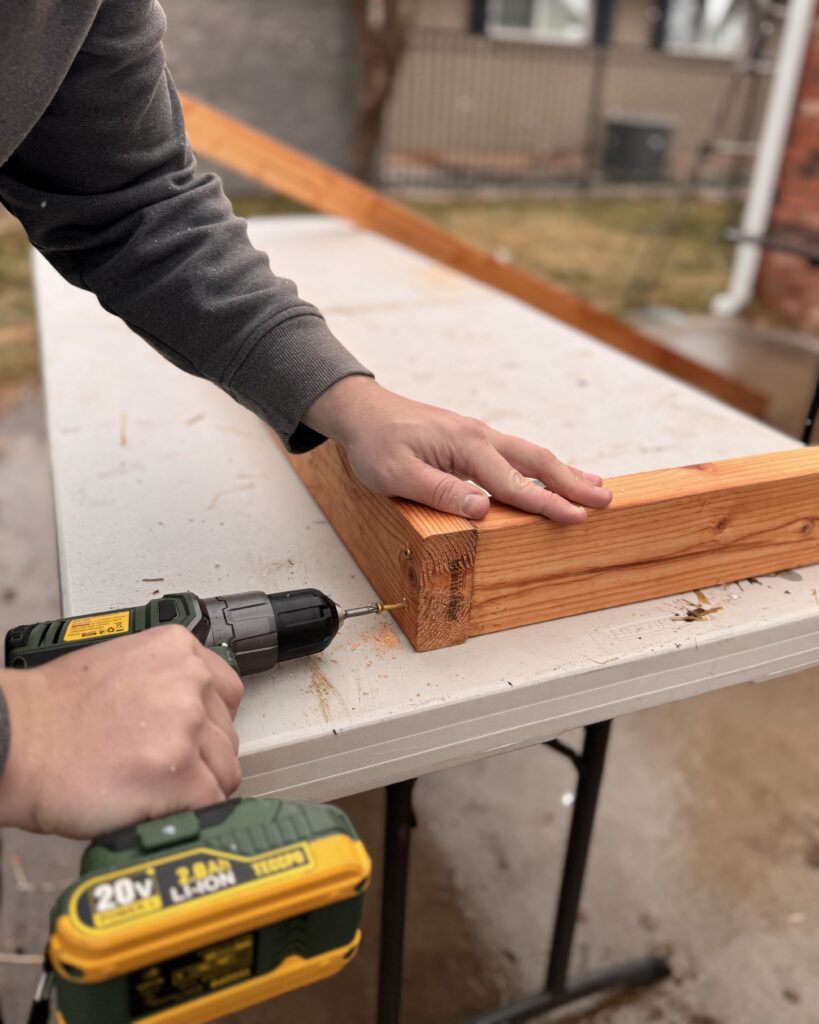
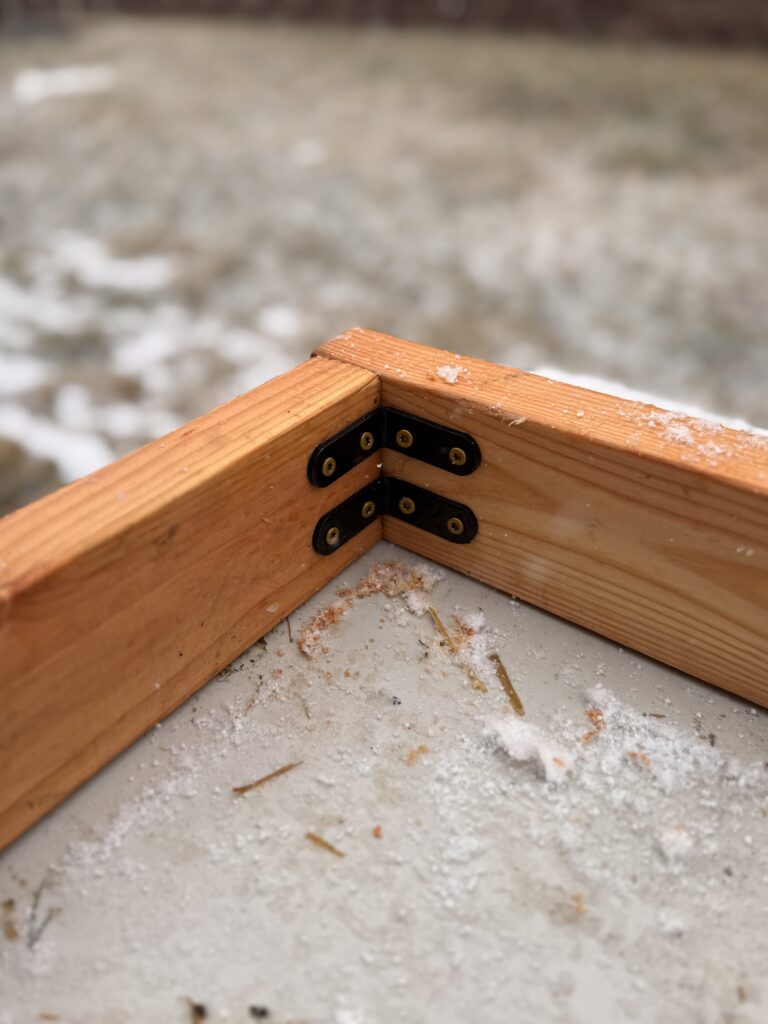
2. Prepare for Assembly: Lay out your boards. Attach the vertical boards to each side of the horizontal board at a 90-degree angle, forming a bottomless rectangle. Ensure the longer, horizontal board overlaps the vertical boards.
3. Drill the Screws: Drill two 3-inch screws into each outer corner to secure the horizontal board to the vertical beams. Drilling pilot holes helps a lot. Use a drill bit that can make a 3-inch hole.
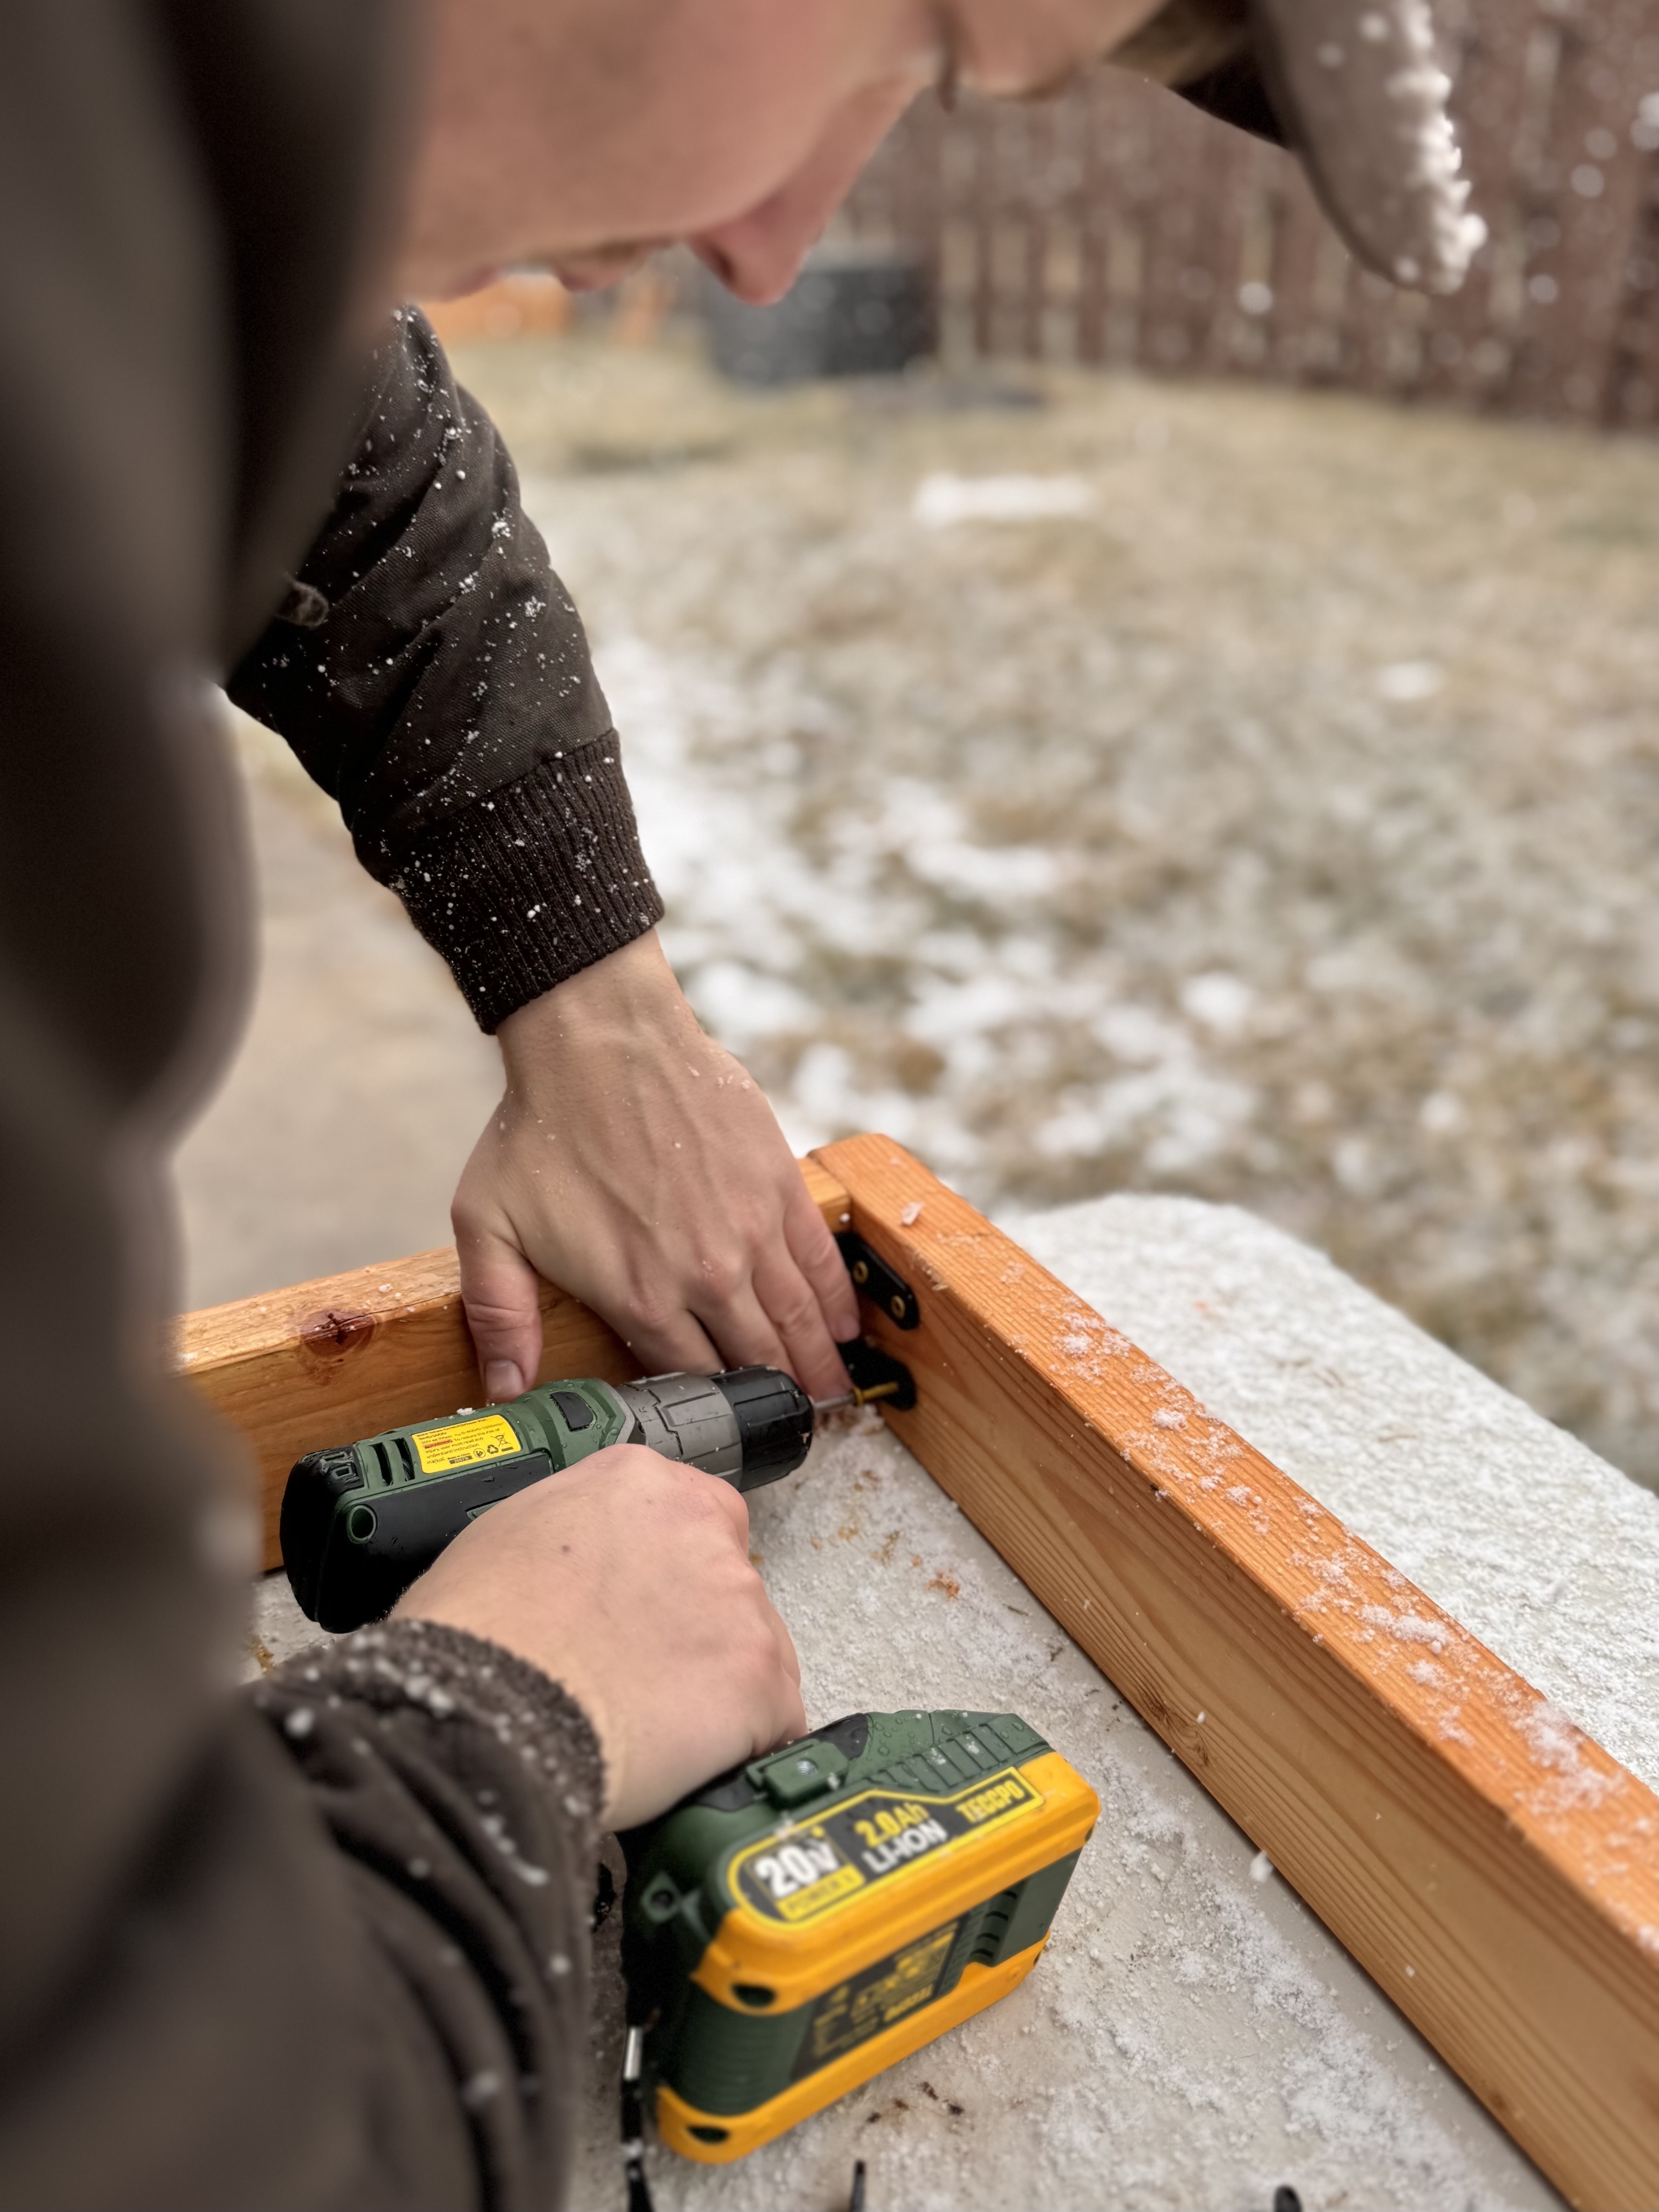
4. Attach L-Brackets: On the inner corner of the trellis, screw 1.5-inch deck screws into the L-brackets. Once again, I recommend drilling pilot holes.
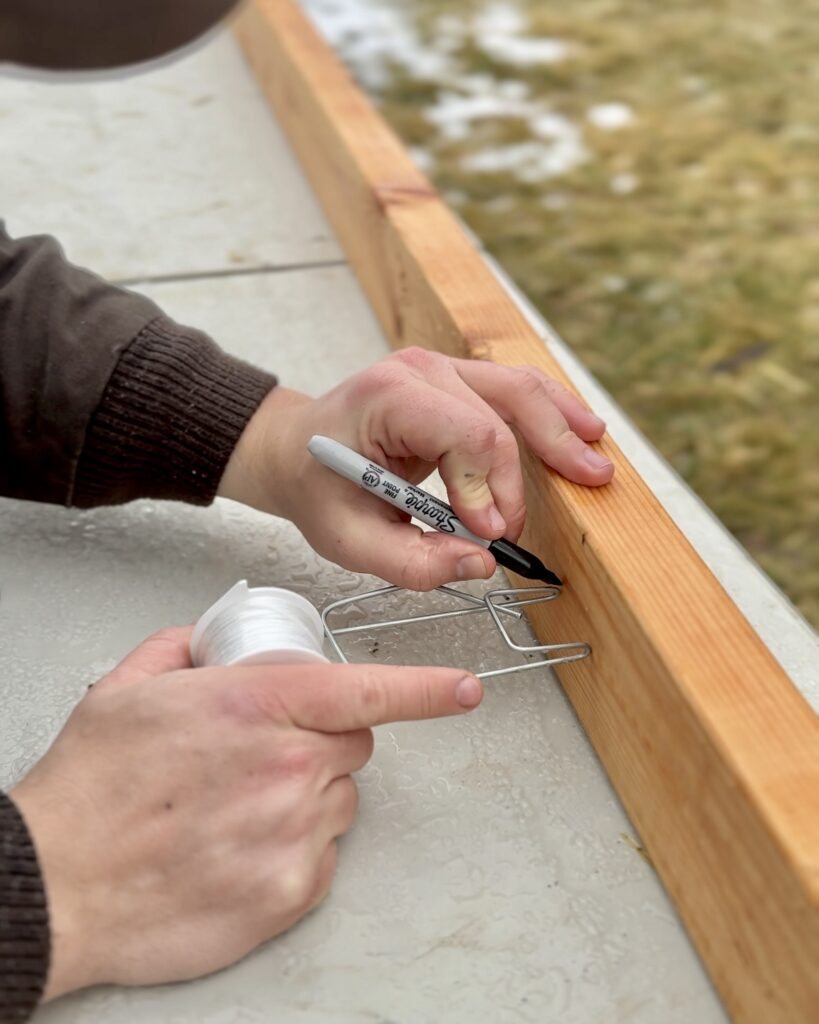
5. Attach Screw Hooks: Measure and mark the screw hook positions, ensuring proper spacing for the roller hook. Tomato plants should generally be ~18 – 24 inches apart to allow for airflow/growth. Insert the screw hooks by hand after drilling pilot holes.
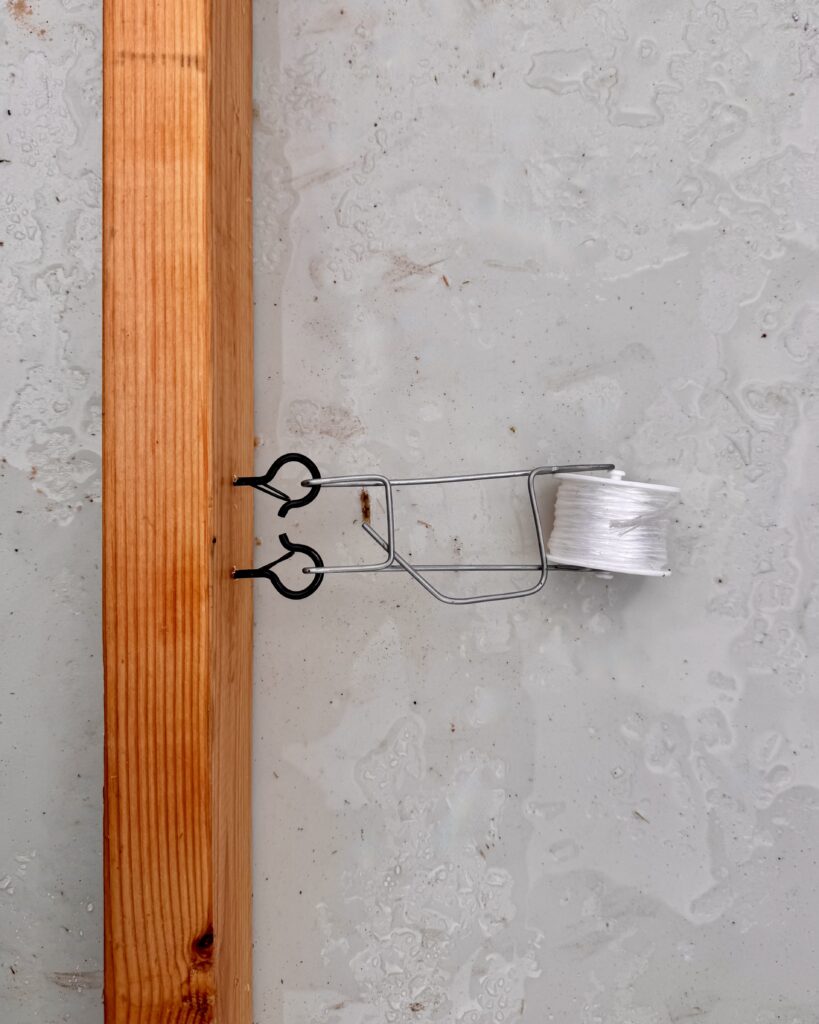
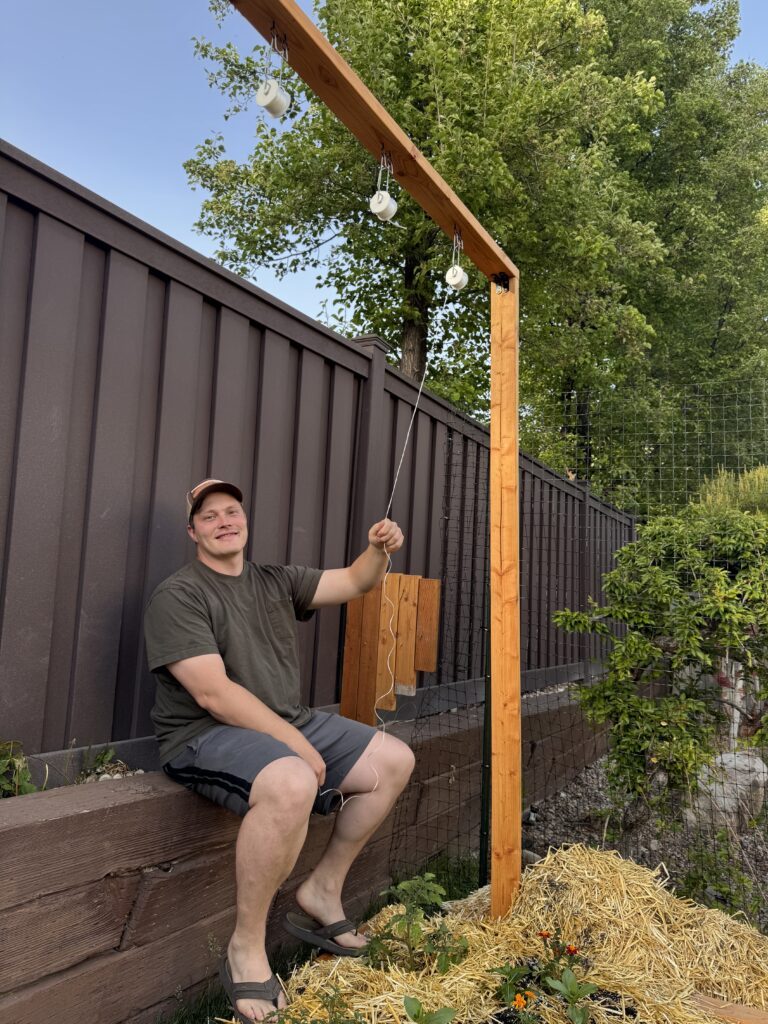
6. Clip on the Roller Hooks: Slide the roller hook onto the screw hook. Ensure the hook is properly seated and can rotate freely.
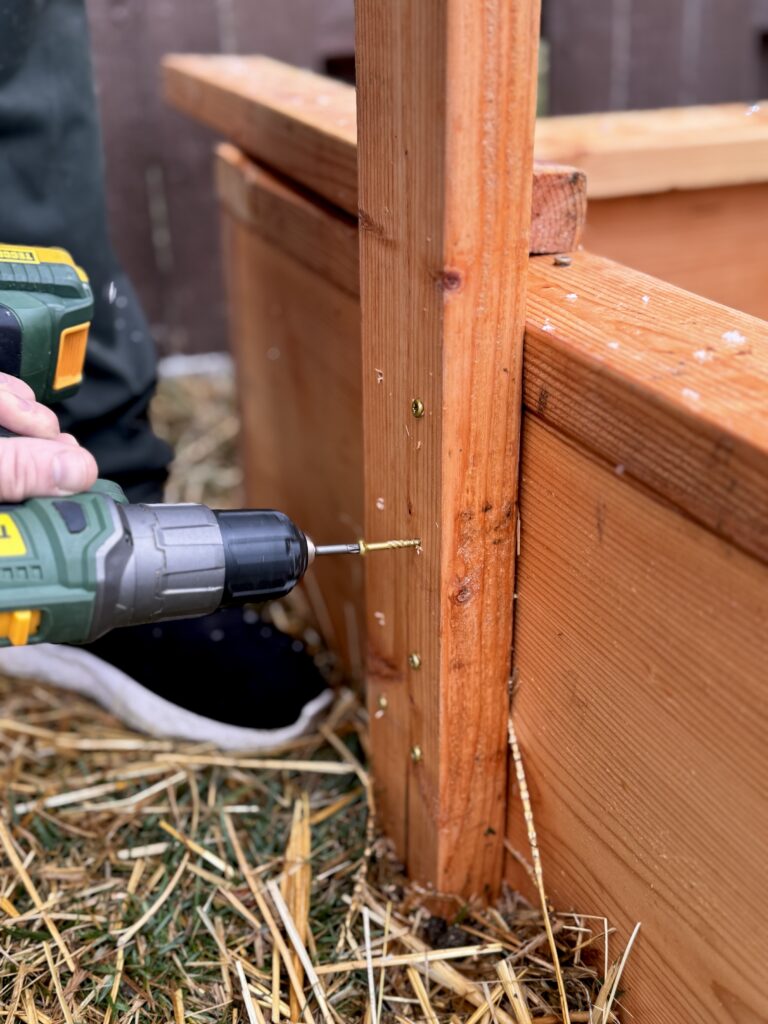
7. Final Assembly: Screw the trellis onto the wooden garden bed (or if you’re using a steel bed, build a free-standing triangular or rectangular base to support the trellis). I put 8 screws on each side to make sure it was extra sturdy.
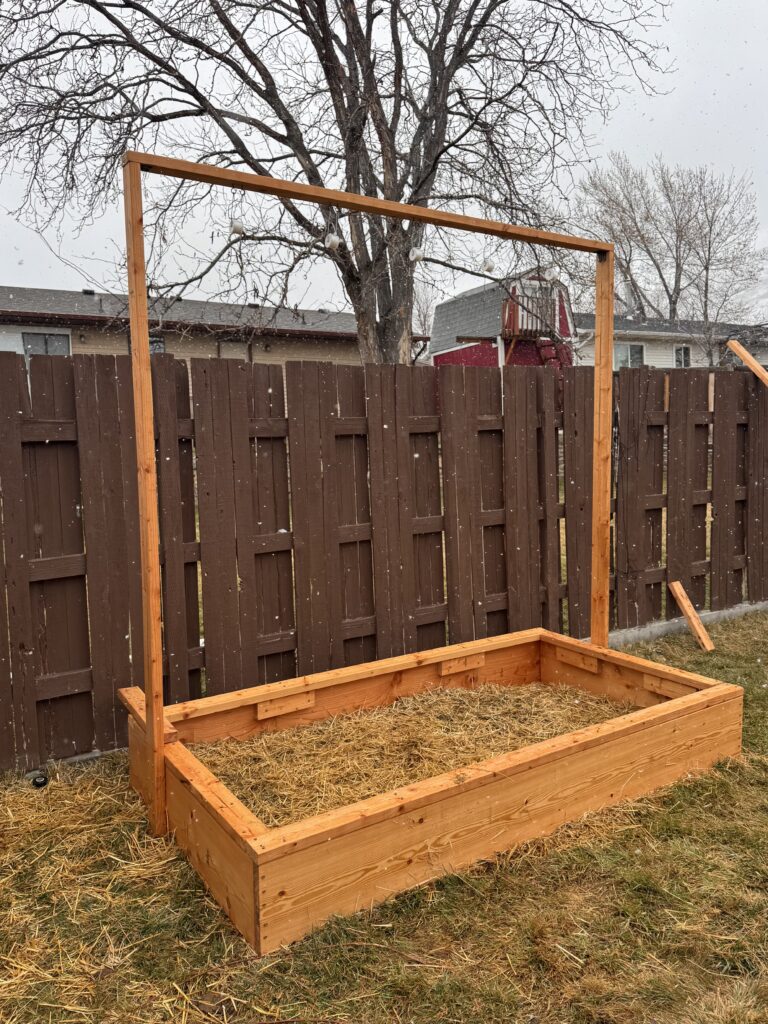
8. Optional: Attach cross beams to provide additional structure (see photo below). Add supports at the bottom that make the trellis base a triangle. Alternatively, if you’re building a double rowed trellis, you can use cross beams to attach all the vertical boards together.
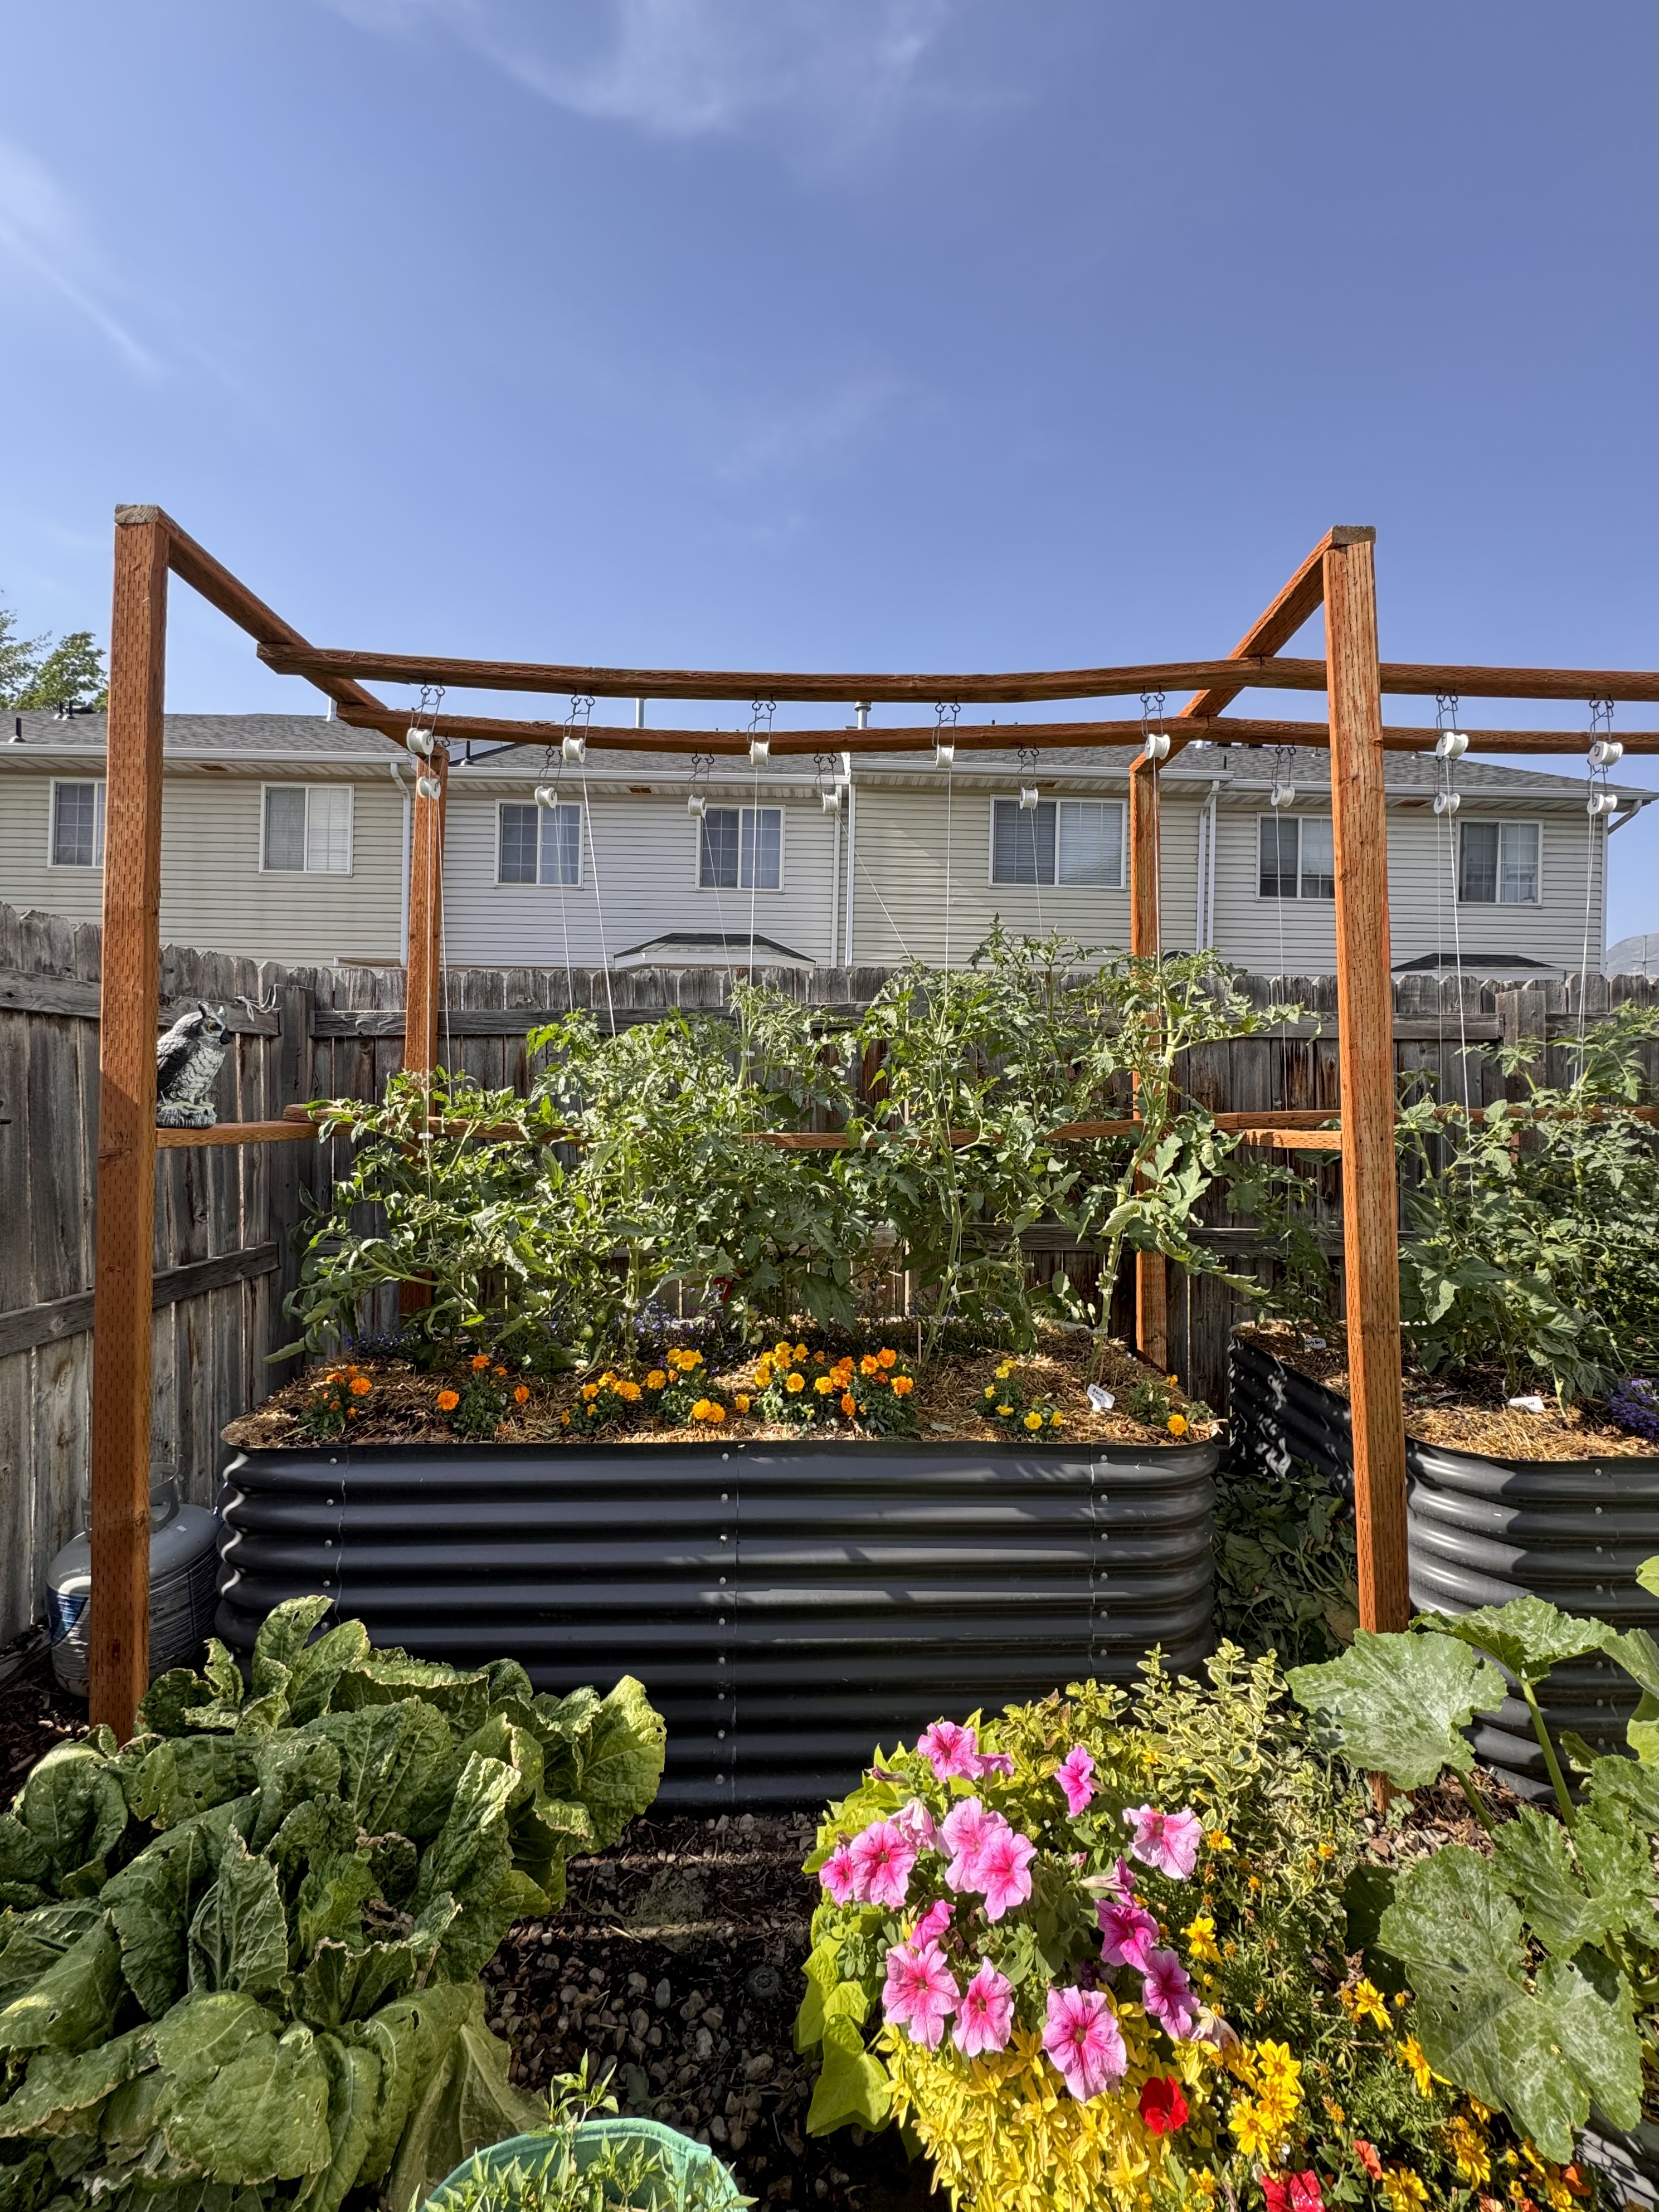
How to Use This Type of Trellis
At the beginning of each gardening season, I release some string from the roller hook and tie it onto a garden staple that I secure at the base of each plant to a garden staple. Securing the line base away from the plant prevents wind stress on the tomato.
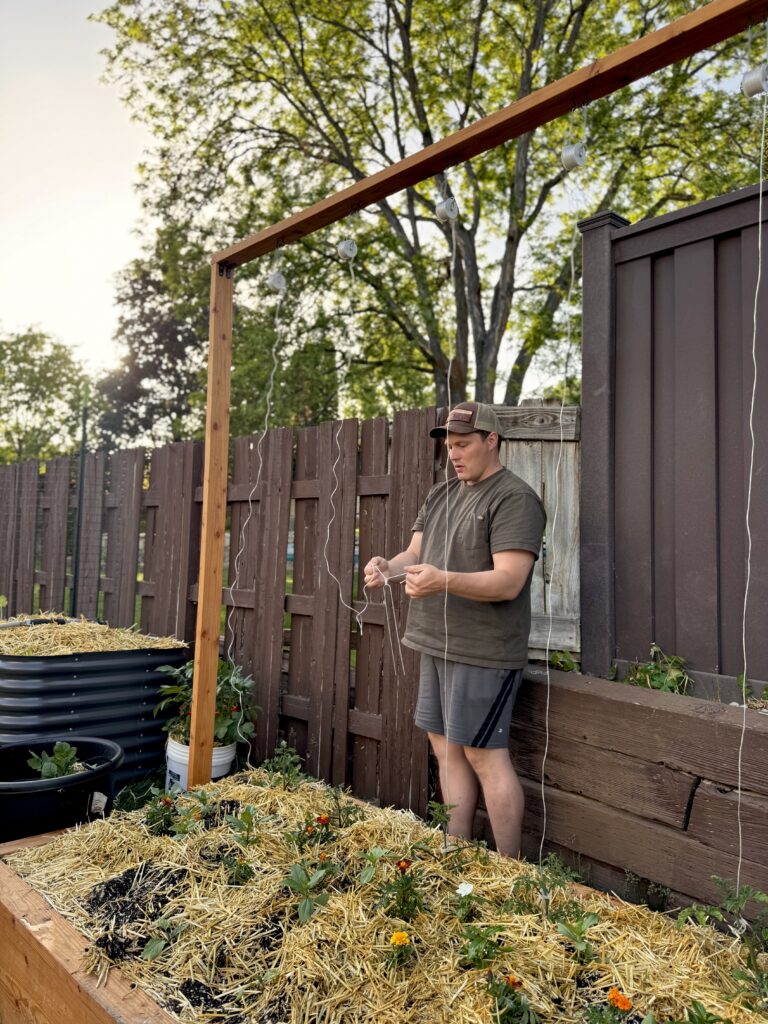
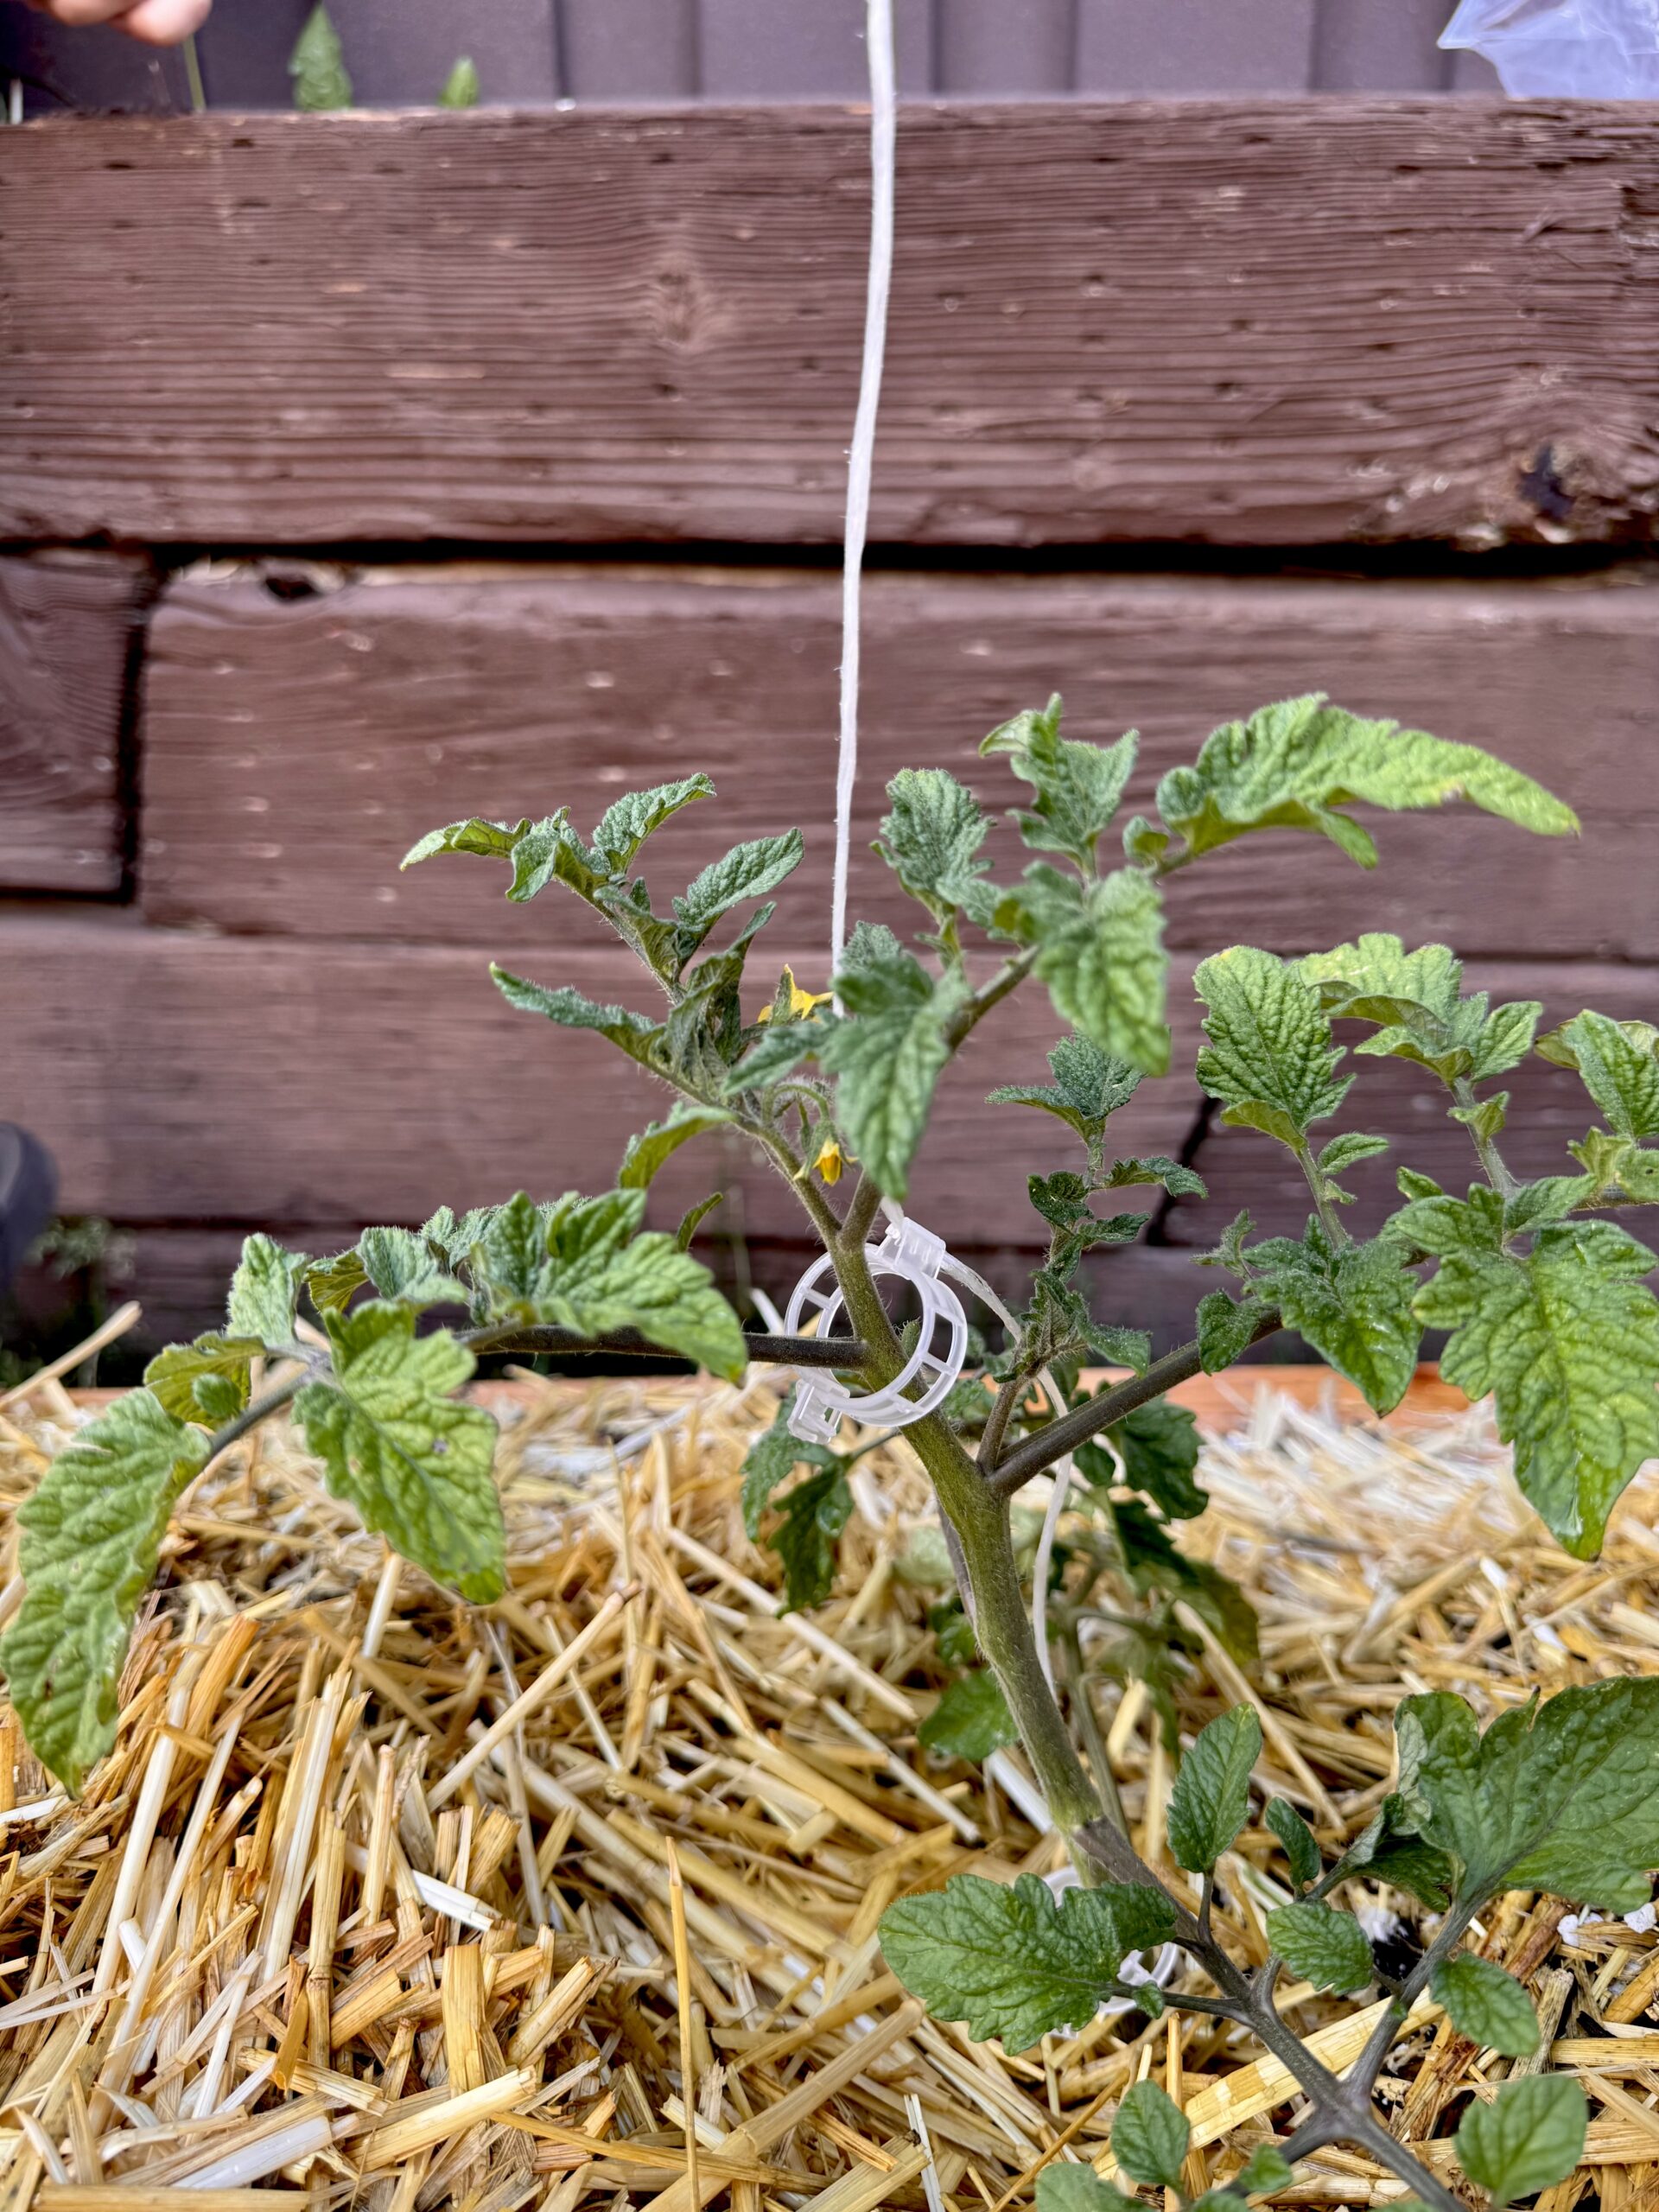
While the plants grow, every 1 – 2 weeks, I add a clip to secure the stem to the string. Plant tomatoes 1 – 2 feet apart and prune them throughout the season to leave only one main stem. NOTE: Only prune indeterminate tomatoes this aggressively because they will keep growing all season long. For that reason, like I mentioned, this trellis is best for indeterminate tomatoes.
Roller hooks allow you to adjust the string for more vertical space, known as the lower and lean method. I personally don’t think it is necessary to lower and lean when you have an eight-foot trellis, but it’s always an option! Just make sure not to lean so much that you break the stem of your plant.
Other Common Tomato Trellises
1. Stake and String (Florida Weave)
- Uses wooden or metal stakes placed between tomato plants, with twine woven in a figure-eight pattern around them as the plants grow.
- Works best for determinate tomatoes since they stop growing at a certain height.
Pros:
- Inexpensive and efficient for large gardens
- Easy to set up with minimal materials
- Keeps plants off the ground, reducing disease risk
Cons:
- Requires maintenance (adding twine as plants grow)
- Not ideal for indeterminate varieties, which grow too tall
- Can collapse if not built with sturdy stakes
2. Cattle Panel Trellis
- Heavy-duty cattle panels (or similar welded wire fencing) are set vertically with T-posts or bent into an arch shape for overhead support.
- Plants are tied to the panel as they grow.
Pros:
- Extremely strong and long-lasting (can last decades)
- Supports heavy fruiting plants without bending
- Can be reused every season
Cons:
- More expensive upfront due to panel and post costs
- Requires tools and effort to install properly
- Can be difficult to move once set up
3. Tomato Cages
- Cylindrical wire cages made from galvanized steel, concrete mesh, or heavy-duty fencing.
- Surrounds individual plants, allowing tomatoes to grow upward naturally.
- Only good option for determinate tomatoes
Pros:
- Provides some support, reducing plant stress
- Works for determinate tomatoes
- Requires little maintenance once set up
Cons:
- Can be expensive, especially for large gardens
- Not ideal for very tall plants, as cages may topple
- Cheap, flimsy cages tend to bend under weight
More Gardening Tips
Thanks for reading along! I hope you’re able to maximize your space for a thriving garden. Best of luck with your harvest this year!
If you enjoyed this blog post, be sure to check out my other gardening blog posts:
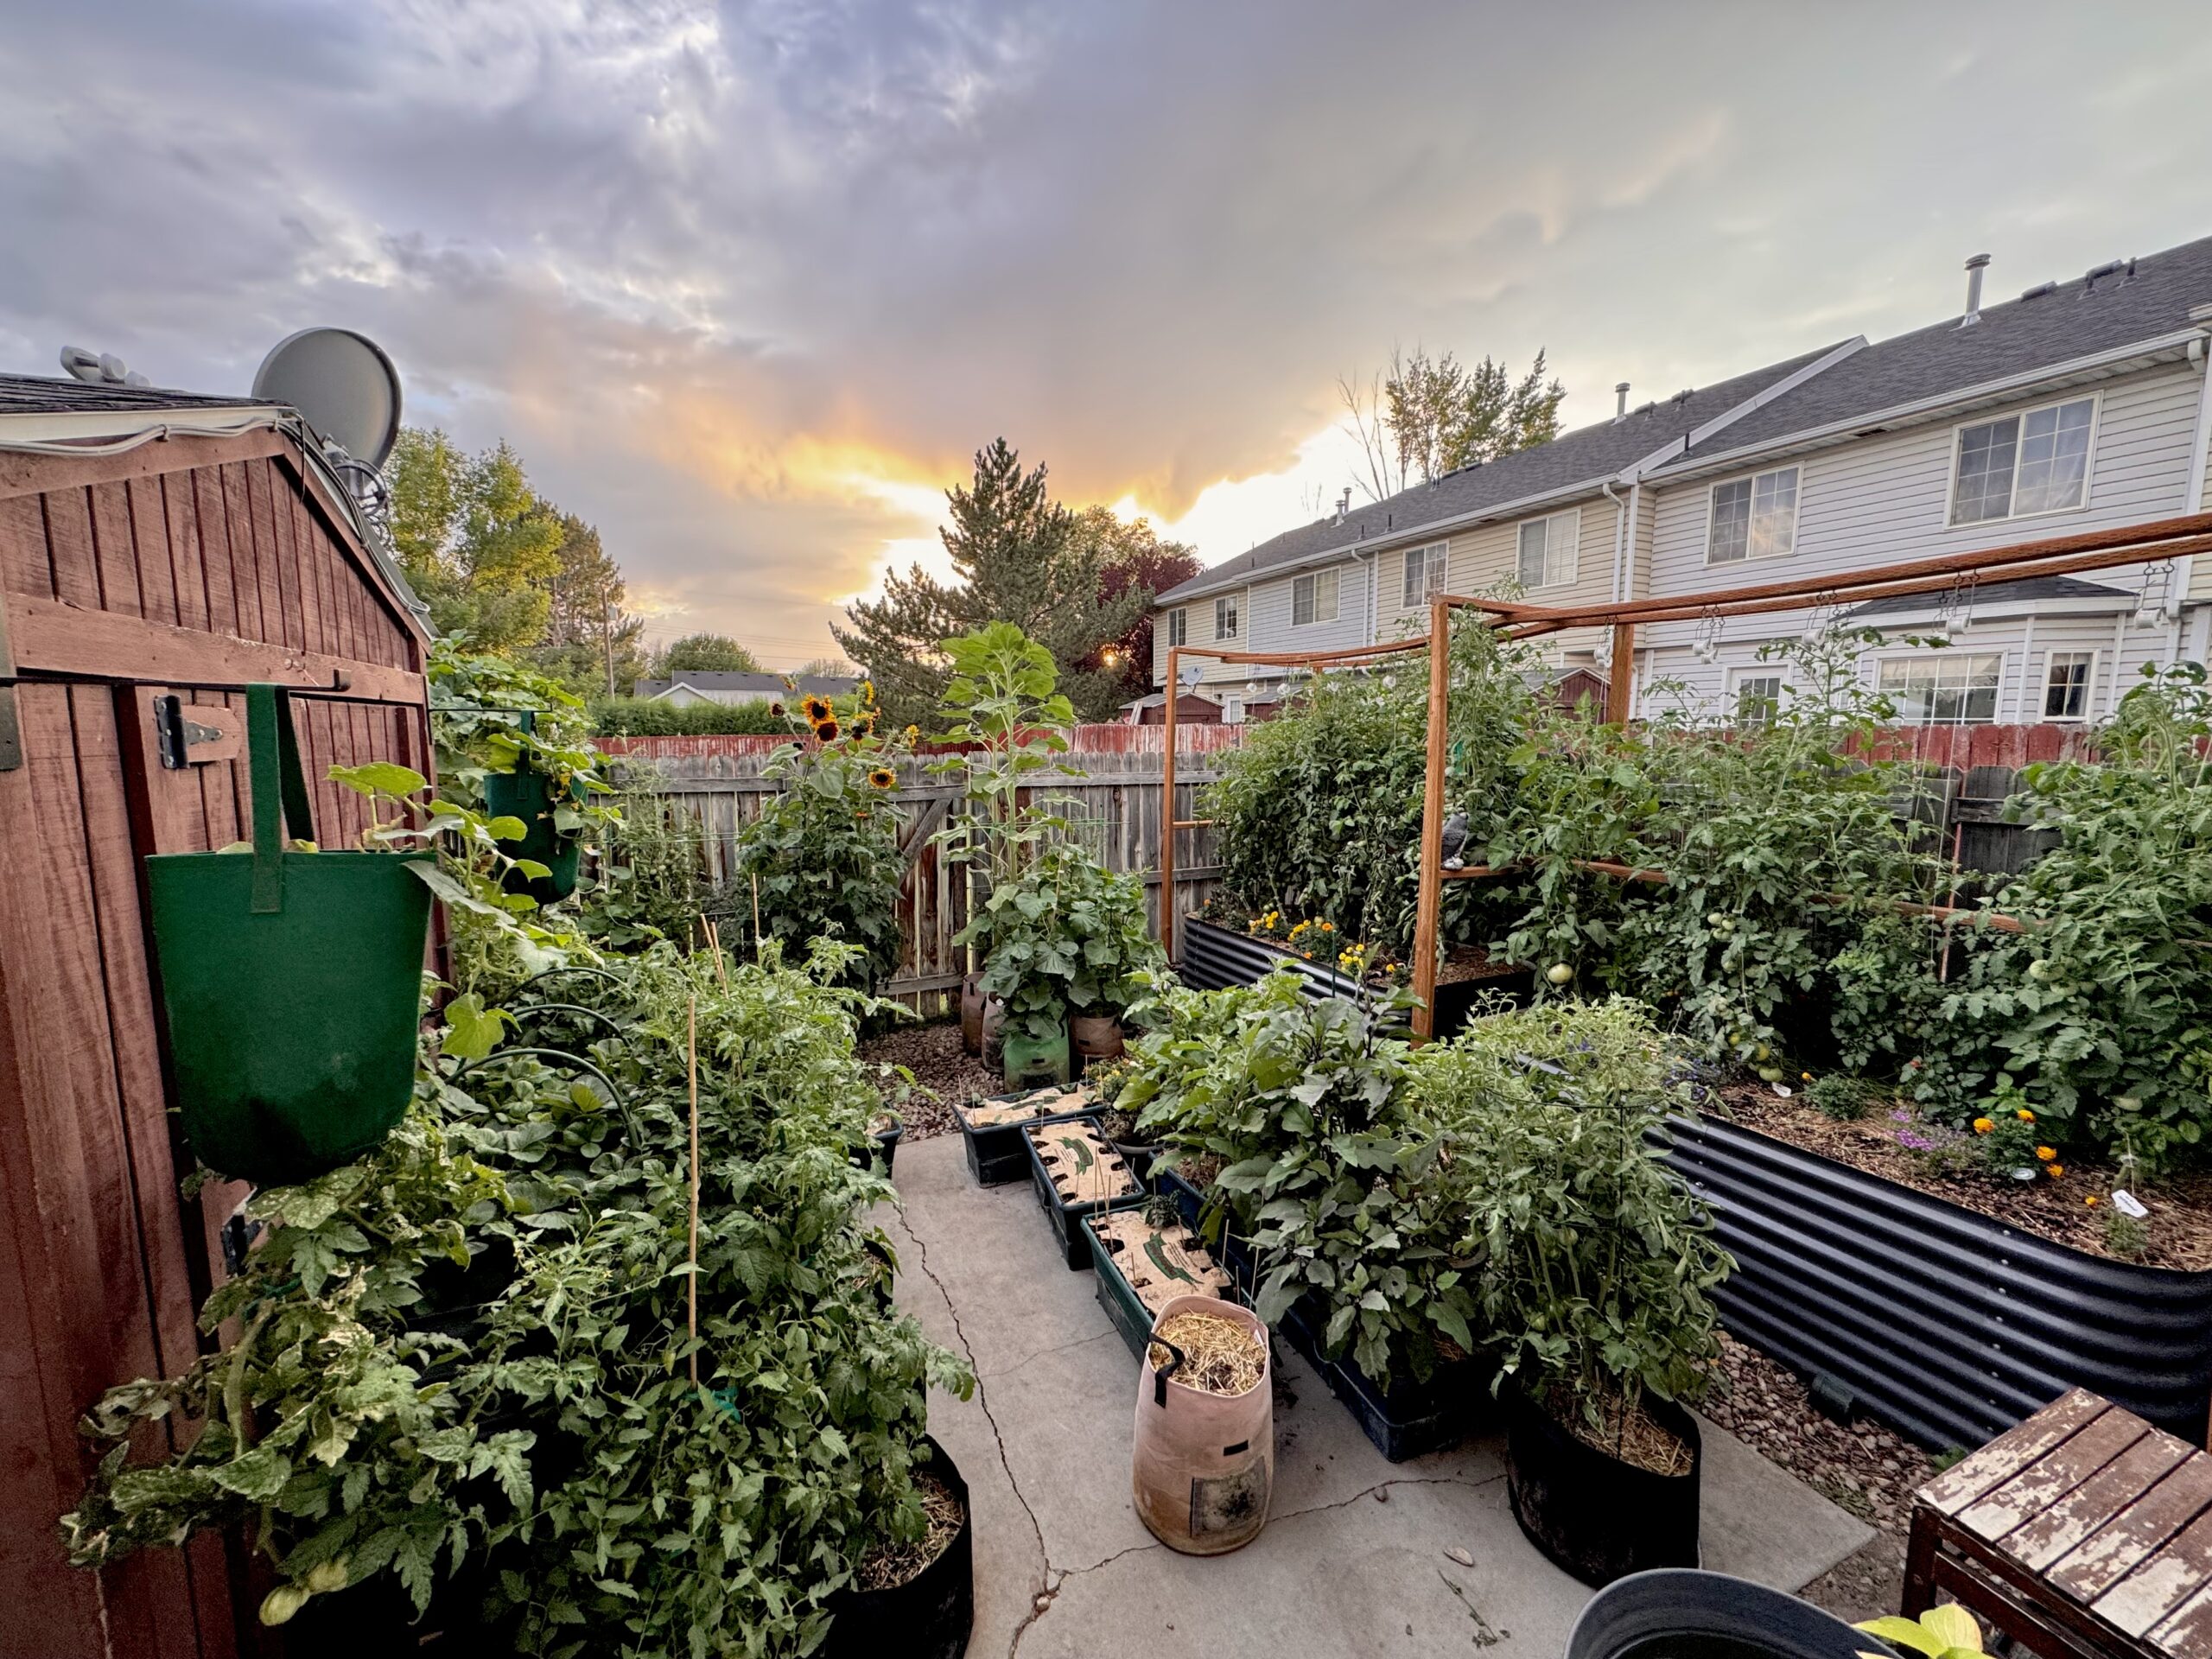


I love the string trellising method! I find it is the best way to pack tomatoes in there. I also have a relatively small space.
This method is way sturdier than trellises I have used in the past. Worked great.