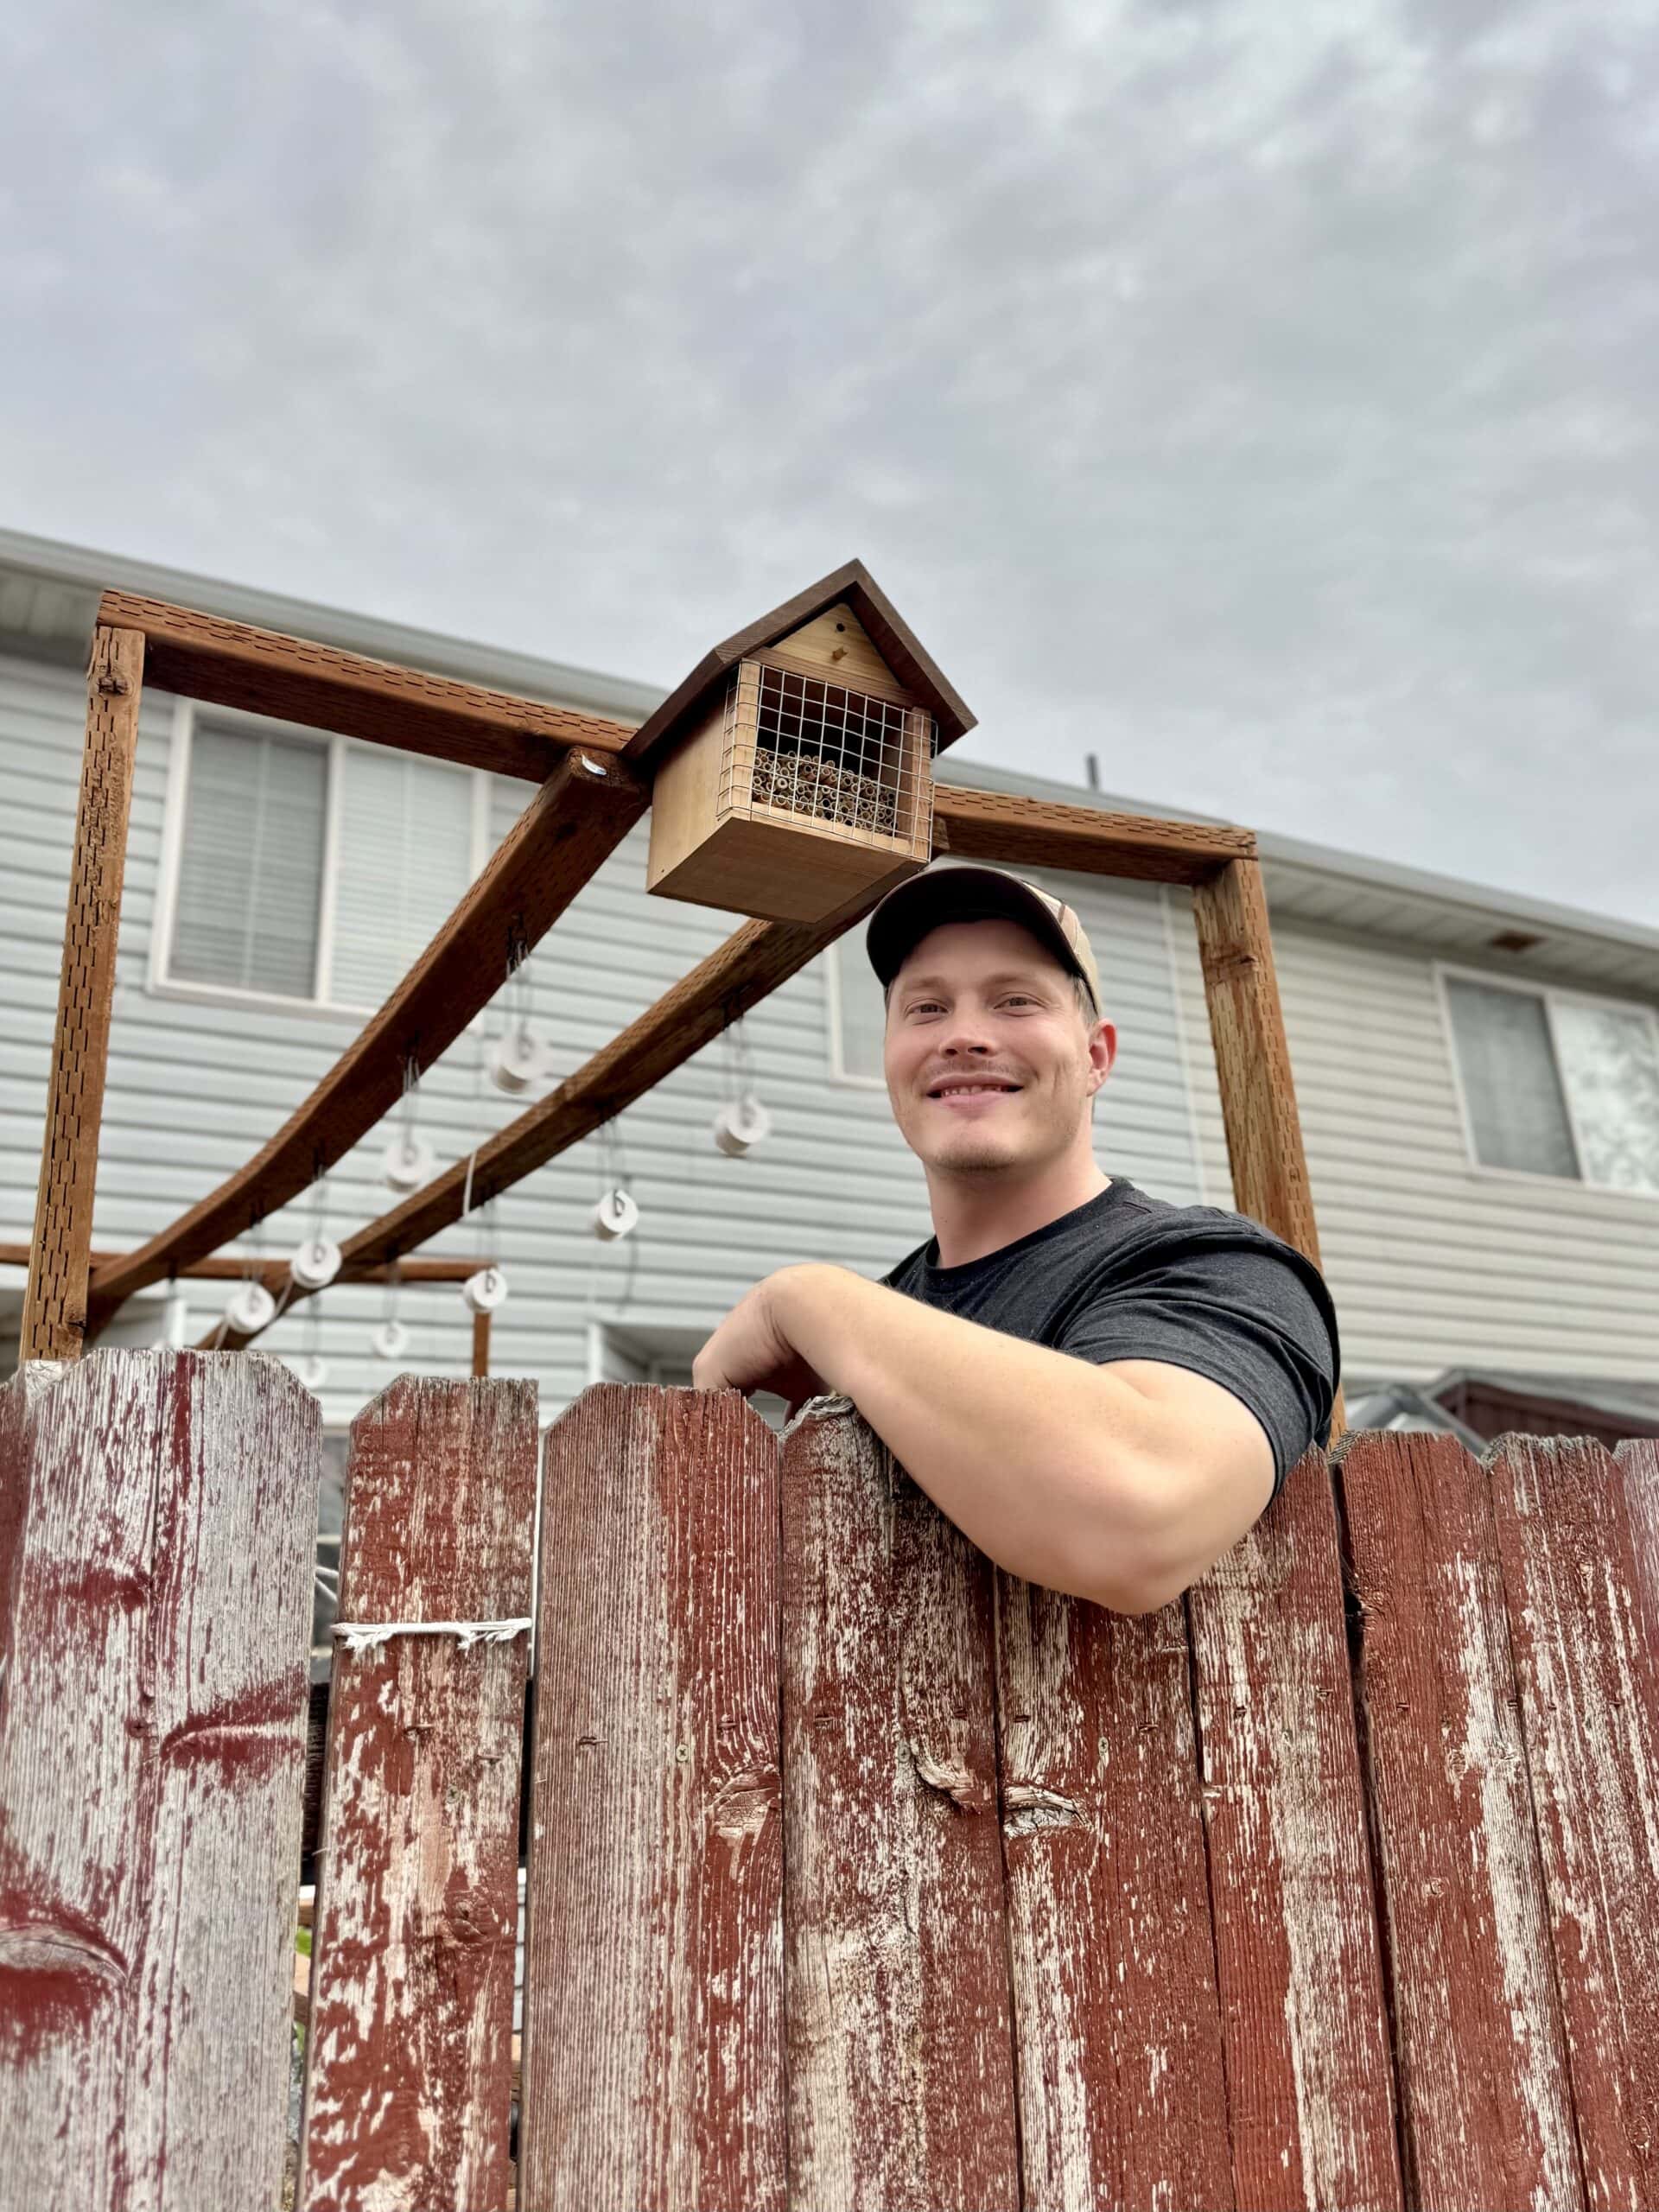
Hey all! Real Farmer Jeff here.
Kyrié’s mom (my mother-in-law) is a hard-working single mom who has always been supportive of my gardening hobby. This year, I wanted to give back to her by building her a couple raised beds (one wooden and one galvanized steel) for a new vegetable garden.

For the wooden raised bed, I followed a tutorial from another gardening content creator, James Prigioni. These instructions will be for an 8-foot by 4-foot bed, which should my mother-in-law plenty of space to grow most of the vegetables that she wants.
In this blog post, I’ll explain the benefits of wooden raised beds and also share how I built mine.
Let’s get started!
Why Have a Wooden Raised Bed?
Wooden raised beds are a staple of many gardens set-ups for the following reasons:
- Easier to directly attach add-ons to wood such as trellises, insect netting, and shade cloth etc.
- Reasonably easy to build with little experience
- Can be quite cost effective (although the price of wood has shot up in the last few years)
- Wooden raised bed gardens can have a nice, natural aesthetic
Materials You Need
- Untreated Lumber (cedar, redwood, or pine): This is important because you don’t want chemicals from treated wood to contaminate the soil that you will potentially grow food from.
- Three 8-foot 2x10s or 2x12s depending on how deep you want the beds to be. You could even use boards that are 8 inches wide if you wanted to save as much money as possible on wood and soil.
- Optional: four 8-foot 2x4s to add a ledge to the top of the bed where you can sit and that also secures the bed even more, and can make it look more high-end.
- Exterior Wood Screws (3-Inch)
- Measuring Tape
- Saw
- Drill
- Landscape Fabric or Cardboard Boxes (optional)
- Linseed Oil (optional if you want to protect your wood more; I highly recommend it so that your beds can last longer!)
- Foam Paint Roller (also optional)

Steps to Build:
- Select a Location:
- Choose a flat, sunny spot that receives ample sunlight.
- Determine the Size:
- A common size is 4 feet wide by 8 feet long, allowing easy access to the center of the garden bed while still providing significant square footage. A height of 10-18 inches is typical. If you add the optional 2×4 as a ledge to the top of the bed, you will gain an extra two inches of height.
- Prepare the Site:
- Level the ground to ensure the frame can sit evenly.
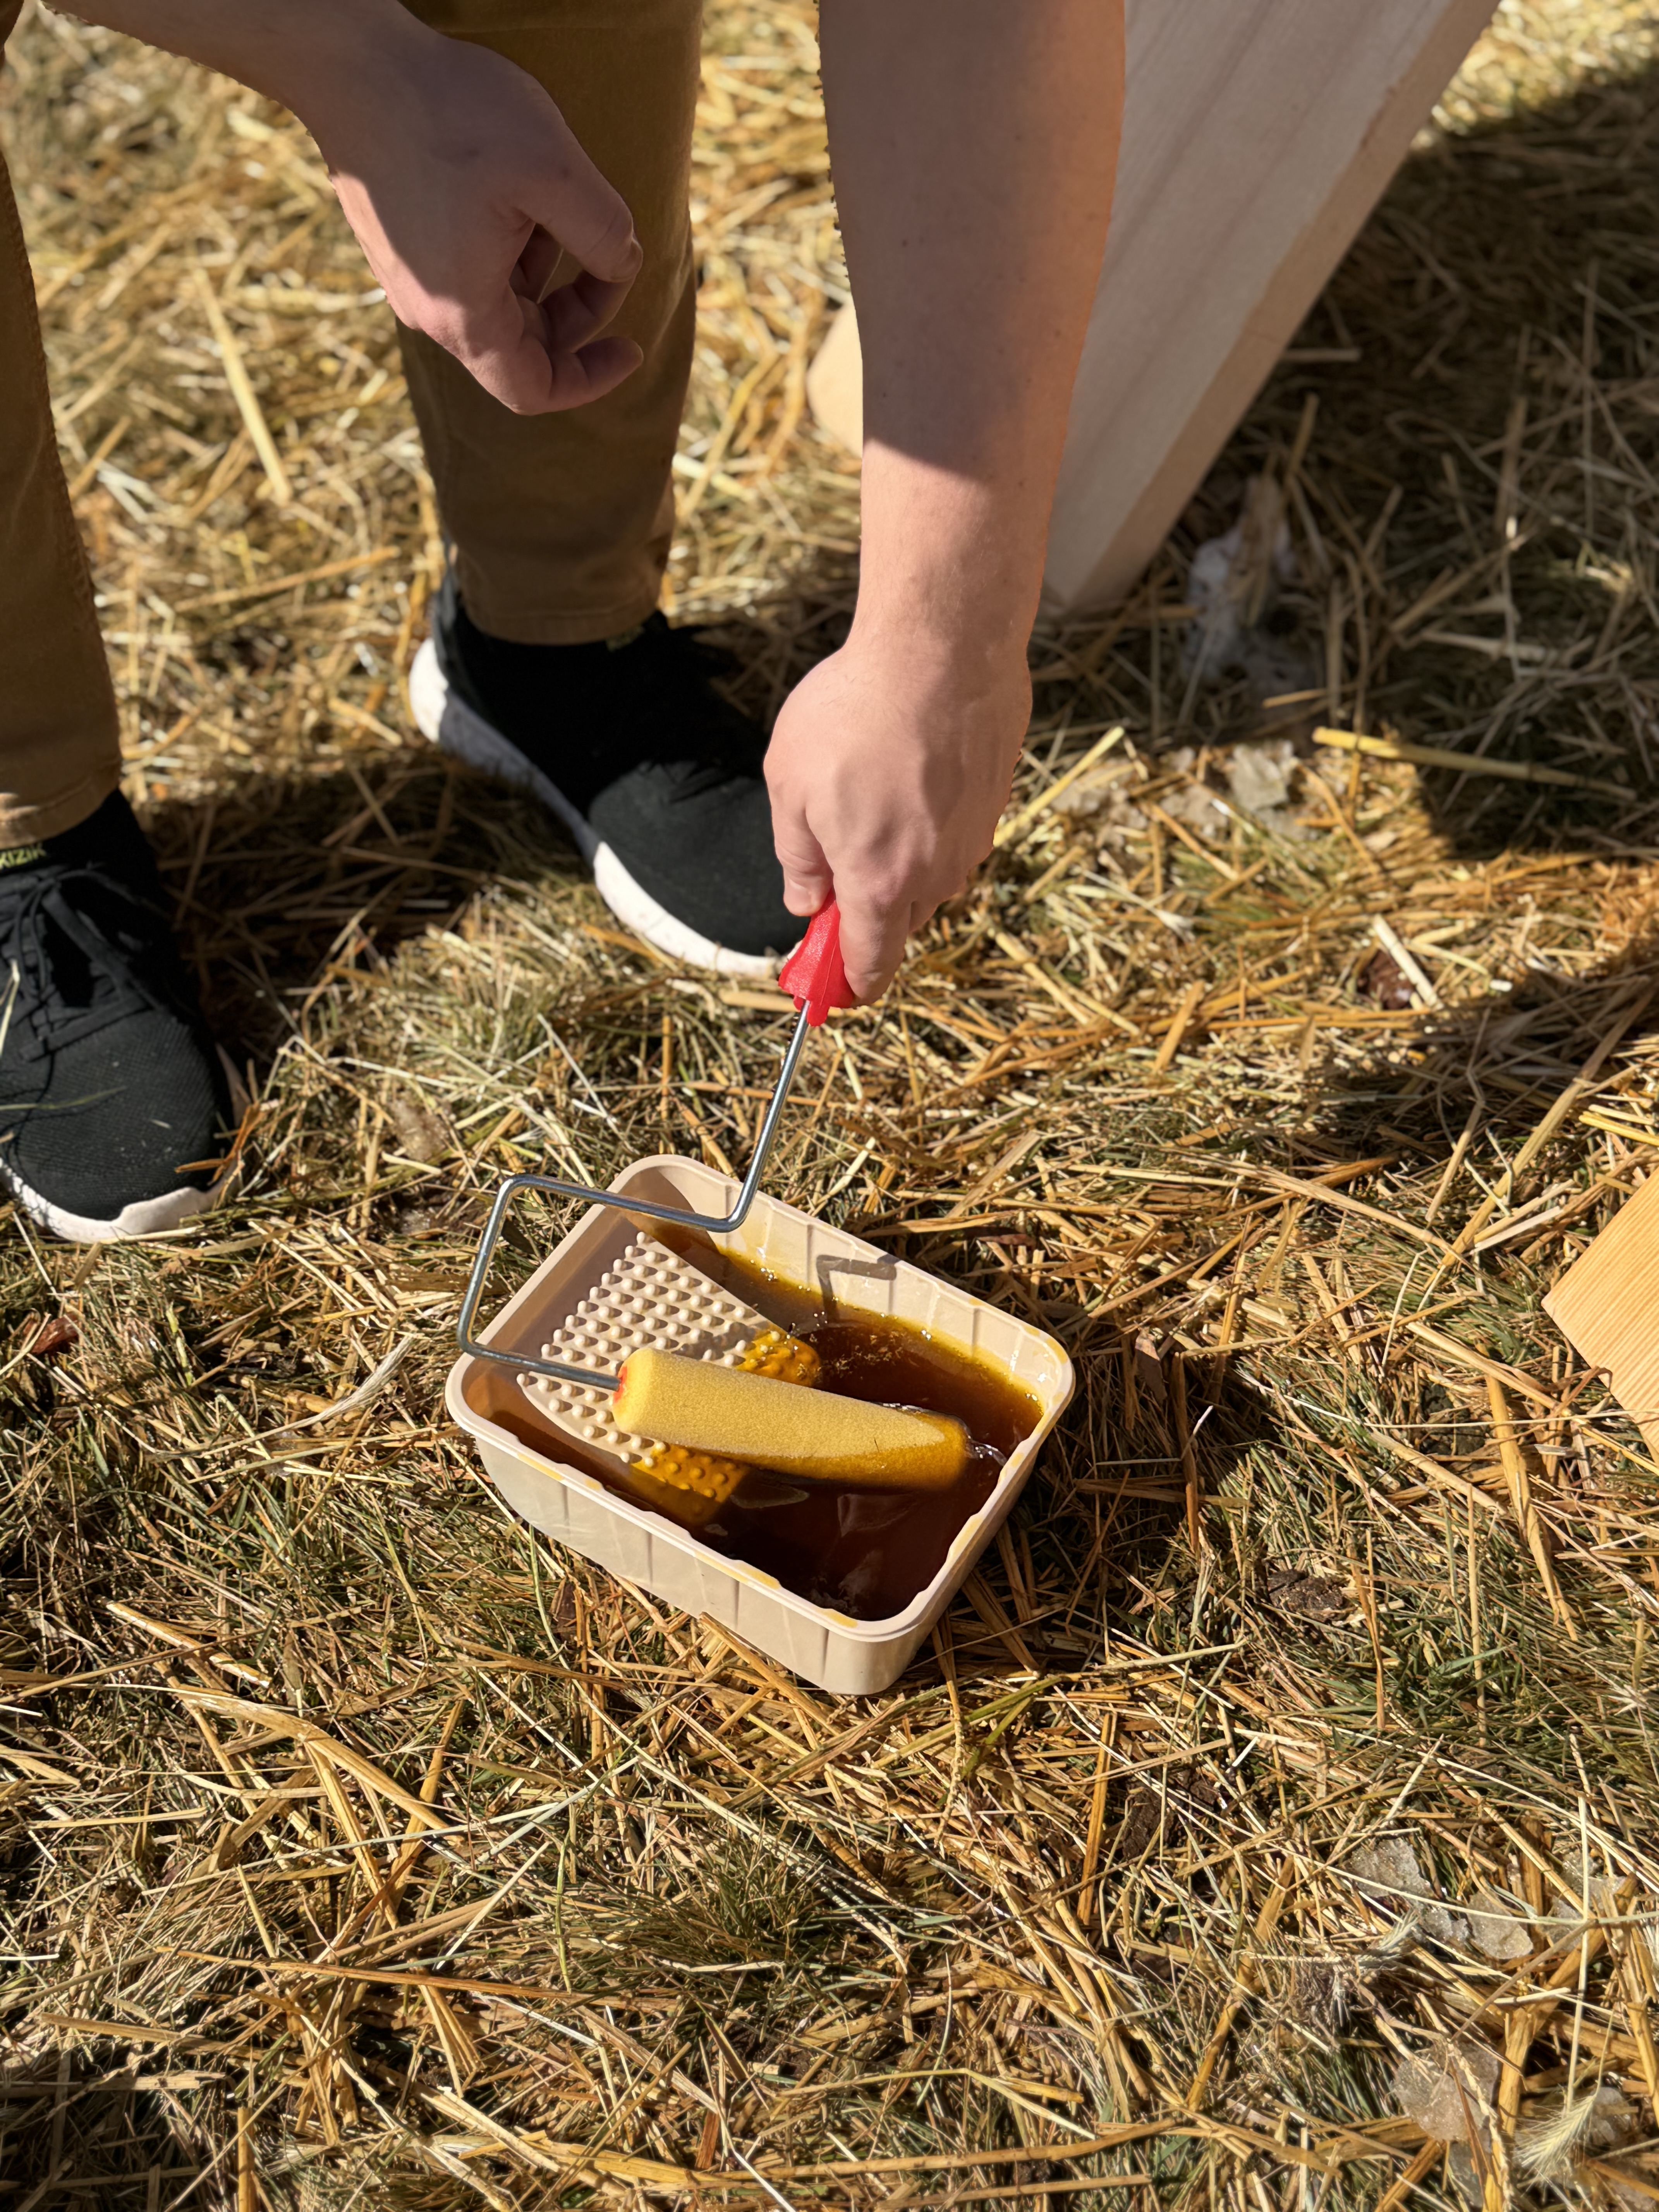
- Apply Linseed Oil Coating (optional step):
- Lay out your wood panels in a spot that can get oil on it (or over a tarp). I leaned my wood against a fence so that I could more easily do the next step without getting oil all over myself.
- Apply a generous coat of linseed oil to all sides of the wood. It can take 1-3 days for it to dry completely, but if you need to work with it sooner, simply use a towel to wipe off the excess.
- This non-toxic treatment helps protect the wood from moisture and extends its lifespan while keeping it safe for plants, pets, and people.
5. Cut the Lumber:
- Measure and cut your boards to the desired length. For a 4×8 bed, you’ll need two 8-foot boards and two 4-foot boards.
- In my case I bought three 8-foot boards and sawed one in half to get the two 4-foot boards.
- If you don’t own a saw, Home Depot can cut your wood for you.
- If you choose to add the 2×4 ledge to the top of the bed, you will also want to cut those boards as well.
- To make things simple, I would still use two 8-foot 2x4s for the ledge on the long sides of the garden bed.
- However, 4-foot 2x4s will no longer work for the short side because the 8-foot 2×4 will overlap an inch on each side. Therefore, you would want a 46-inch 2×4 (four feet minus two inches) on the sides so that it can fit.
- If you decide to add the 2x4s to the top of the bed you will likely want to first screw on an additional 2×4 to the top part of the side boards so that you have a full four inches to rest four inch ledge. If not, the 2×4 (which would be four inches wide) would only have two inches to rest on.
- To save wood you can screw on scrap wood or make your own 1-foot sections of 2x4s to screw onto the side boards for these additional supports.

5. Assemble the Frame:
- Arrange the boards into a rectangle.
- Secure the corners with screws or nails, ensuring they are square.
- Make sure to drill pilot holes before you add your screws.
- It’s very helpful to have a solid drill and a long enough drill bit to drill a full three-inch pilot hole.
- Optional: Screw on additional supports to the sides of the bed and then the 2×4 to the top of the bed for a place to sit.
6. Install the Frame:
- Place the assembled frame on the prepared site.
- Optional: Use a level to check that it’s even; adjust as necessary.
7. Optional: Add a Base Layer
- Line the bottom with landscape fabric to prevent weeds.
- Alternatively, add a layer of cardboard or newspaper as a biodegradable weed barrier.

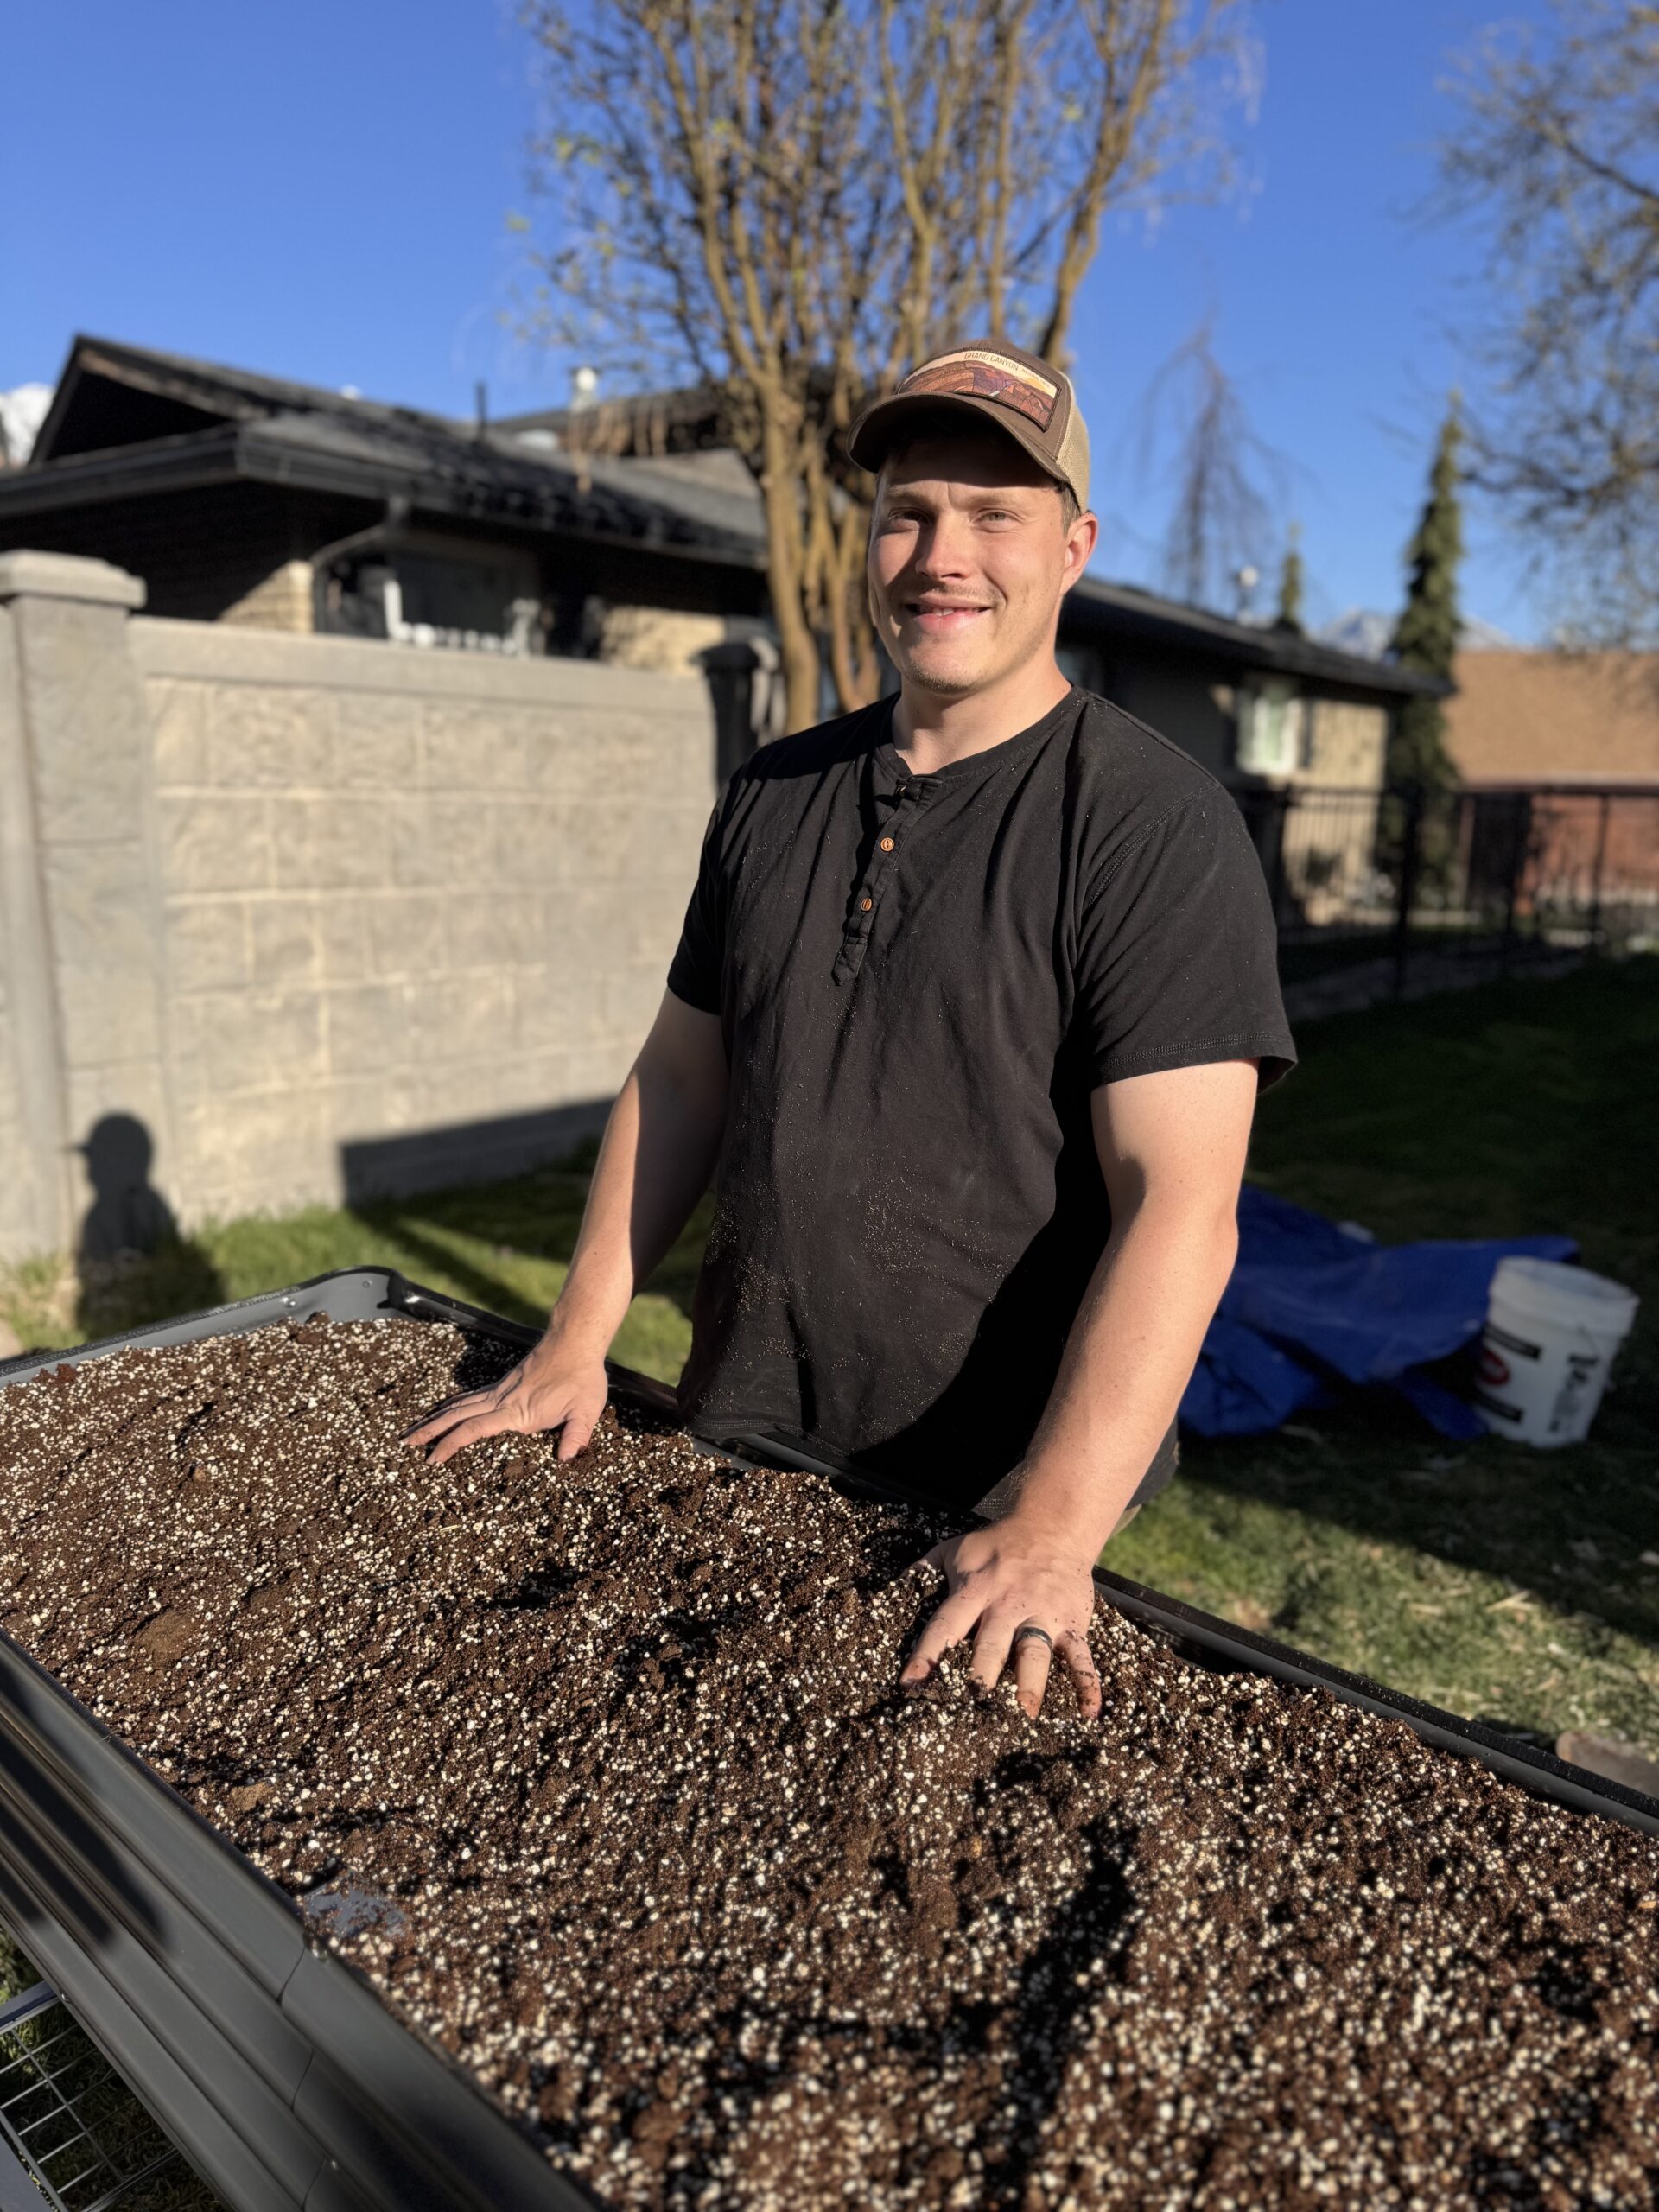
8. Fill with Soil:
- Fill the bed with a mix of quality soil, leaving a couple of inches below the rim to prevent overflow when watering.
- You can amend the soil to have the ideal drainage, airflow, and nutrients if you want!
9. Plant Your Garden:
- Lightly water the soil.
- Plant your chosen vegetables, herbs, or flowers according to their specific spacing and depth requirements.
And that’s it! Let me know in the comments if you guys have any questions on wooden raised beds or how to build one.
Thanks for reading along, guys! If you enjoyed this, check out my other gardening blog posts:


Love that this design allows you to sit on the bed. That makes gardening so much easier!
Clear photos and measurements made this feel super beginner-friendly.