Hey all! Real Farmer Jeff here.
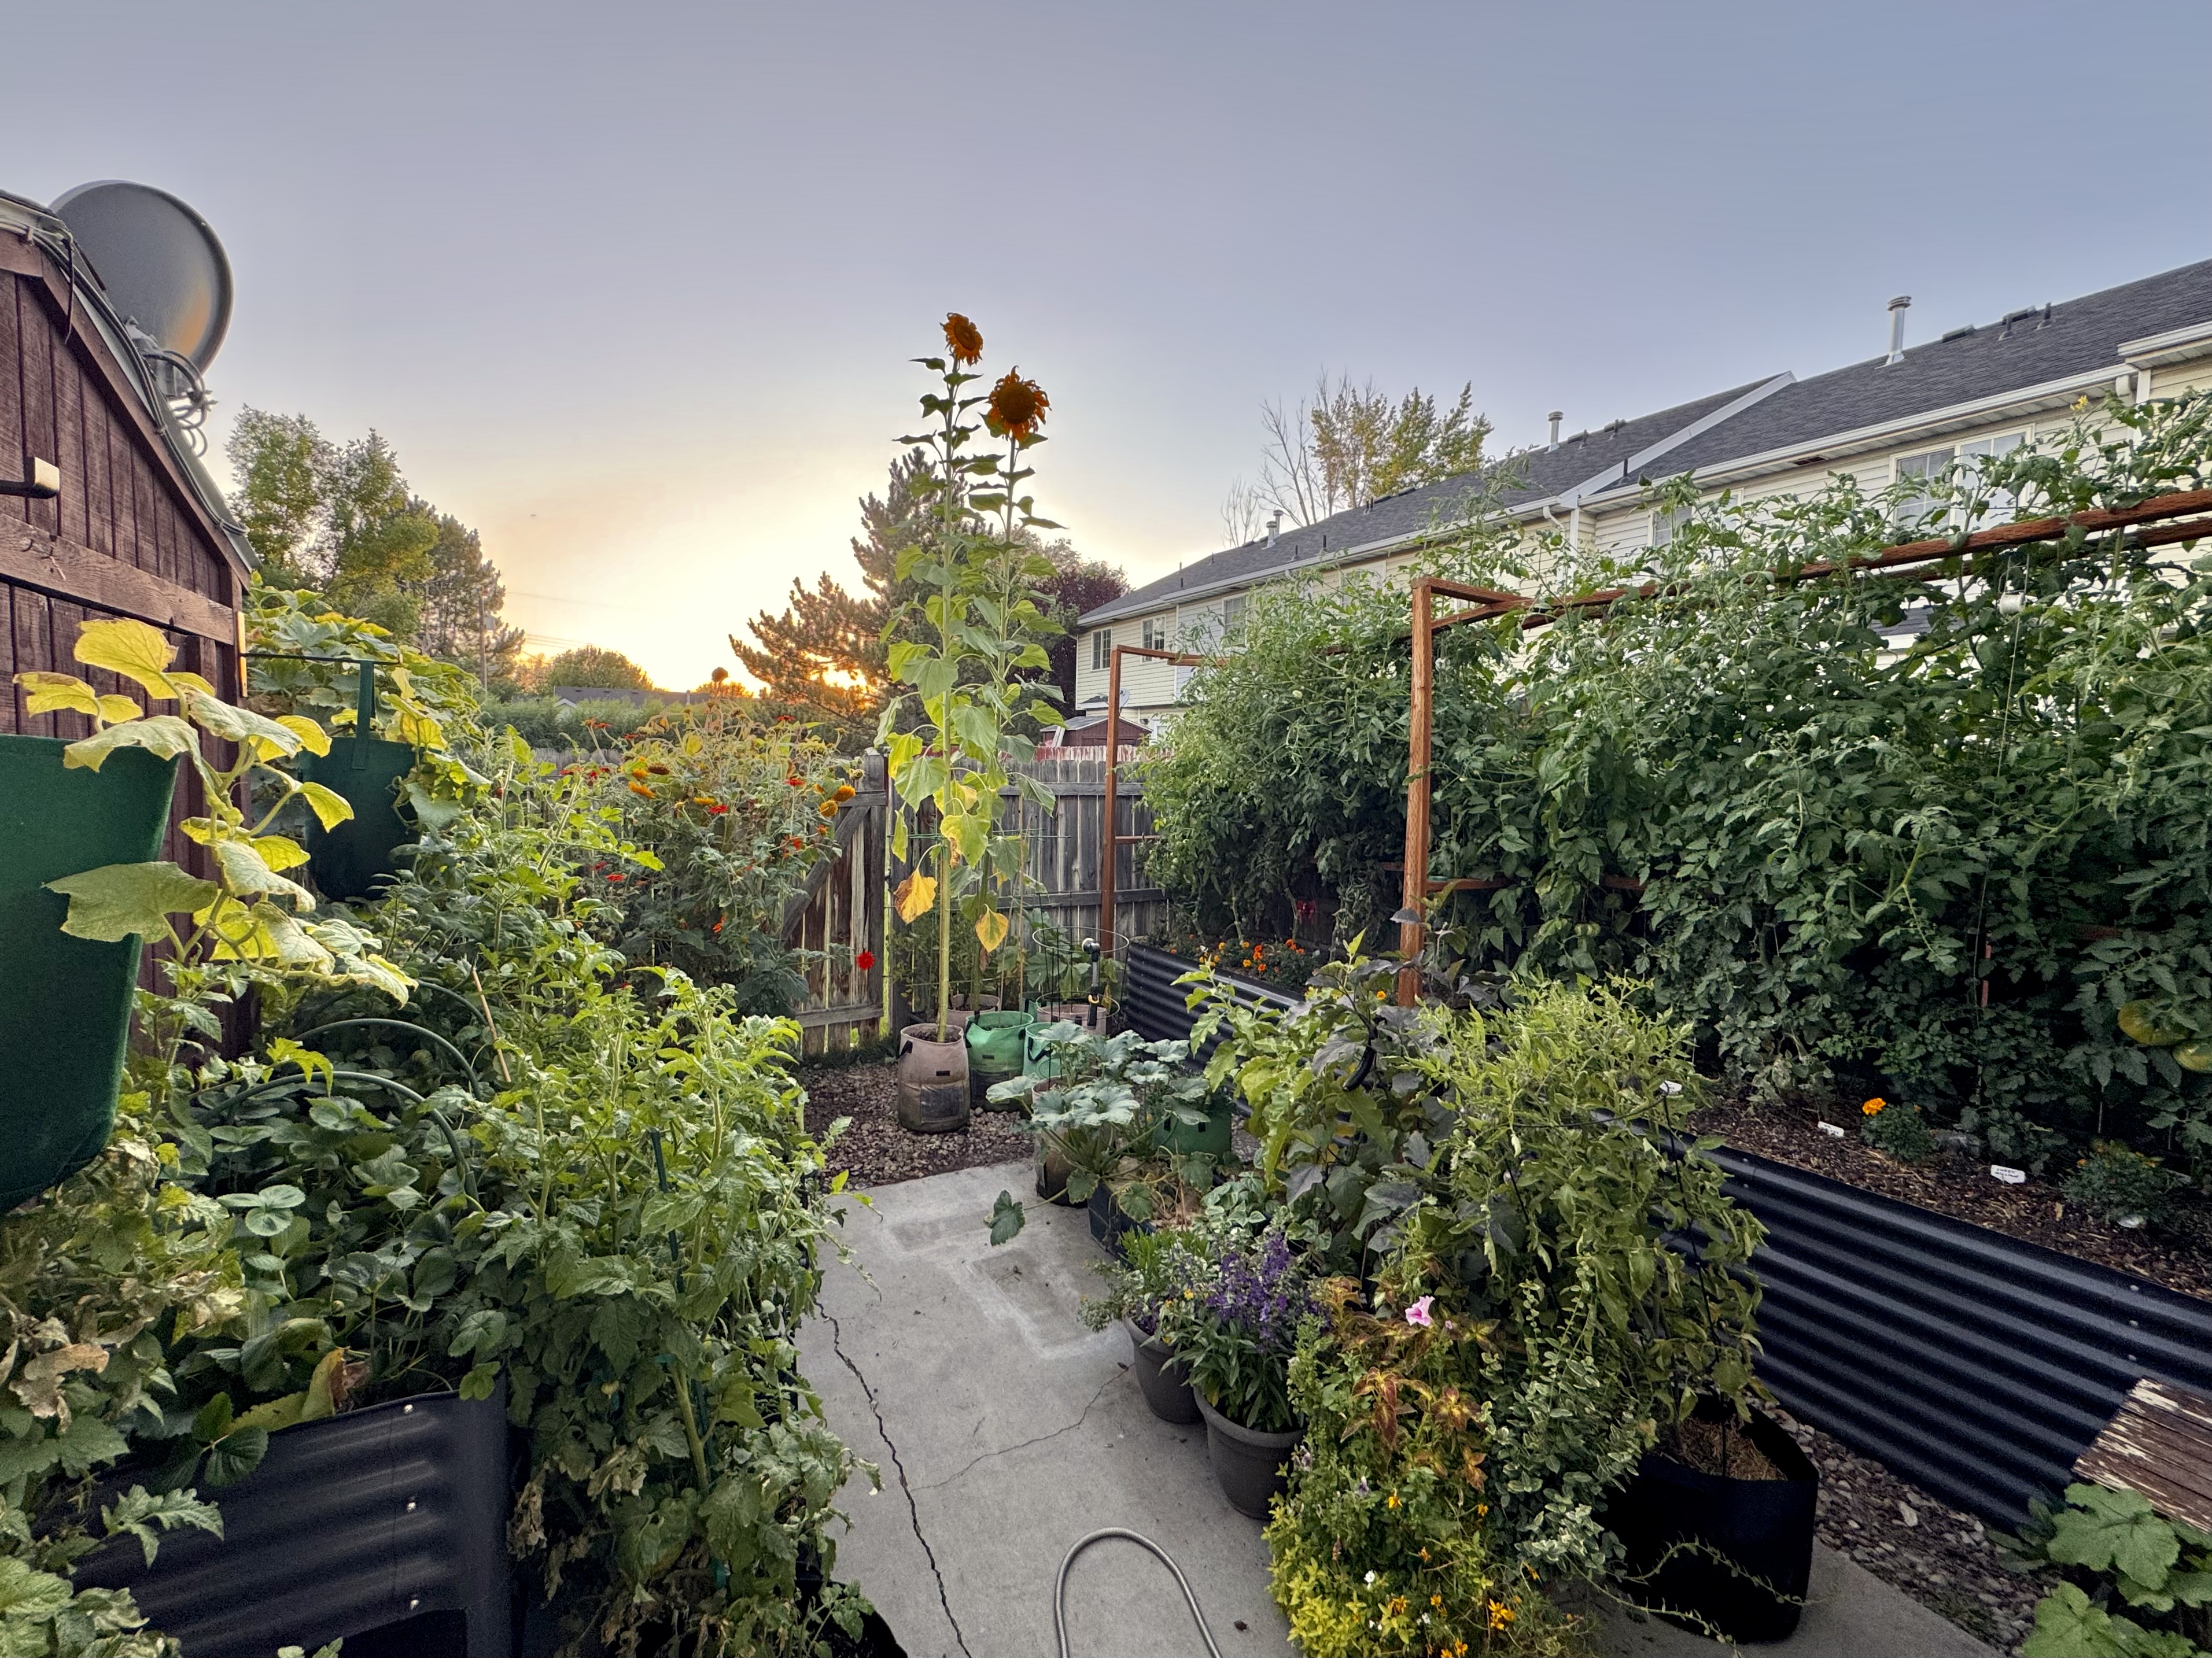
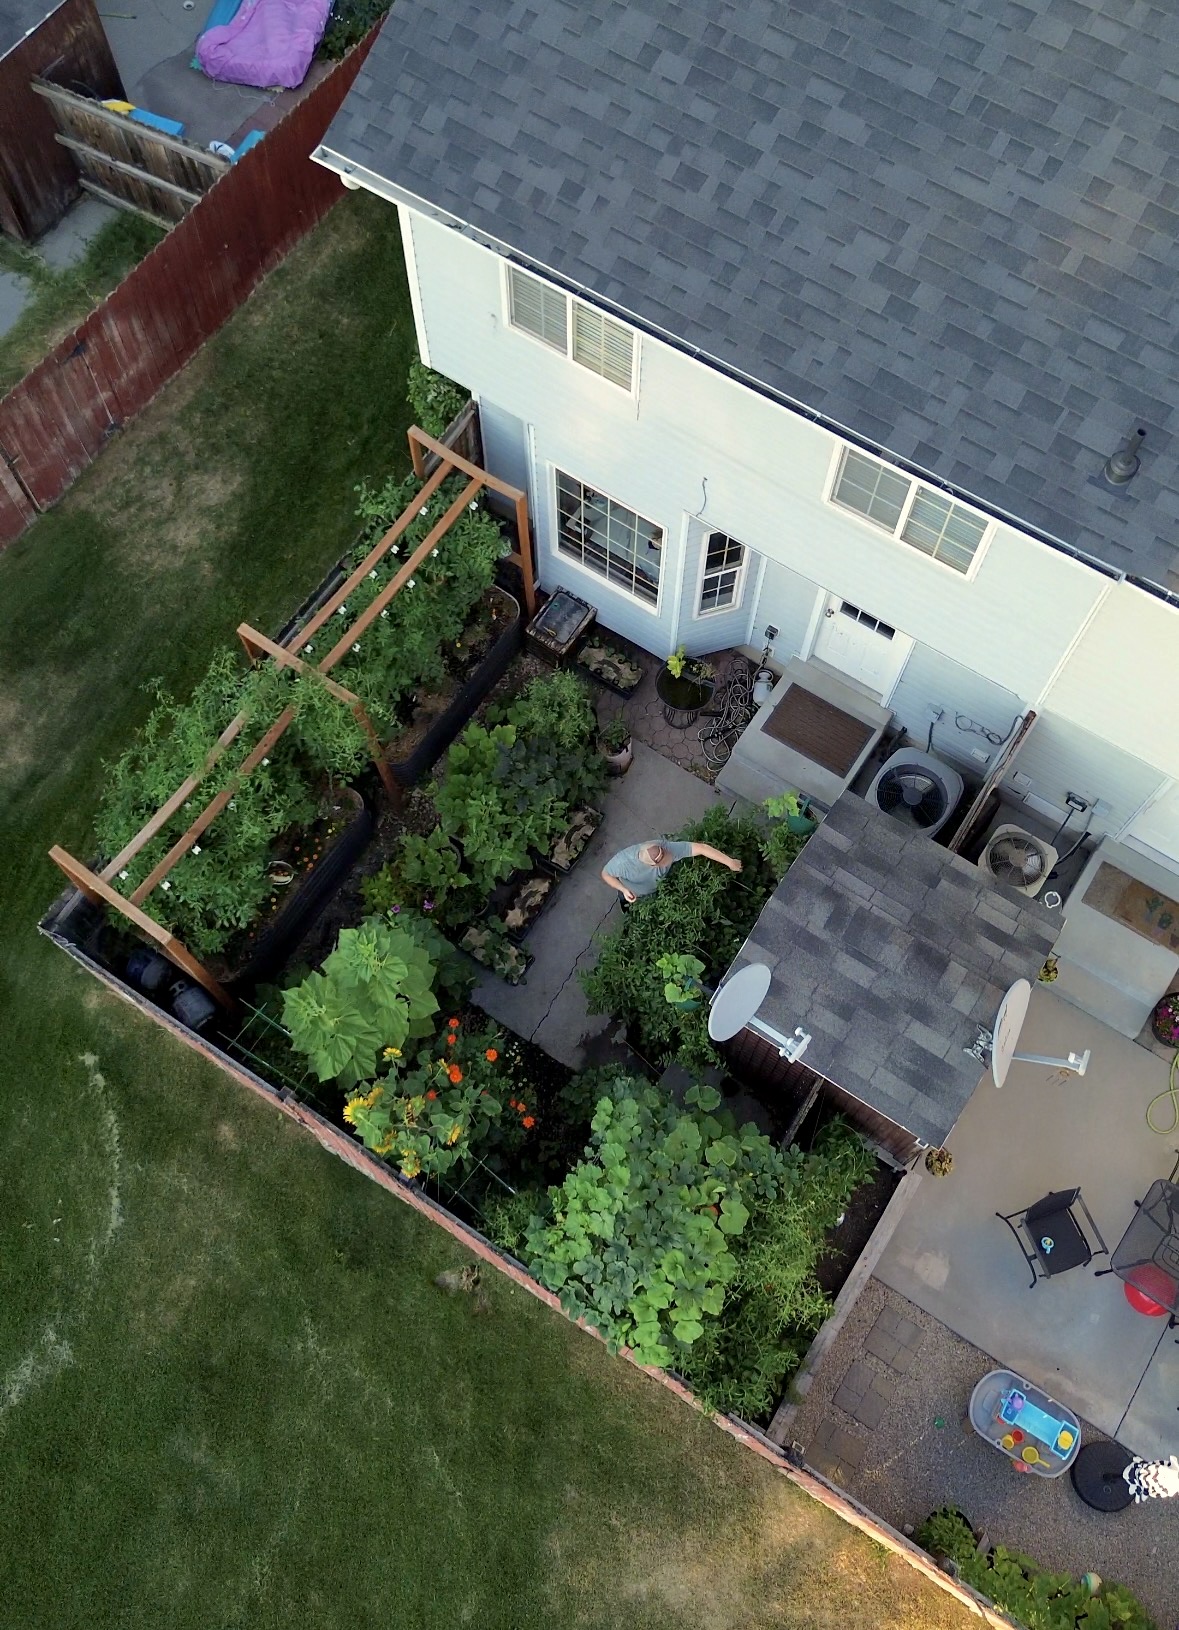
This season, I built homemade trellises made from cattle panel! I have the perfect corner in my garden to put them that is currently unused. They’re a great way to support climbing plants like cucumbers, beans, peas, and even melons while adding beauty to your garden. They’re also one of the most affordable yet effective options, so I’m stoked!
In this blog post, I will walk through everything you need to know to build a trellis yourself! Be sure to follow me on Instagram to stay up to date on my garden. Let’s get started!
What is Cattle Panel?
Cattle panel (pictured) is a heavy-duty wire grid typically used in livestock fencing, particularly for cattle enclosures. It’s made of galvanized steel, which makes it durable, rust-resistant, and long-lasting.
The panels come in various sizes, but the best size to use for an arch trellis specifically are 4 feet wide by 16 feet long sections with large, rectangular openings (about 4″ x 6″ or 6″ x 8″), making them sturdy yet easy for plants to climb.
Cattle panels typically come in metallic silver or gray due to their galvanized steel coating, which helps prevent rust. Some panels may also be available in black, green, or other coated finishes, but silver/gray is the most common.
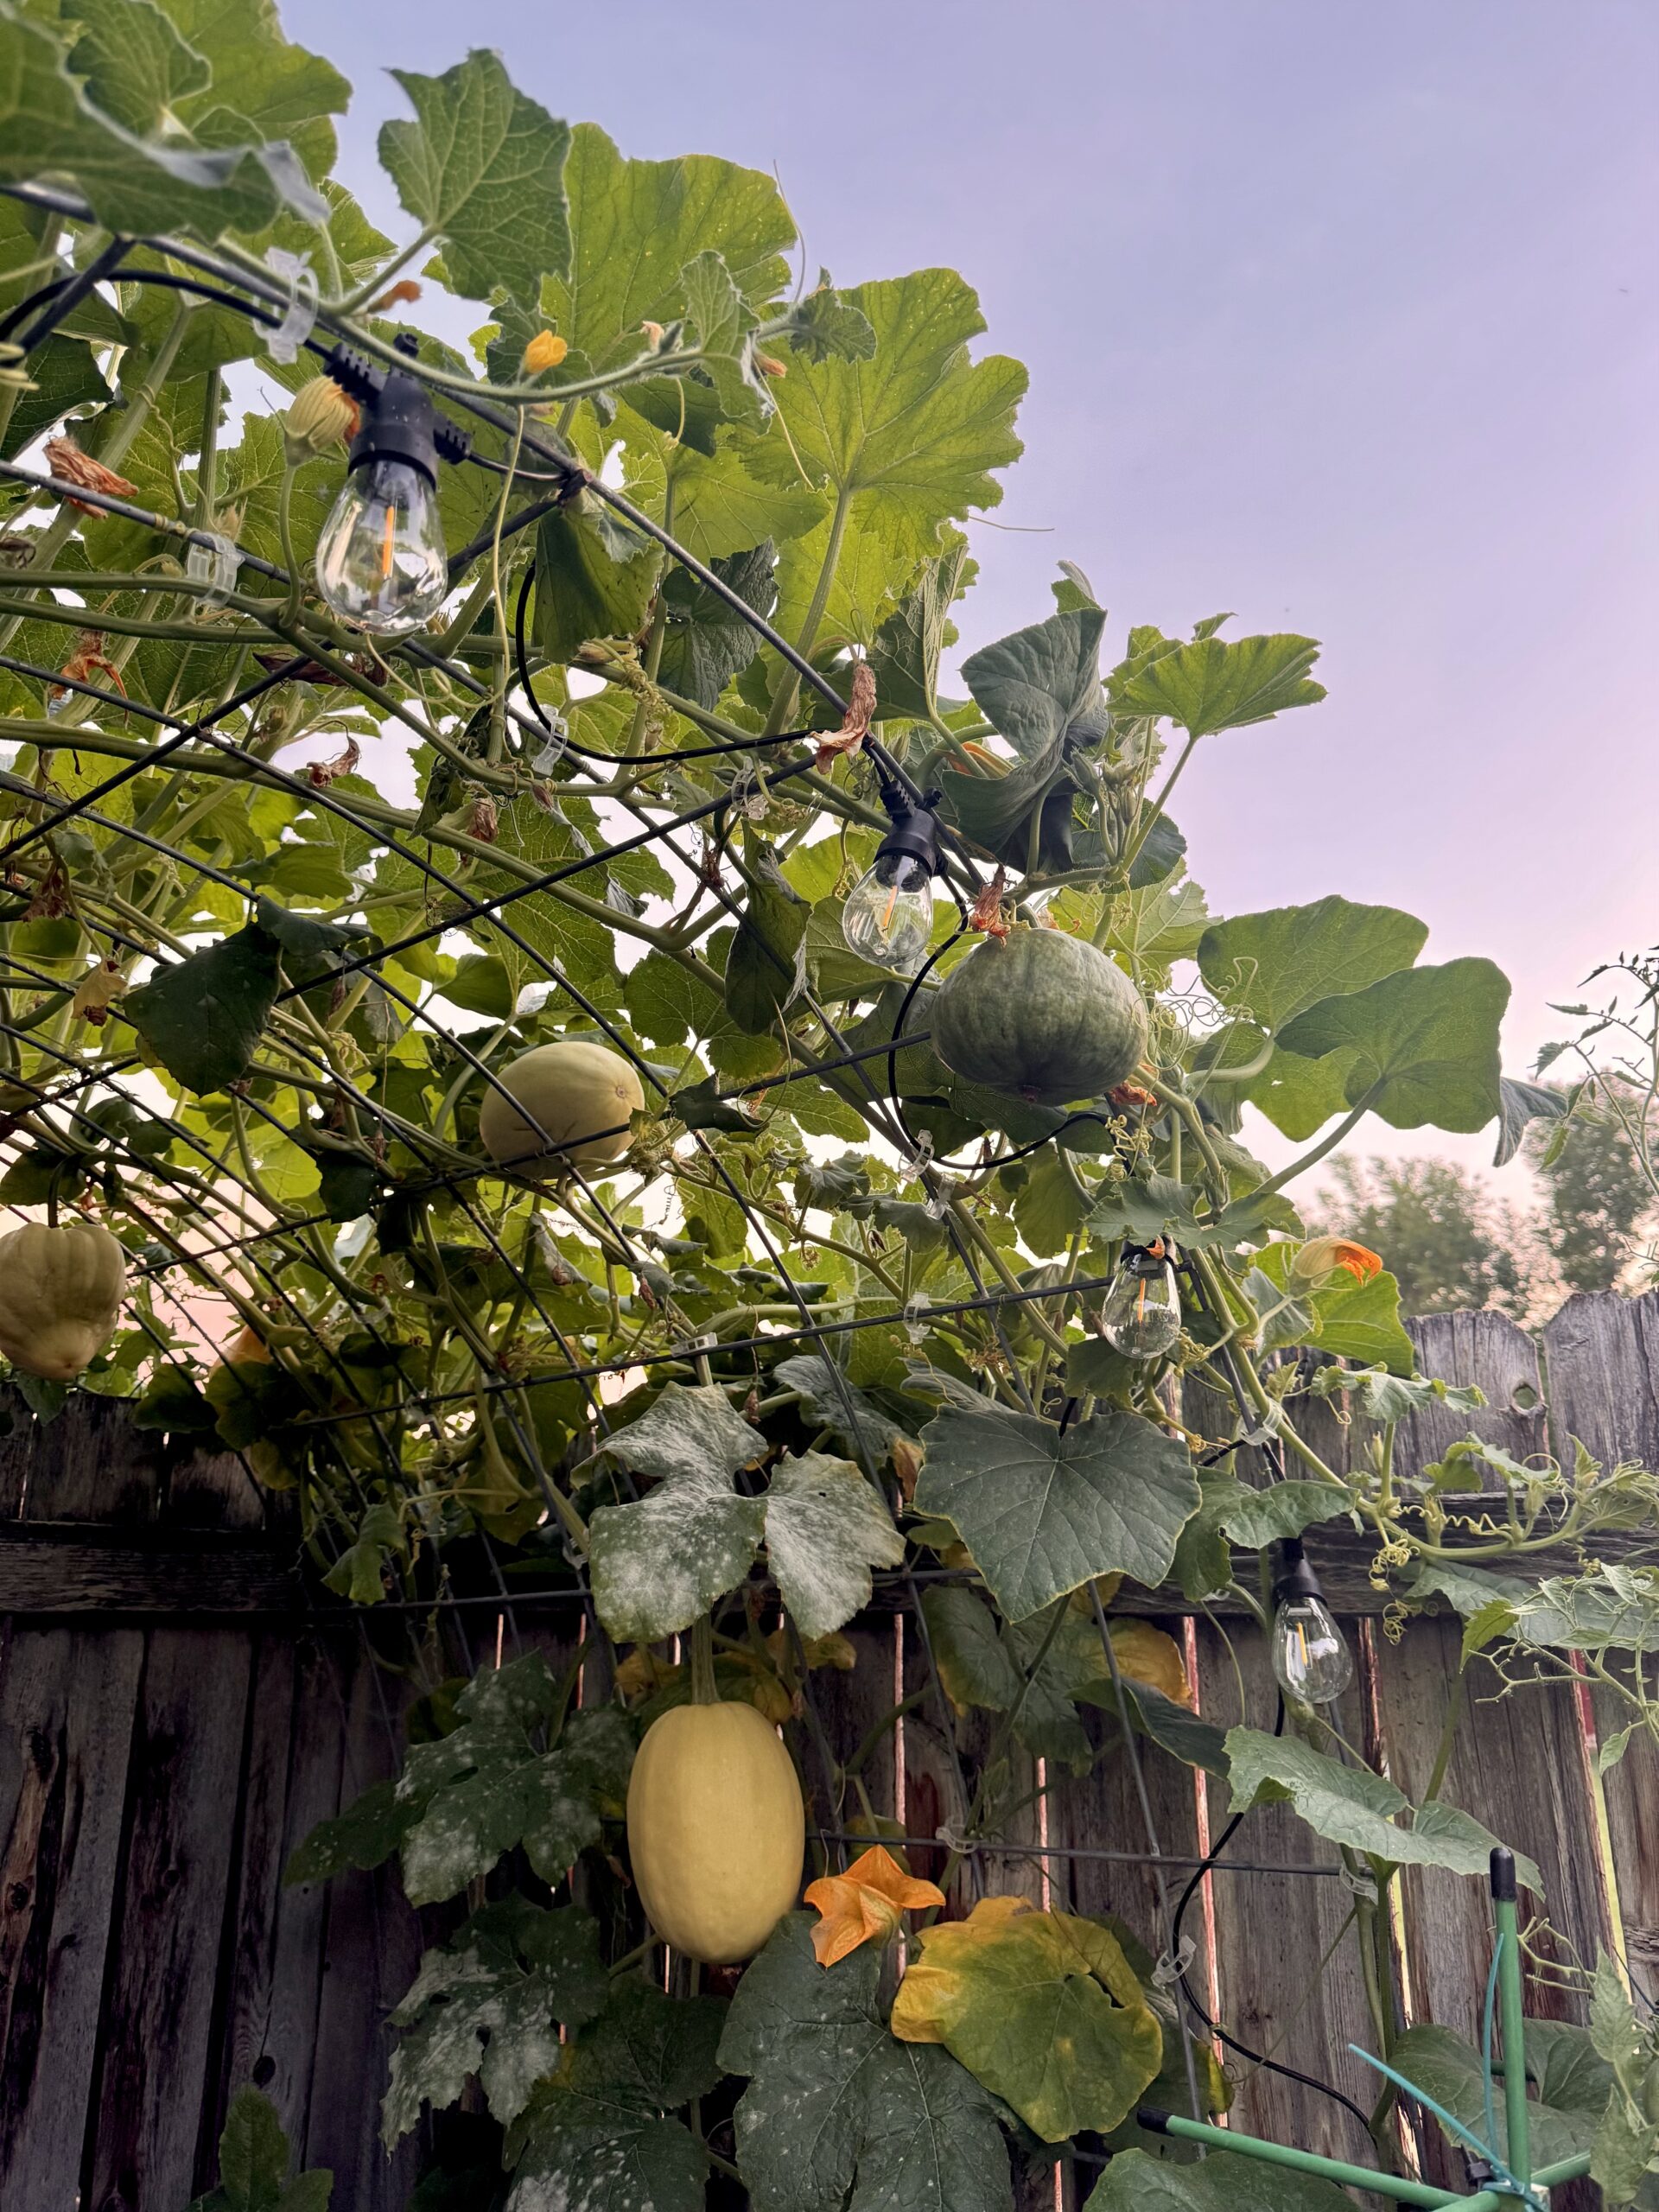
To buy cattle panel in person, I went to IFA for a 16-foot panel (which is what I recommend for arch trellises specifically, and will talk about more below). Home Depot on the other hand only had up to 8-foot panels. The shorter panels are still beneficial for flat trellises (pictured).
Why Gardeners Use Cattle Panel for Trellises
Gardeners love cattle panel trellises for their numerous advantages:
- Strong and Durable: Unlike plastic or wooden trellises (pictured), cattle panels can support heavy crops like pumpkins or melons without bending or breaking. That being said, I love my homemade wooden trellis and still recommend it! It has different advantages.
- Affordable and Reusable: Compared to pre-made trellises, cattle panels are a cost-effective, long-term investment.
- Easy to Install: They can be attached to T-posts, wooden stakes, or bent into different shapes to suit various gardening needs.
- Great for Vertical Gardening: Growing vining plants vertically saves space, improves air circulation, reduces disease, and makes harvesting easier.
- Versatile Design Options: Cattle panels can be shaped into various trellis shapes (see next section).
- Helps with Pest Control: Keeping plants off the ground can reduce slug, rodent, and fungal issues.
- Multipurpose Use: Beyond trellising, cattle panels can also be used for raised bed fencing, chicken coops, and greenhouse structures.
Most Common Types of Trellises Made From Cattle Panel
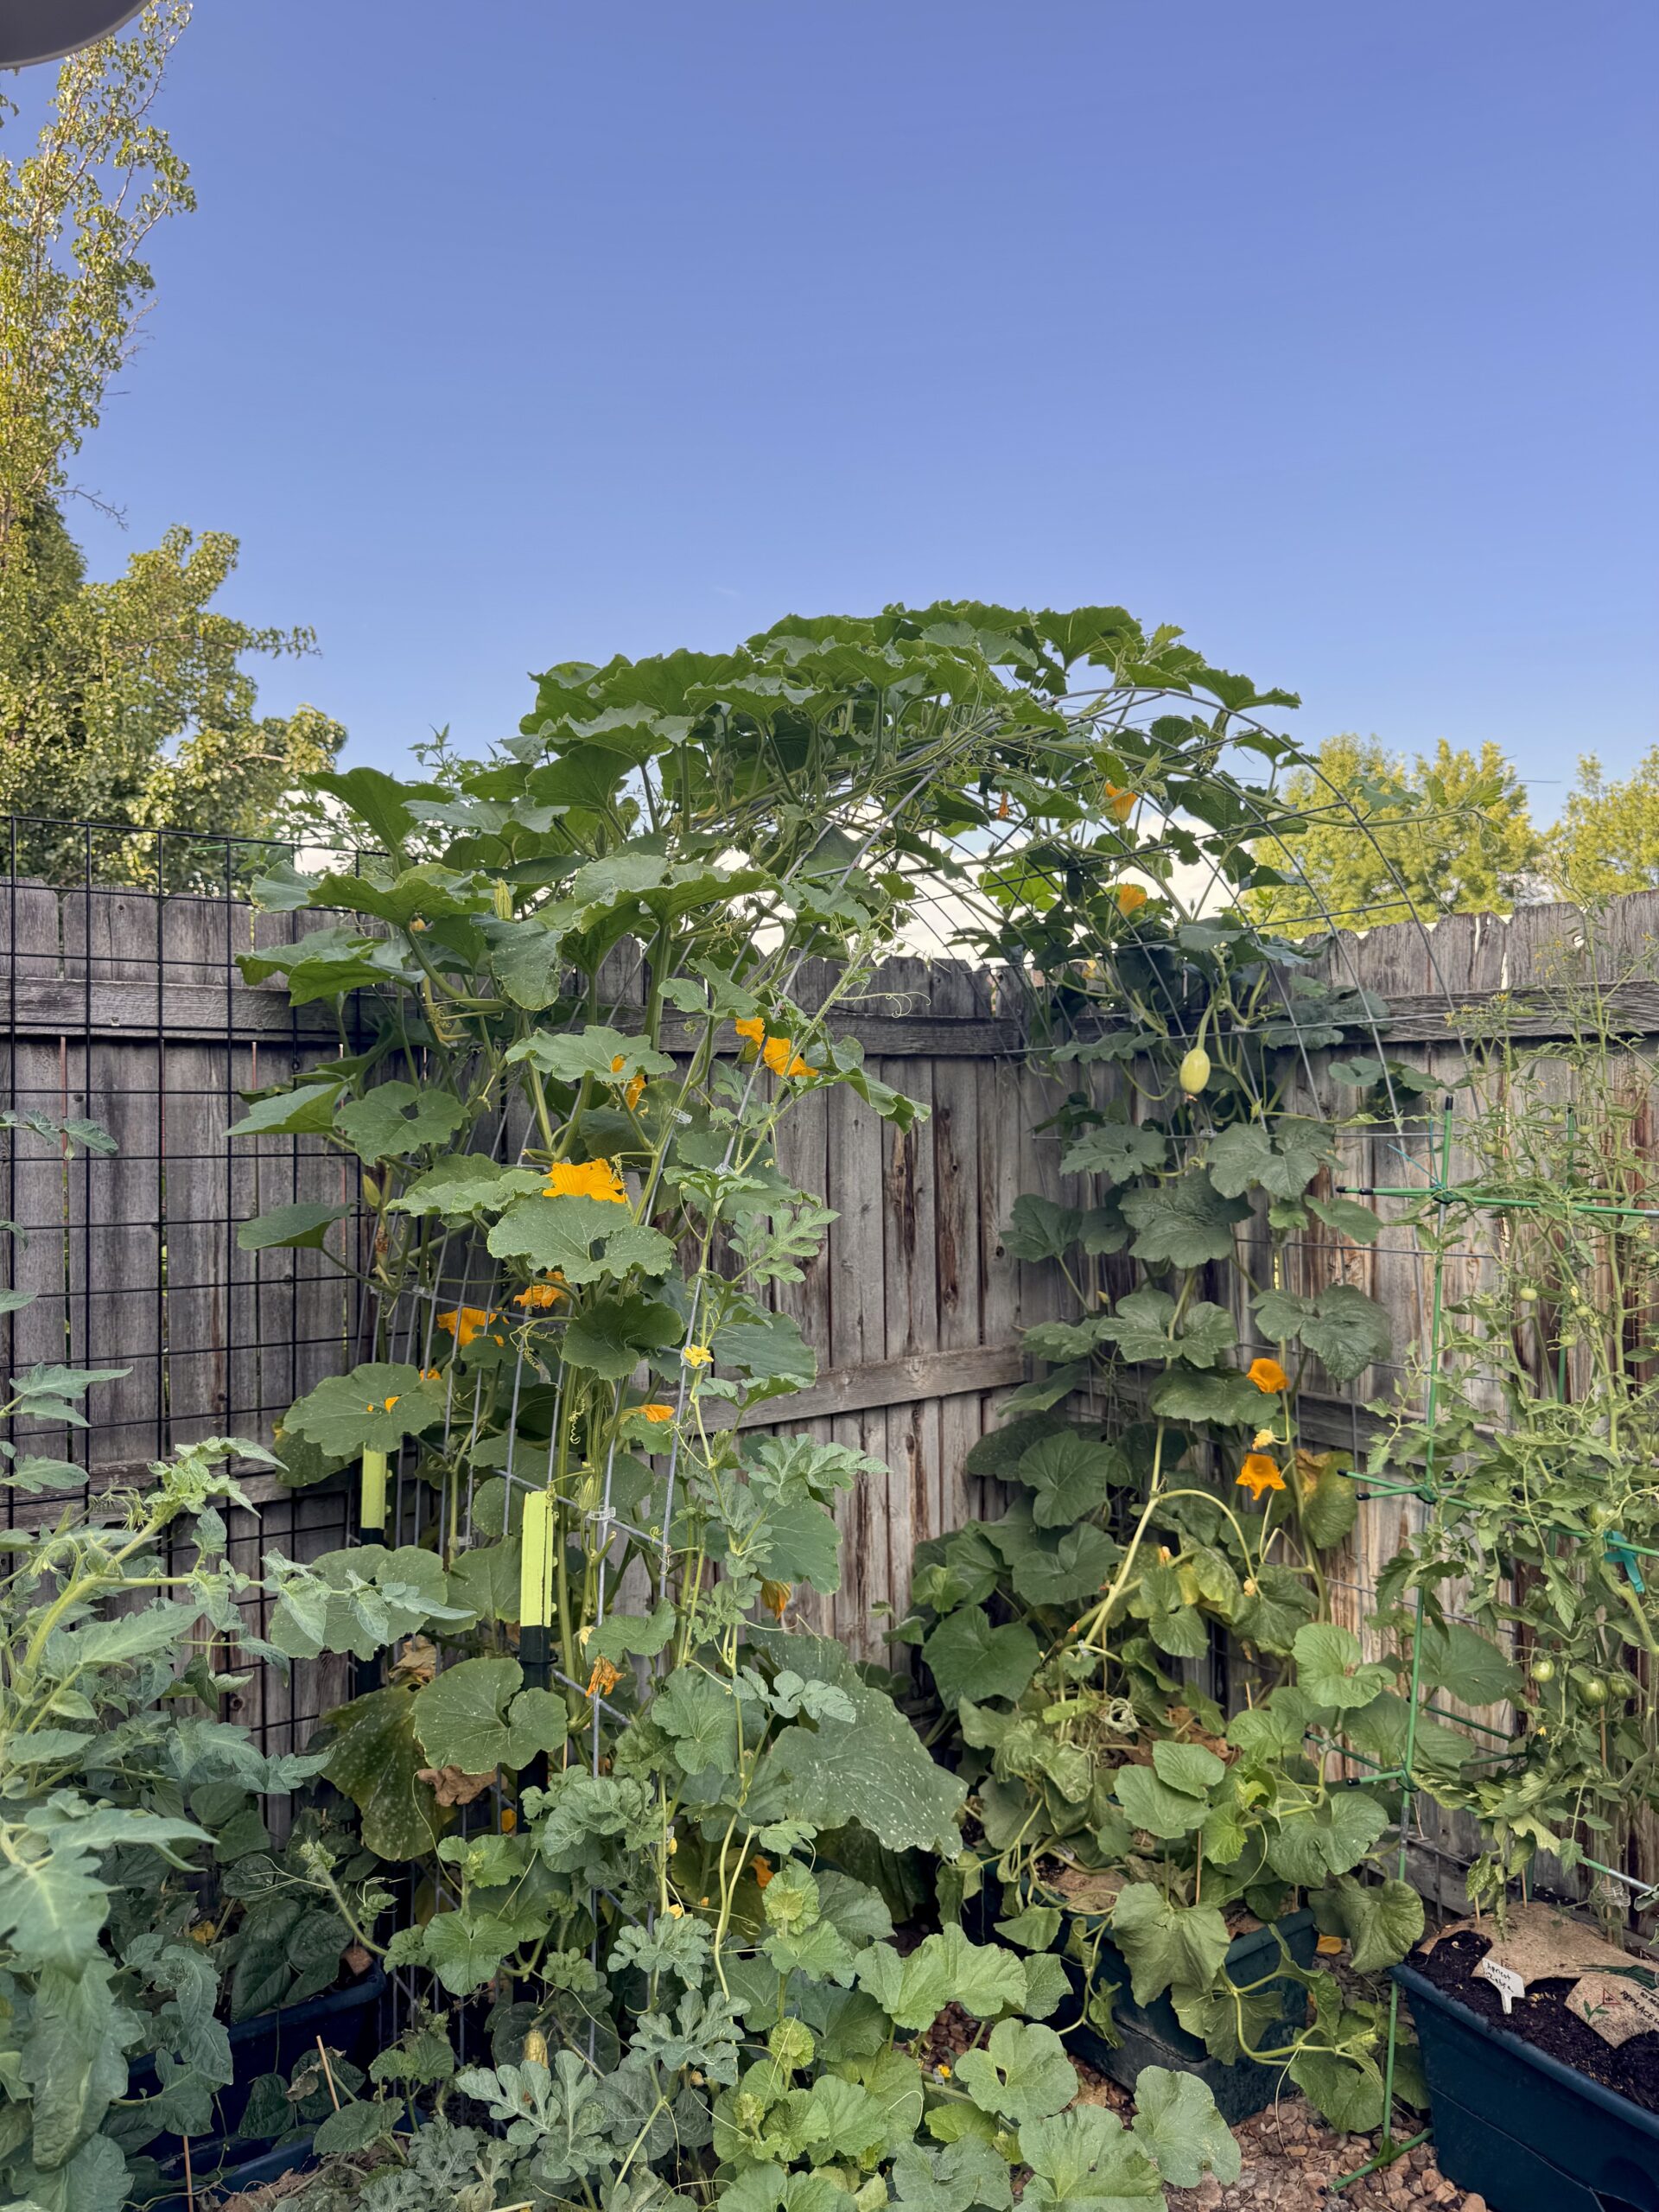
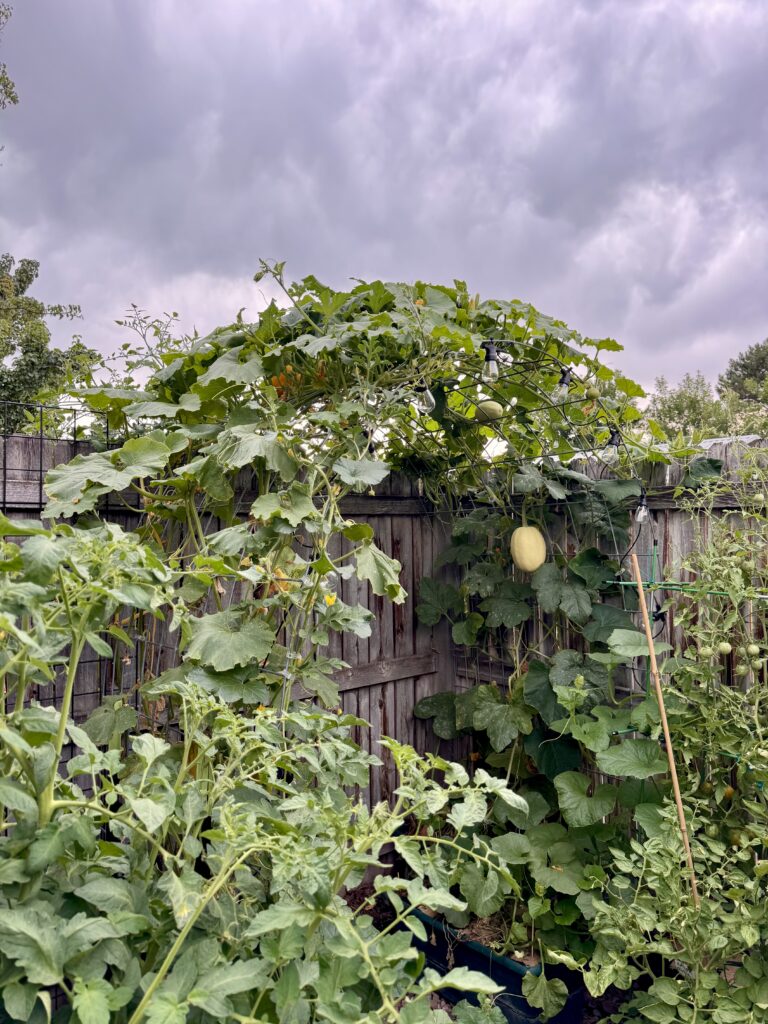
1. Arch Trellis:
A cattle panel is bent into an arch and secured to T-posts or wooden stakes on both sides, creating a tunnel-like structure. These are best for:
- Cucumbers
- Pole beans
- Peas
- Squash
- Small melons (with support slings)
- Flowering vines (morning glories, sweet peas, etc.)
| Pros | Cons |
| Creates a shaded walkway or garden tunnel | May require at least two people to bend and position the panel |
| Improves air circulation and helps prevent plant diseases | Needs strong posts for stability |
| Makes harvesting easy since fruits hang down naturally | |
| Adds an aesthetic element to the garden |
2. A-Frame Trellis:
A cattle panel is cut and folded into an A-shape, with both ends secured to stakes, creating a self-supporting triangular trellis. These are great for:
- Cucumbers
- Zucchini
- Pole beans
- Peas
- Gourds
| Pros | Cons |
|---|---|
| Sturdy and free-standing – doesn’t require extra fencing | Requires cutting the cattle panel (bolt cutters recommended) |
| Provides shade underneath for cool-weather crops | Can take up more space than a vertical trellis |
| Easy to access plants from both sides |
3. Vertical Trellis:
A cattle panel is mounted upright against T-posts, fencing, or a raised bed, forming a flat, vertical growing surface. These are best for:
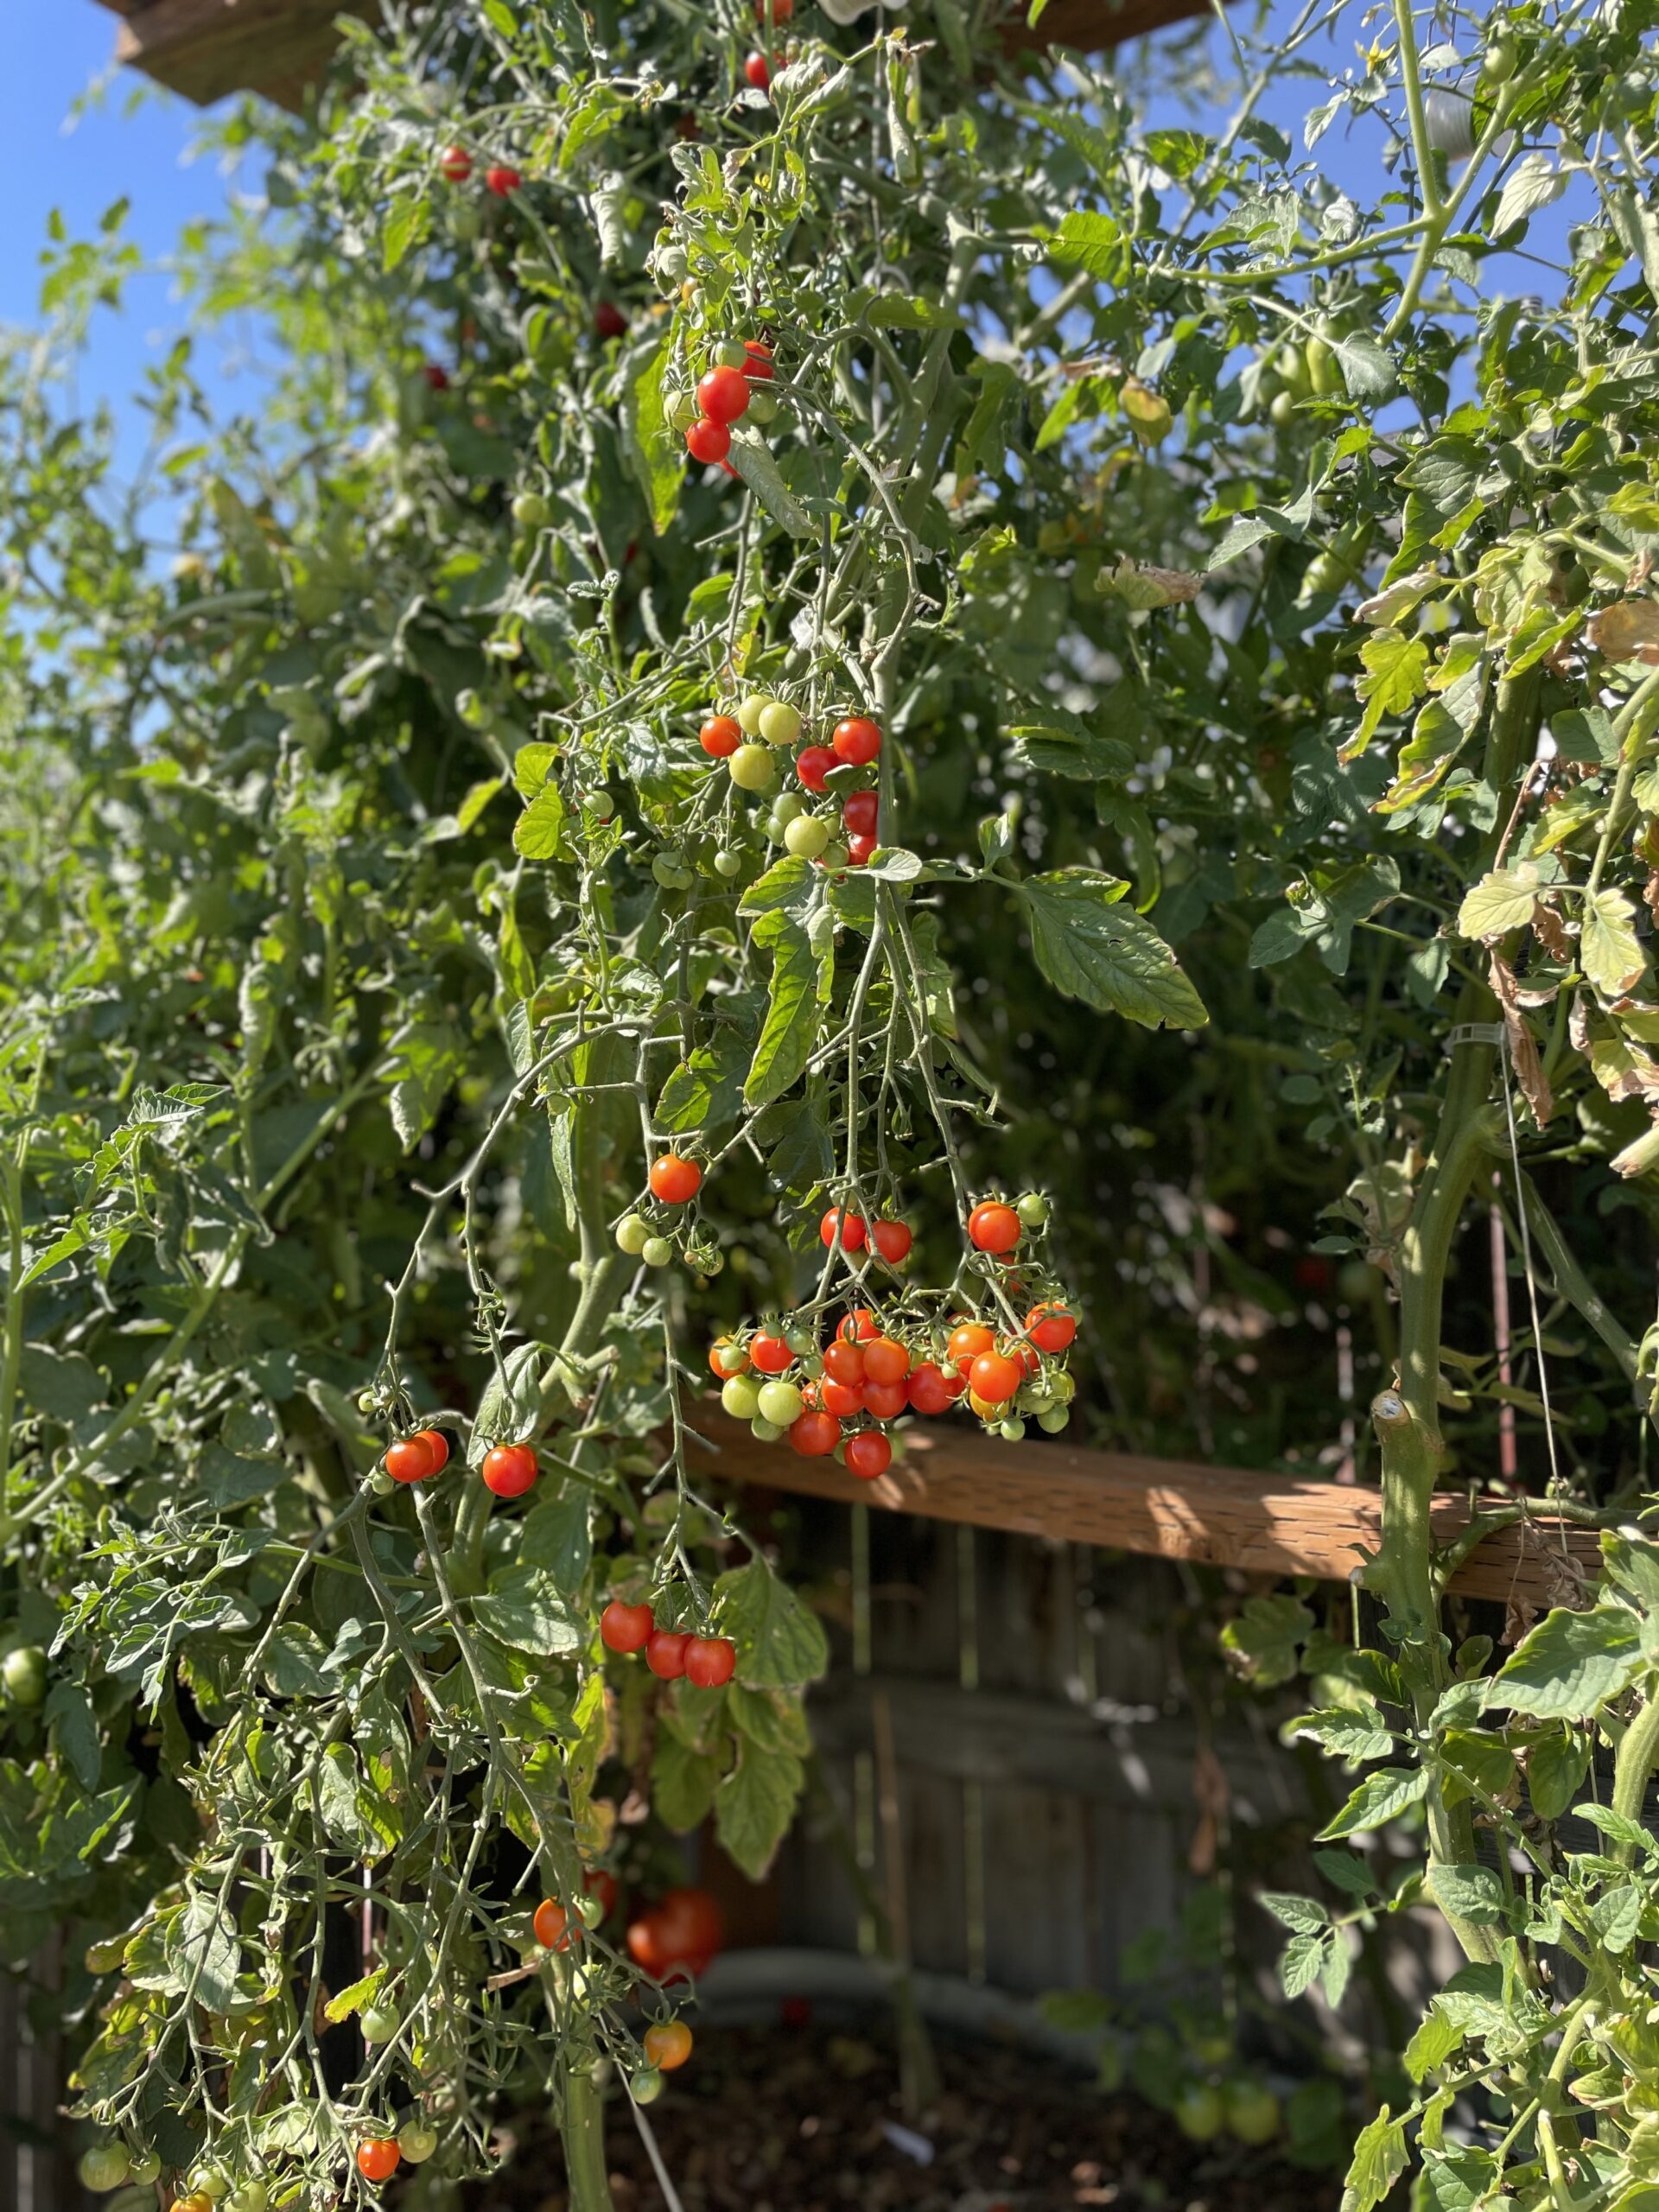
- Tomatoes (especially indeterminate varieties)
- Peppers
- Cucumbers
- Peas
- Beans
| Pros | Cons |
|---|---|
| Saves garden space; great for small gardens | Might require additional horizontal supports for tall plants like tomatoes |
| Strong support for heavy vines | Can be difficult to reach plants on the back side if placed against a fence |
| Easy to install with minimal bending |
Which One is Best for You?
| Trellis Type | Best For |
| Fence-Style Trellis | Maximizing growing space along a garden border |
| Arch Trellis | Aesthetics and creating walkways or garden tunnels |
| Vertical Trellis | Small spaces and saving ground space |
| A-Frame Trellis | Compact, sturdy support for heavier crops |
| Hoop Trellis | Season extension and creating shaded areas |
Materials Needed
Note that some of the materials are for arch trellising, while others are for flat trellising. Plan ahead to know which type of trellis you are building, and which materials you will need. Click on the item to be directed to a link to it.
- Cattle Panel: Typically 16 ft long x 50 in wide
- T-posts: 5-6 ft tall, at least 2 but preferably 4 for extra stability
- Zip Ties, Wire, or U-bolts: For securing the panel
- Hammer or Post Driver: For installing T-posts
- Measuring Tape: To position posts correctly
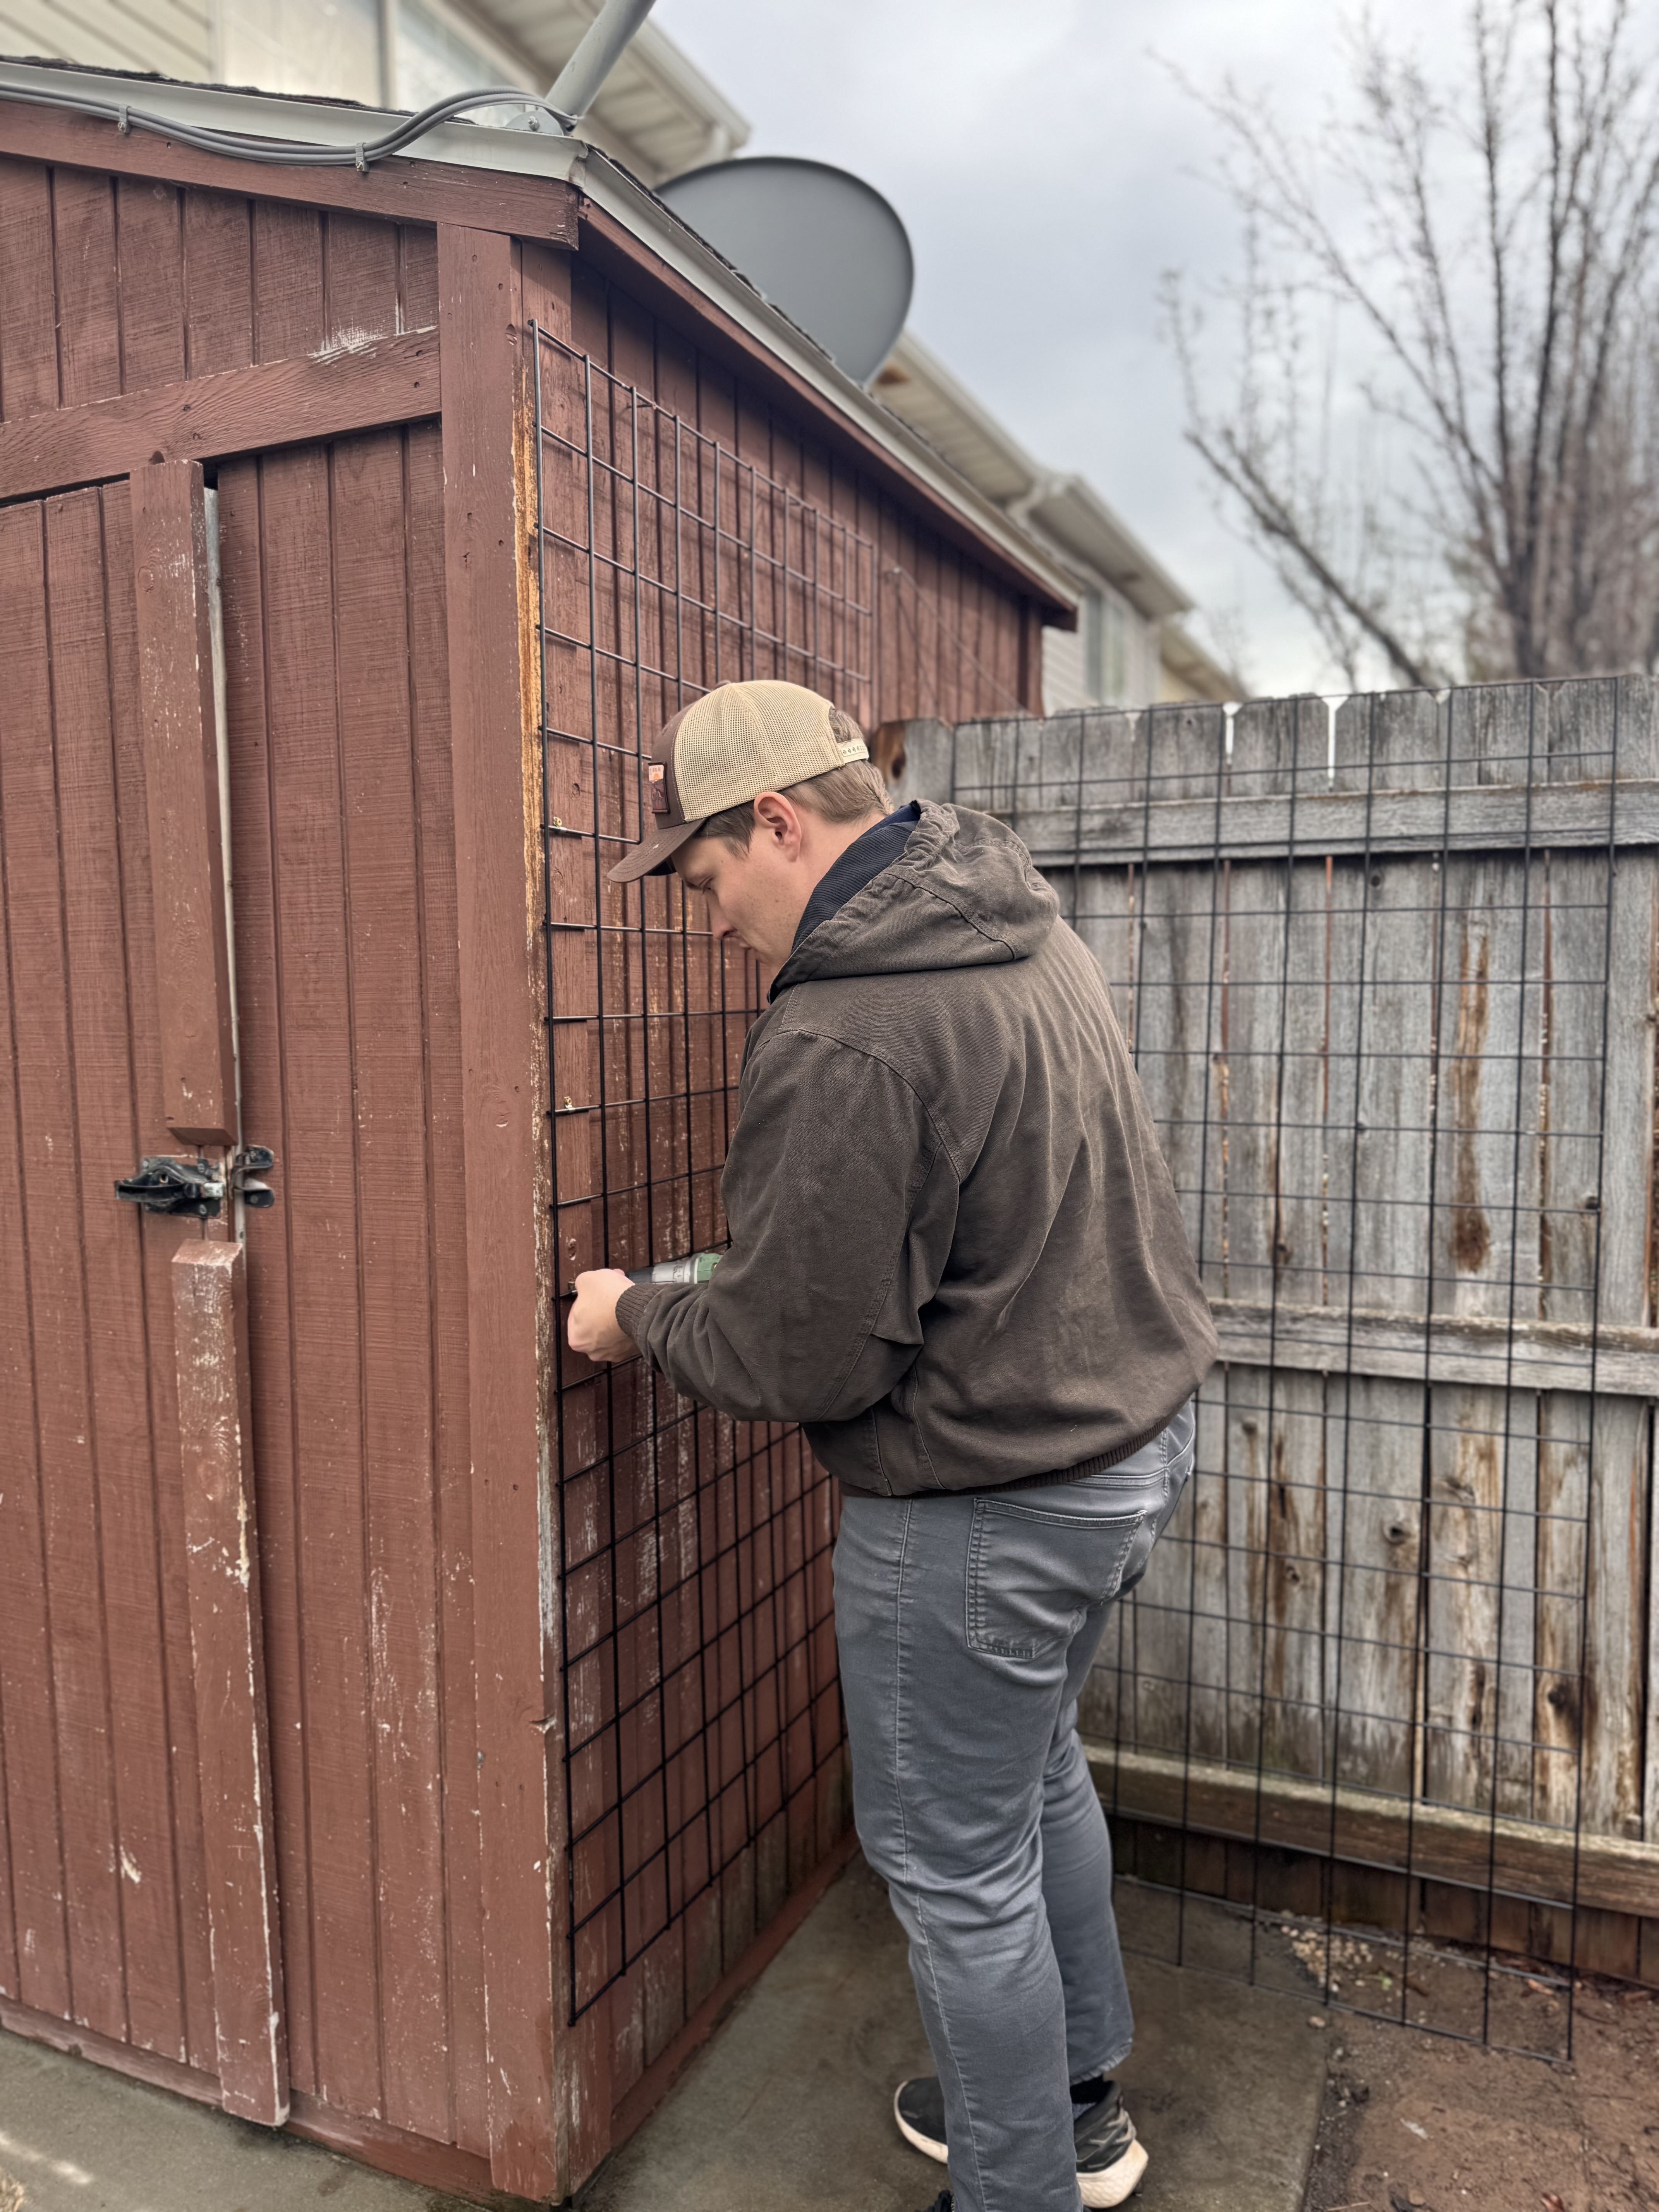
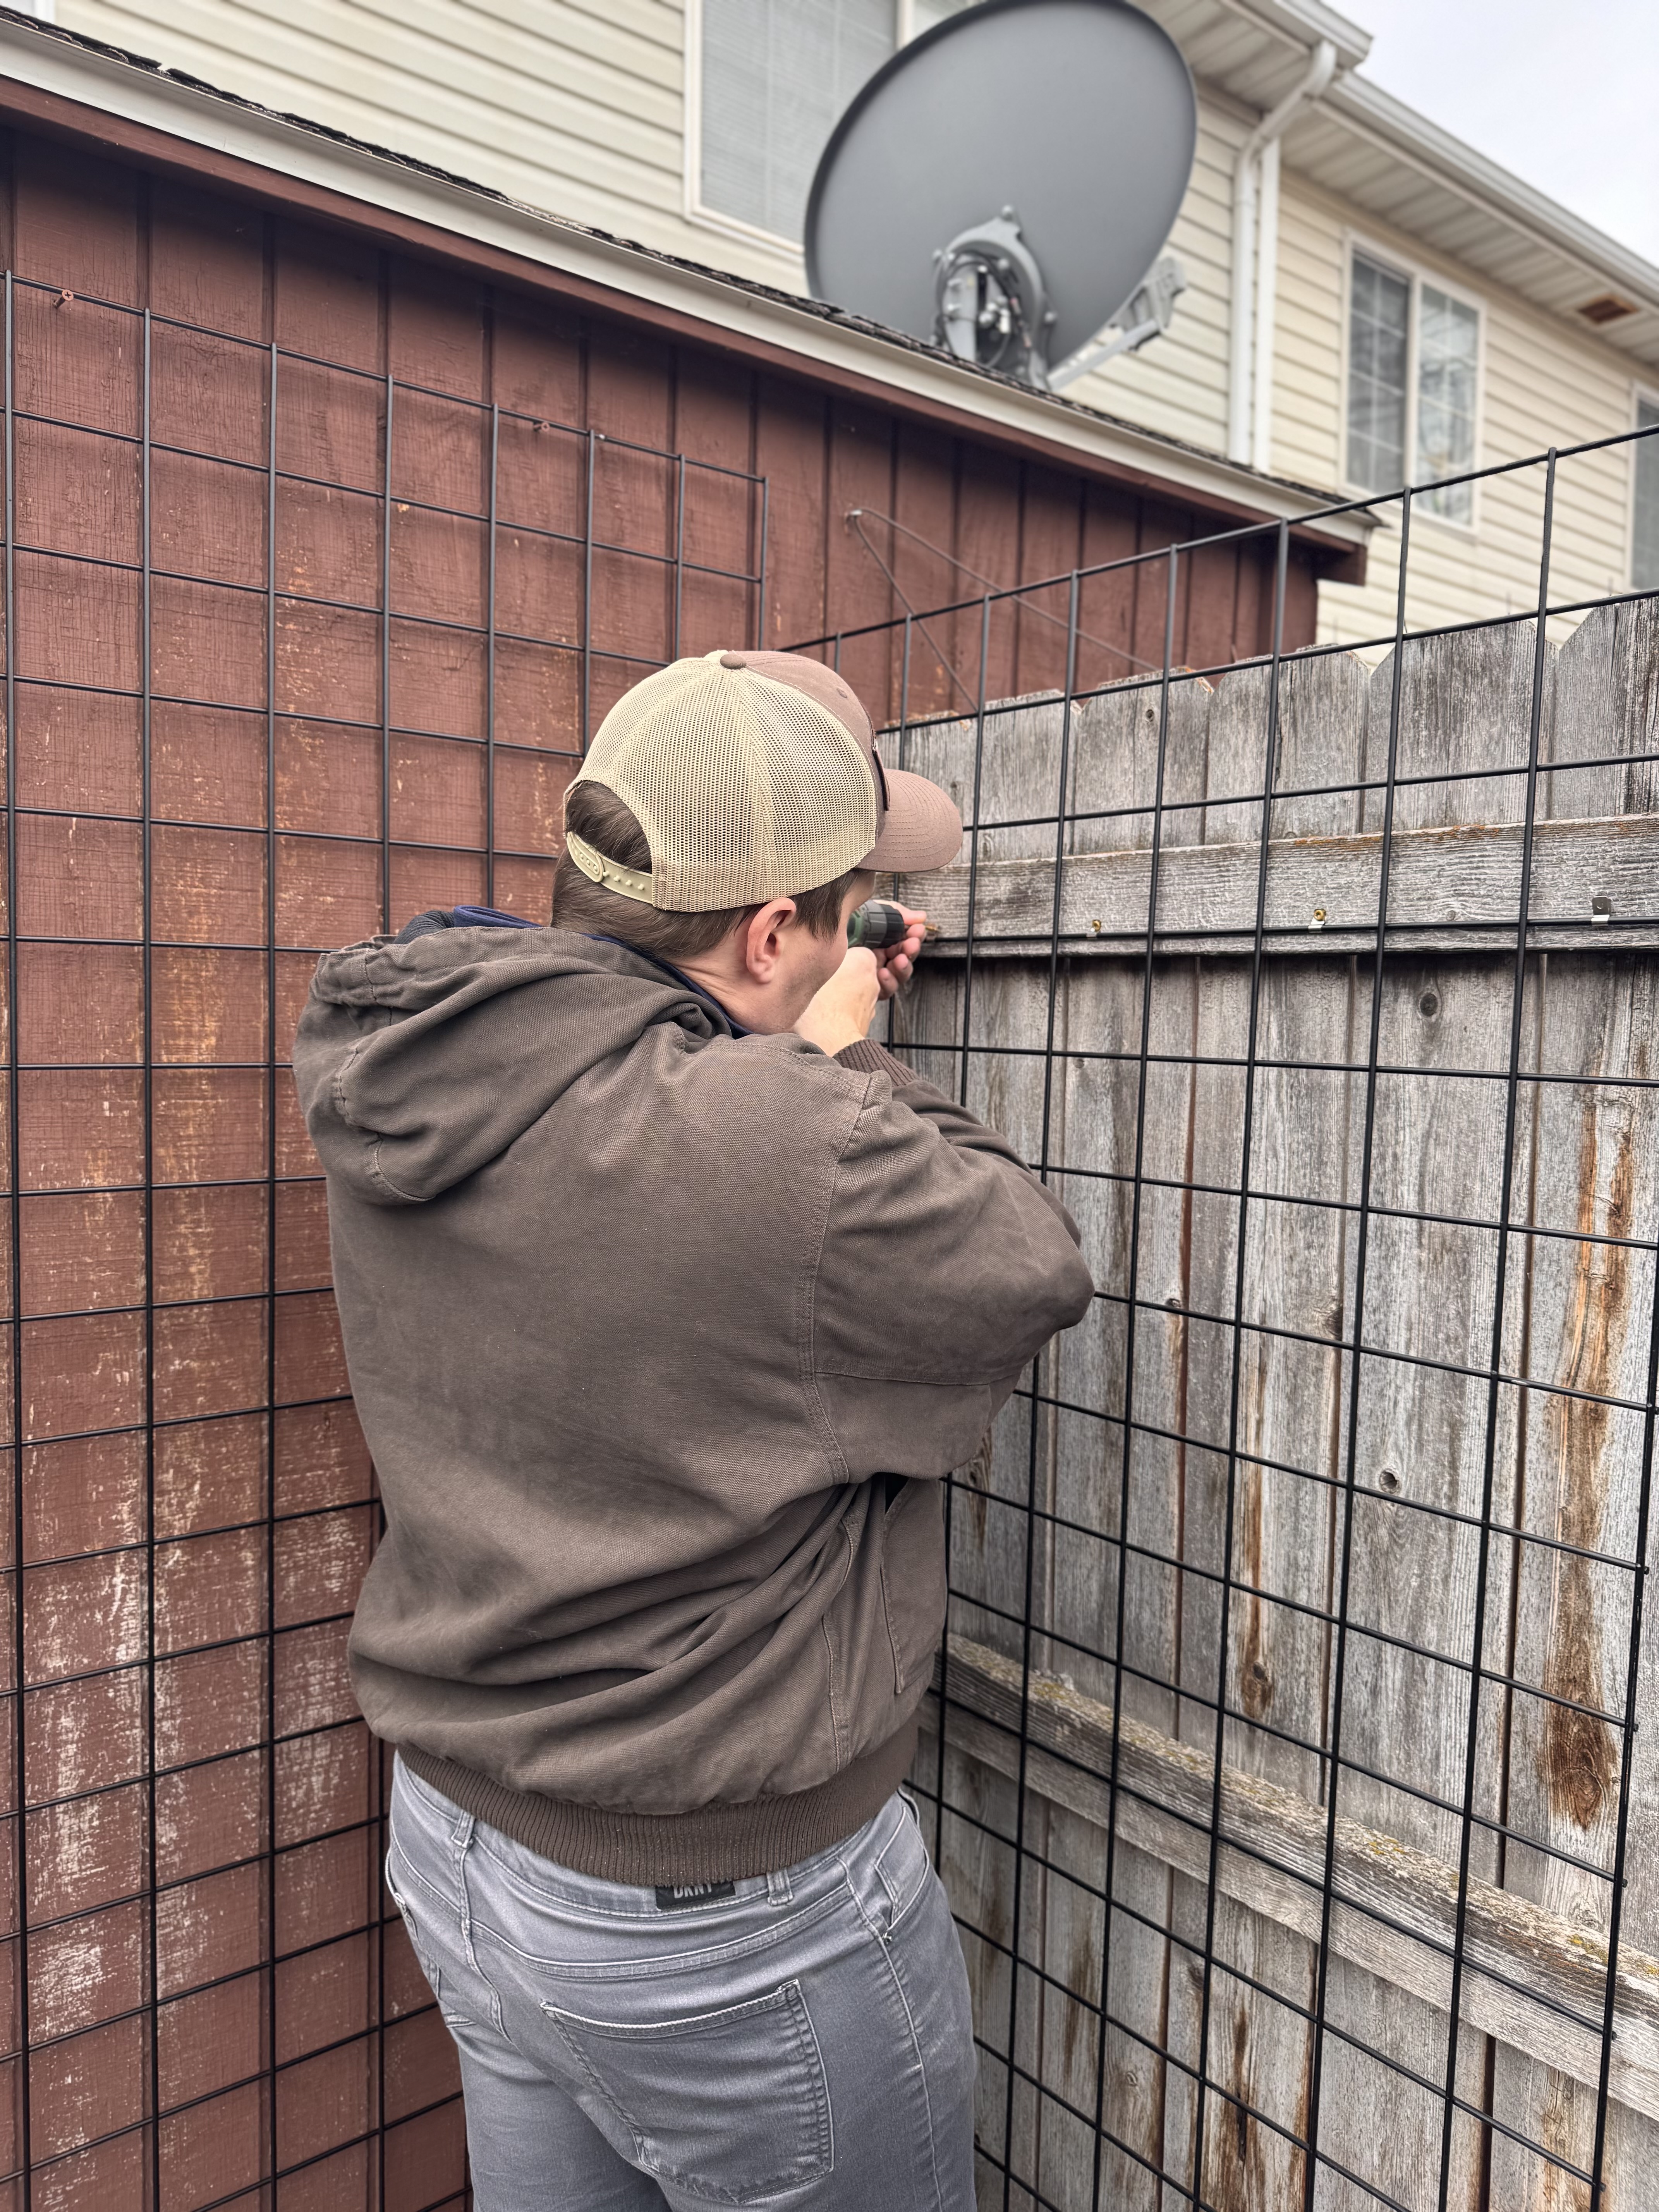
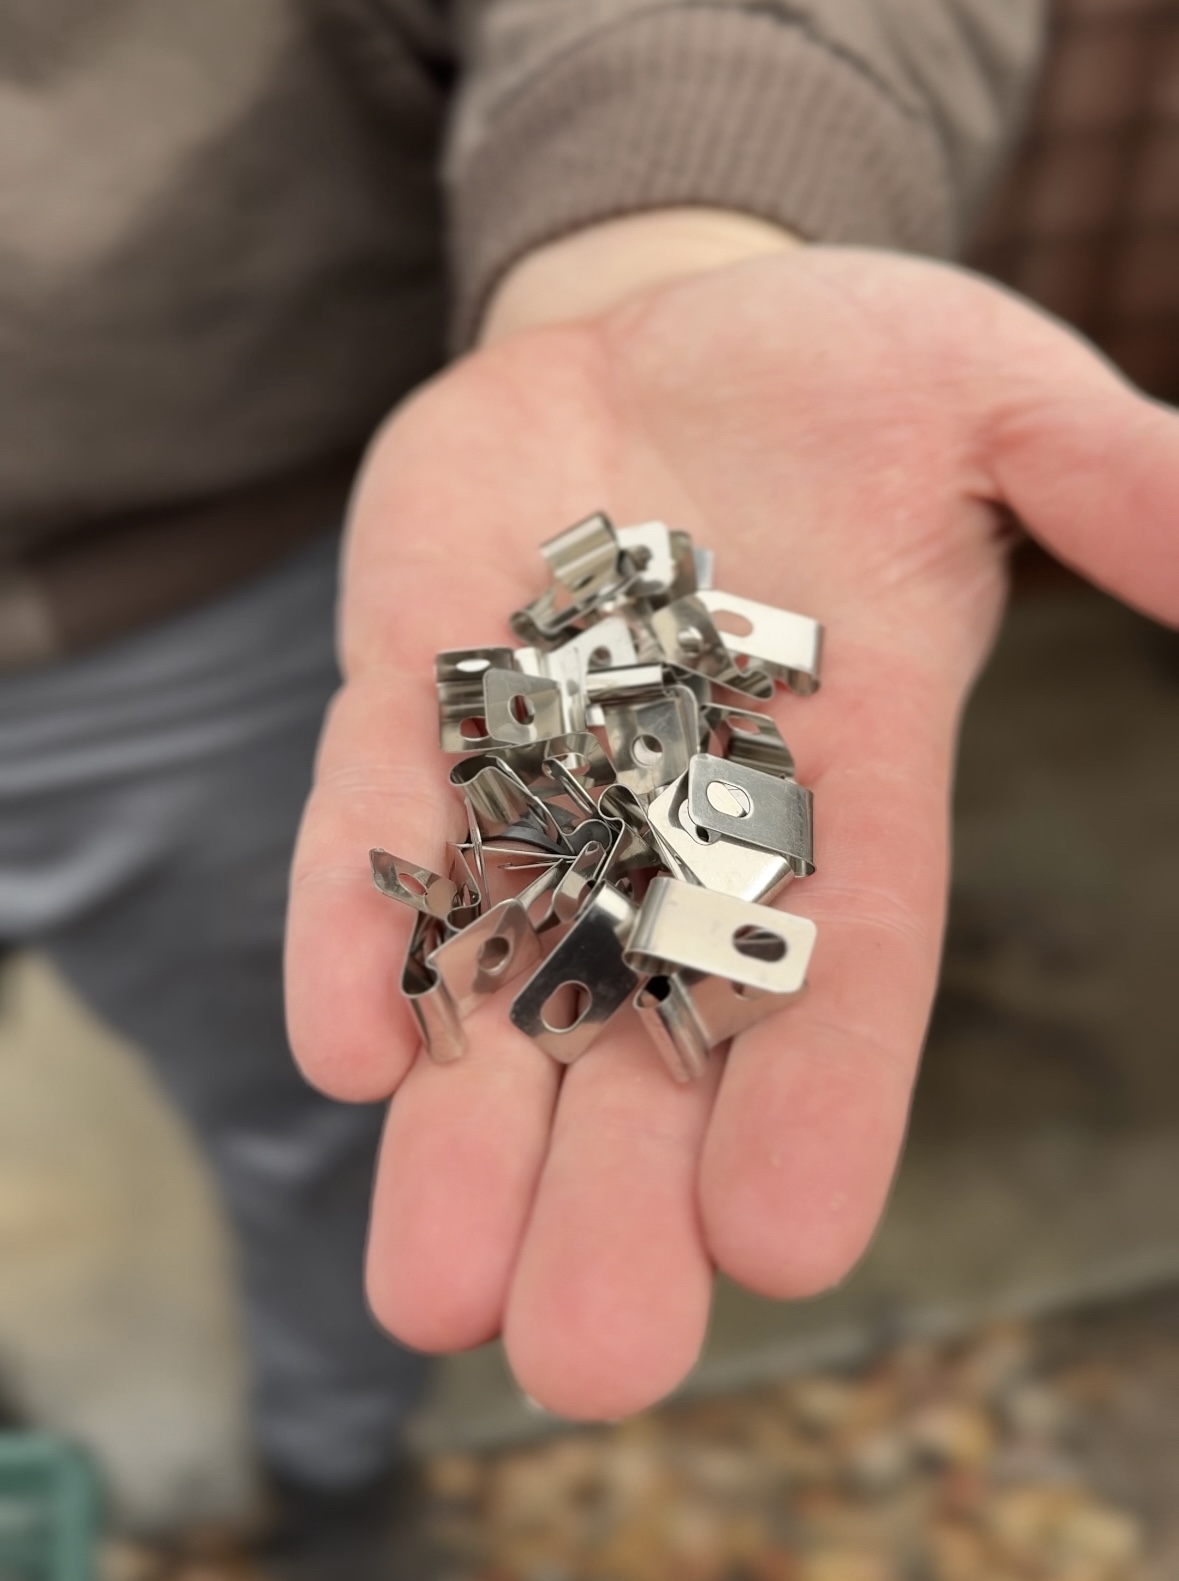
- Fence Clips: Pictured; to attach to the panel and allow you to screw the panel into a fence or wall
- Screws: To attach the panels into a fence or wall
- Cordless Drill: For installing screws
- Gloves: Optional; to protect hands from sharp edges
Step-by-Step Instructions to Install an Arch Trellis
- Choose a Location: Pick a spot in your garden that gets plenty of sunlight (6+ hours per day). If creating an arch, ensure there’s enough space (4-6 feet wide between the base posts).
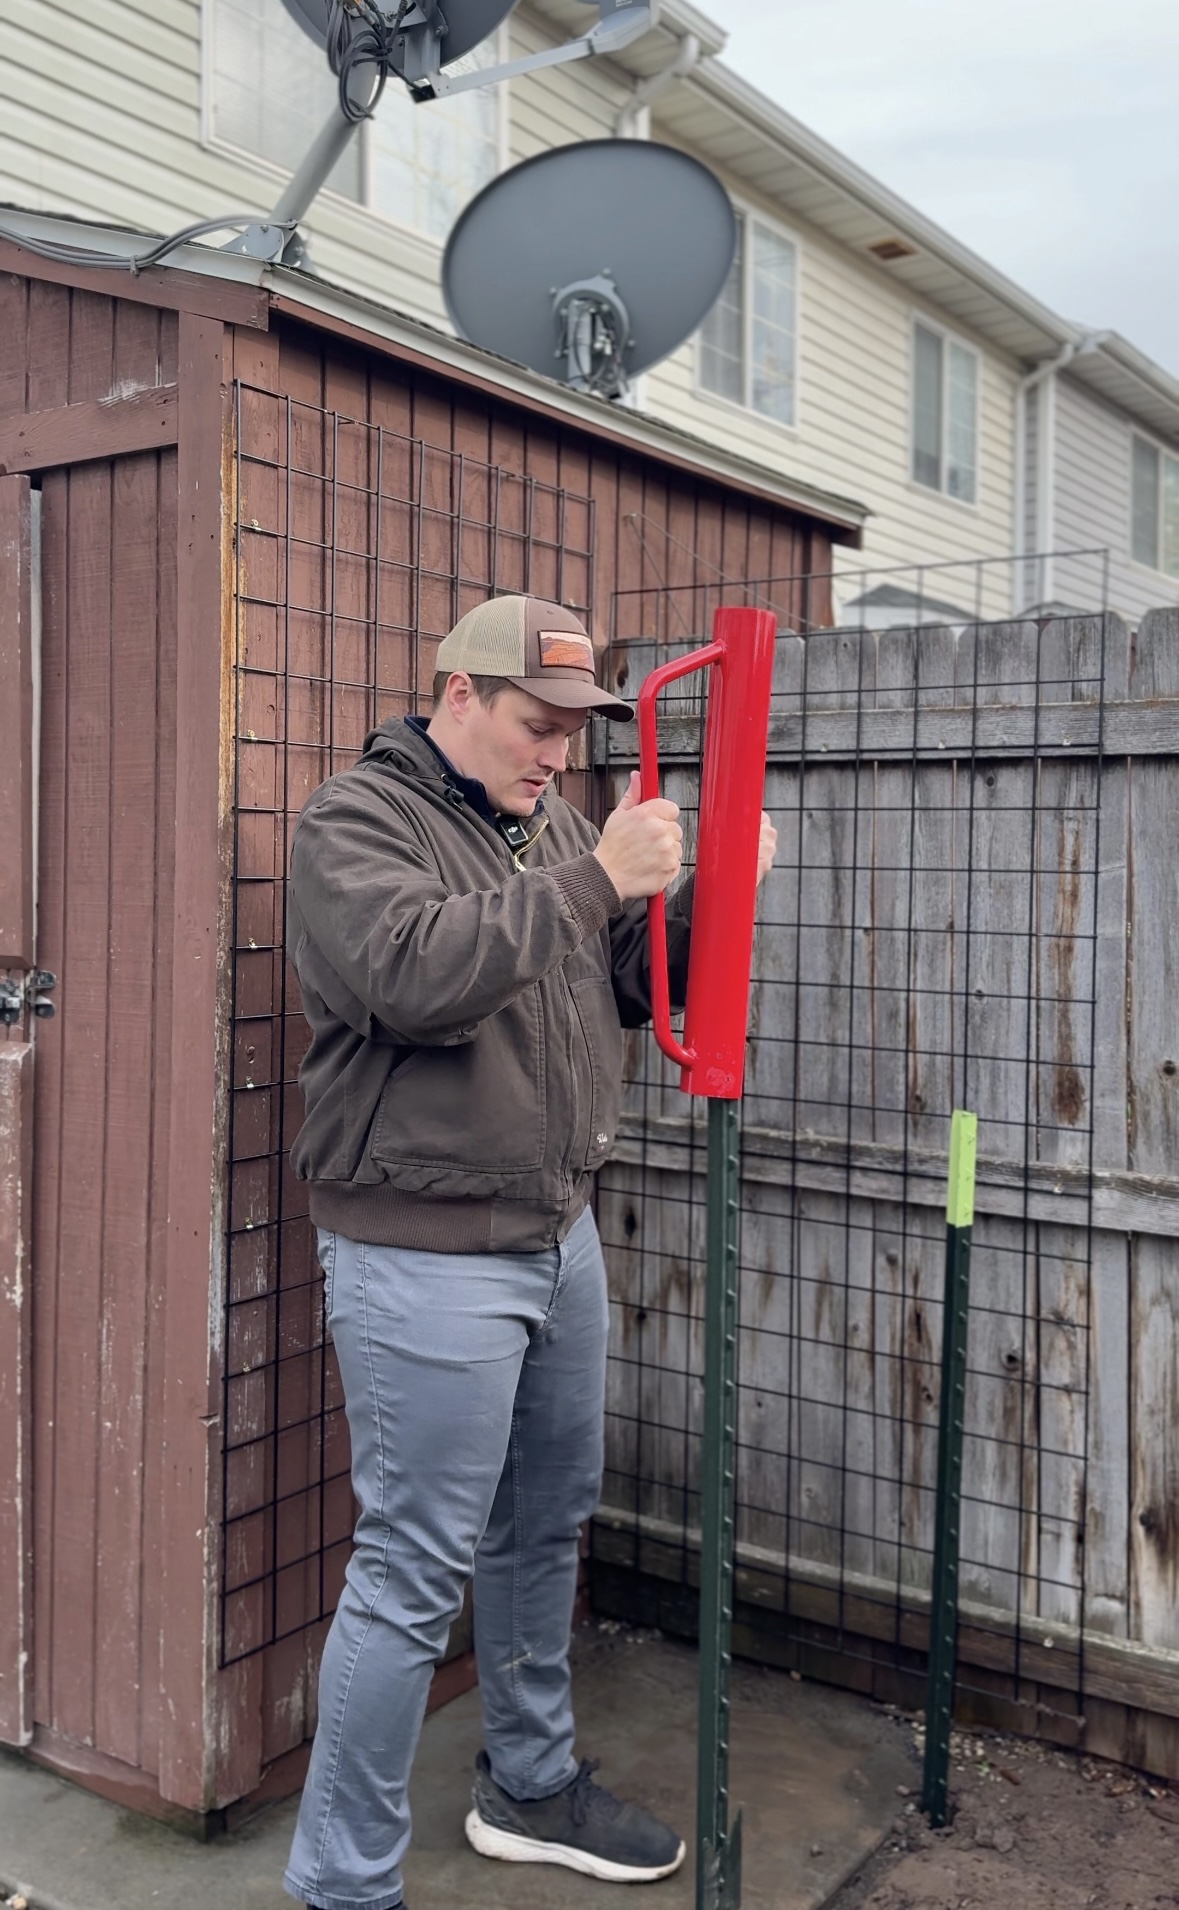
- Install the T-Posts: Measure and mark where the T-posts will go. Hammer or use a post driver to insert the T-posts about 12 inches into the ground. Place them 4-6 feet apart, depending on the width of your arch.
- Position the Cattle Panel: Bend the cattle panel into an arch by pushing the ends toward the ground while holding the middle section upright. Align the ends of the panel with the inside of the T-posts.
- Secure the Panel to the Posts: Use zip ties, wire, or U-bolts to fasten the cattle panel securely to the T-posts. Attach at multiple points (top, middle, and bottom) to keep it from shifting.
- Check Stability: Gently shake the arch to ensure it’s sturdy. If needed, tighten the ties or add extra T-posts for reinforcement.
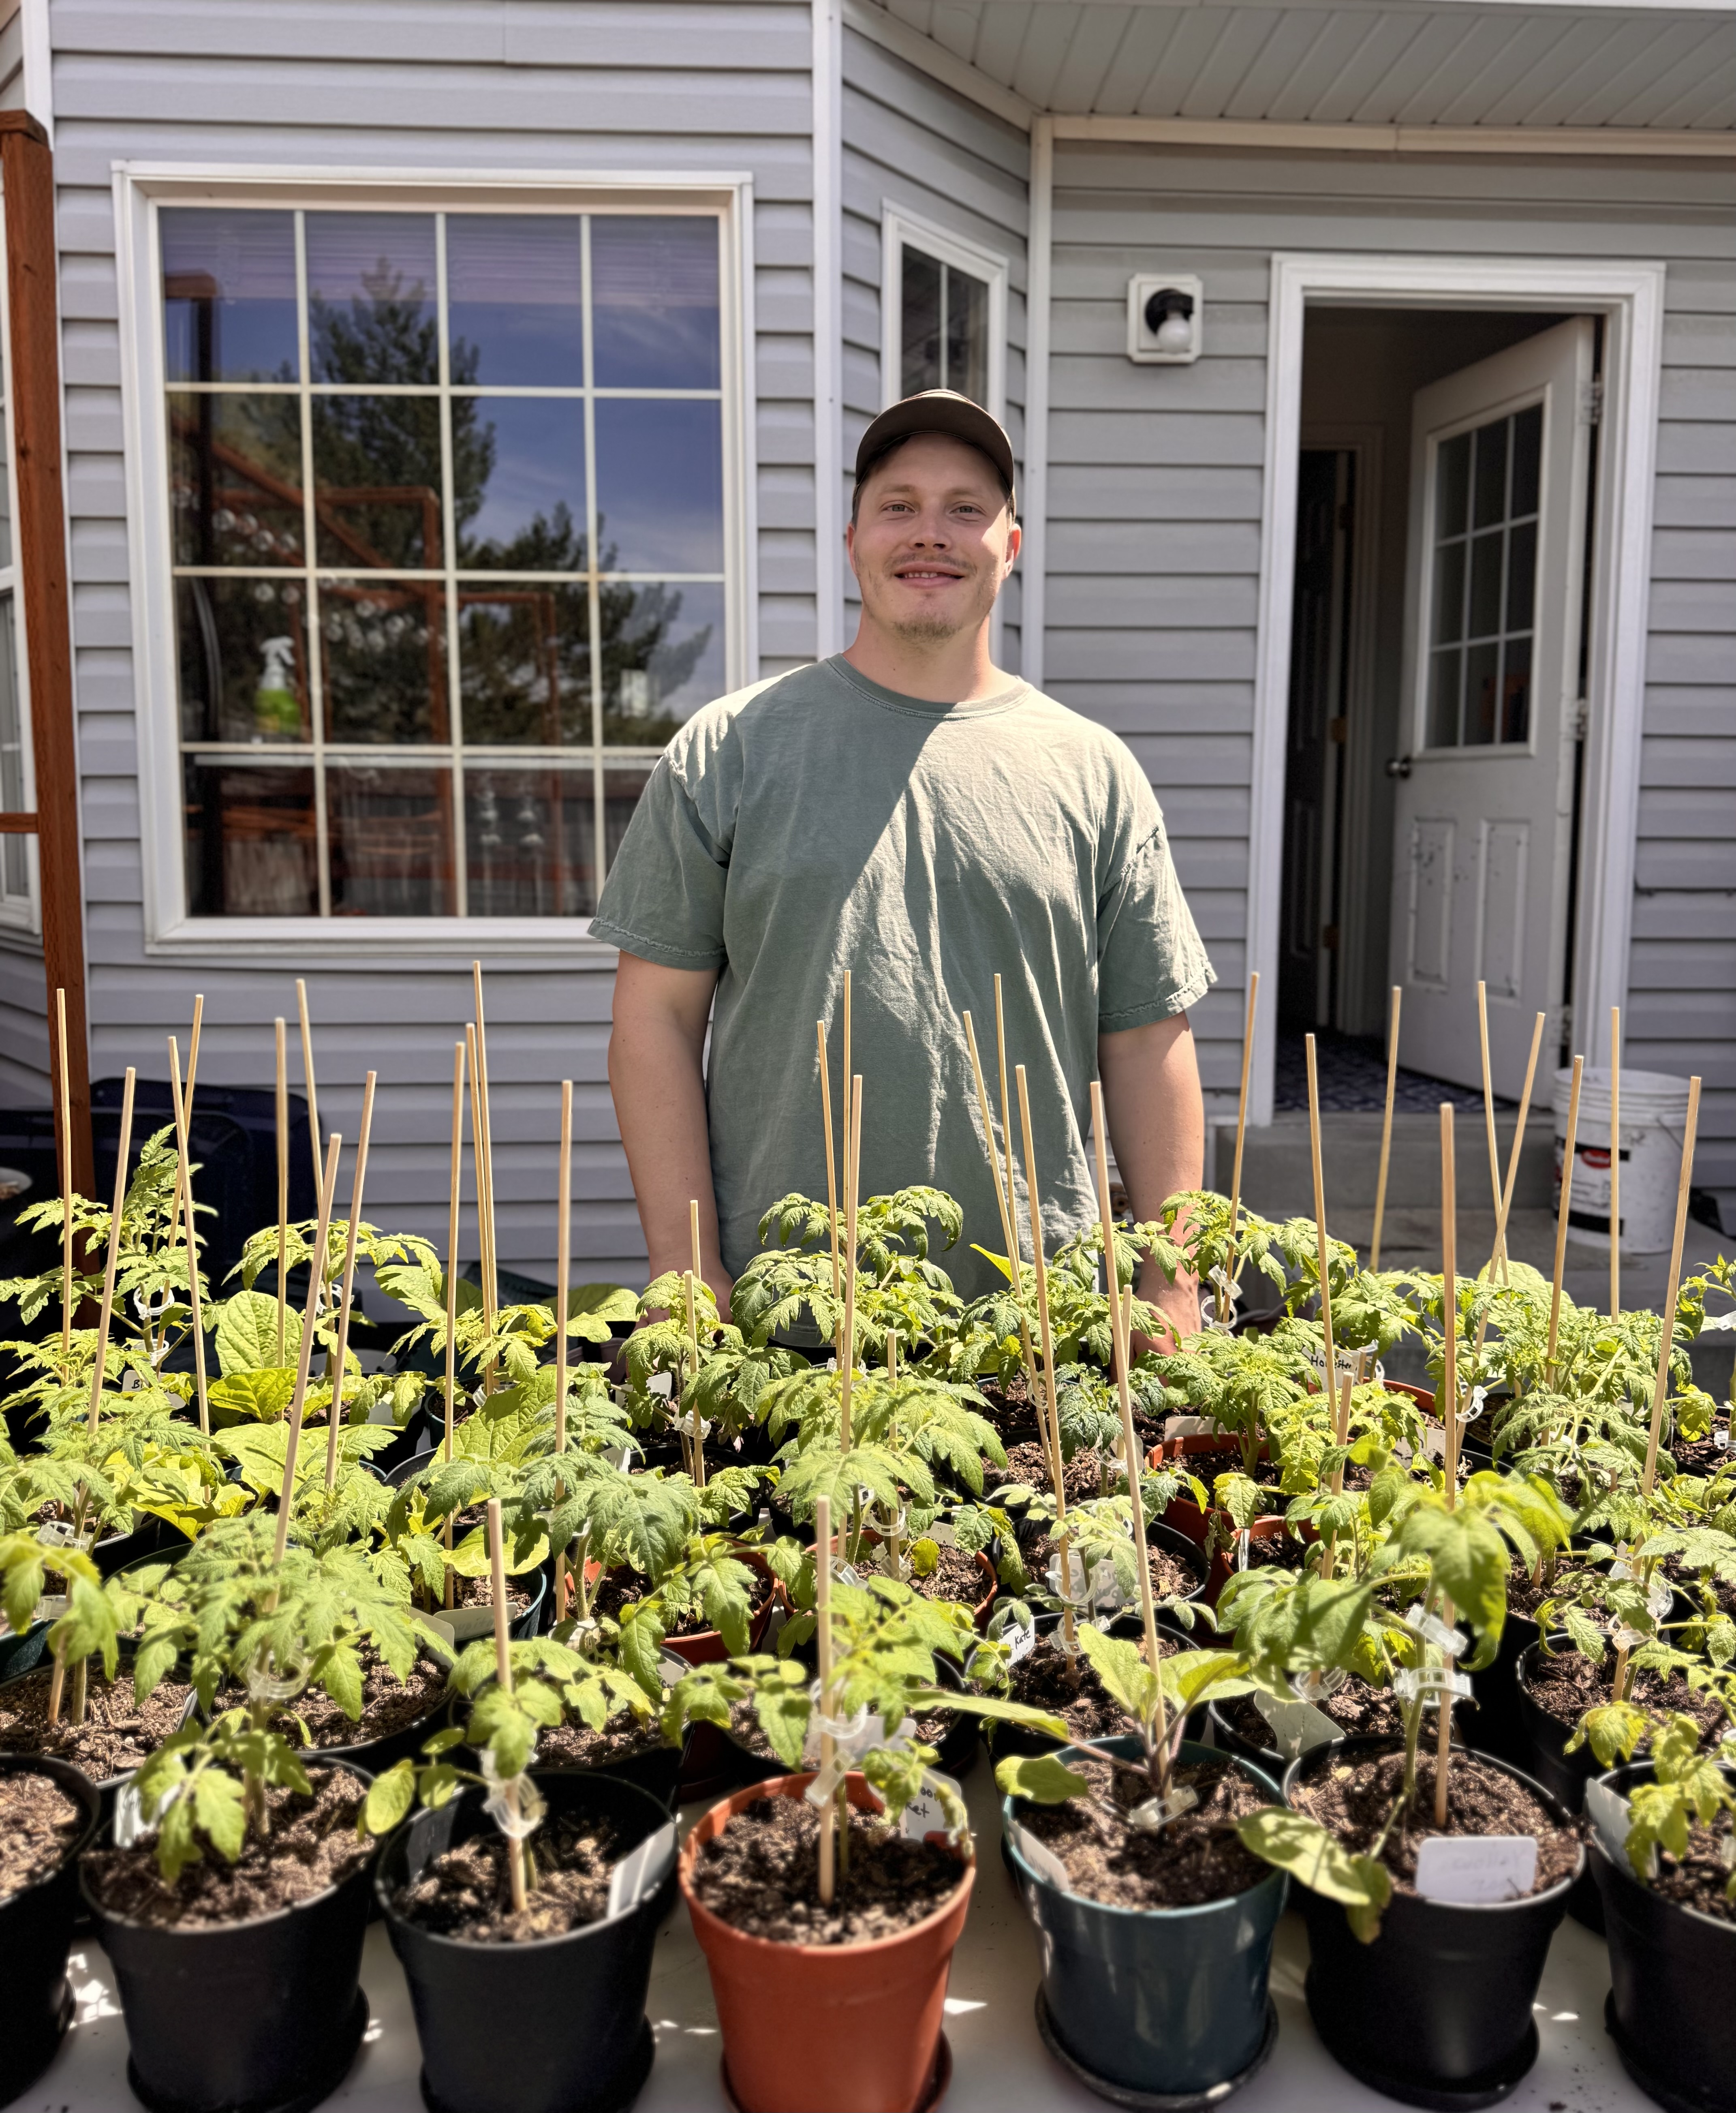
- Plant Your Crops: Plant vining plants like cucumbers, pole beans, or gourds at the base of the arch. As they grow, gently guide them onto the trellis for natural climbing.
Step-by-Step Instructions to Install a Flat Trellis
- Choose a Location: Pick a spot in your garden that gets plenty of sunlight (6+ hours per day). If creating an arch, ensure there’s enough space (4-6 feet wide between the base posts).
- Purchase Materials: Buy your cattle panel, wire clamps and wood screws.
- Install Screws: Screw the cattle panel onto a wooden fence or shed through the hole of the wire clamps. (use zip ties or some other way to fasten if you don’t want to screw into wood).
- Check Stability: Gently shake the arch to ensure it’s sturdy. If needed, tighten the ties or add extra T-posts for reinforcement.
- Plant Your Crops: Place a garden box directly underwear the trellis. Plant vining plants like cucumbers, pole beans, or gourds at the base of the arch. As they grow, gently guide them onto the trellis for natural climbing.

Tips for Success
- For extra strength, use rebar or additional stakes at the base.
- To create a garden tunnel, place multiple arch trellises in a row.
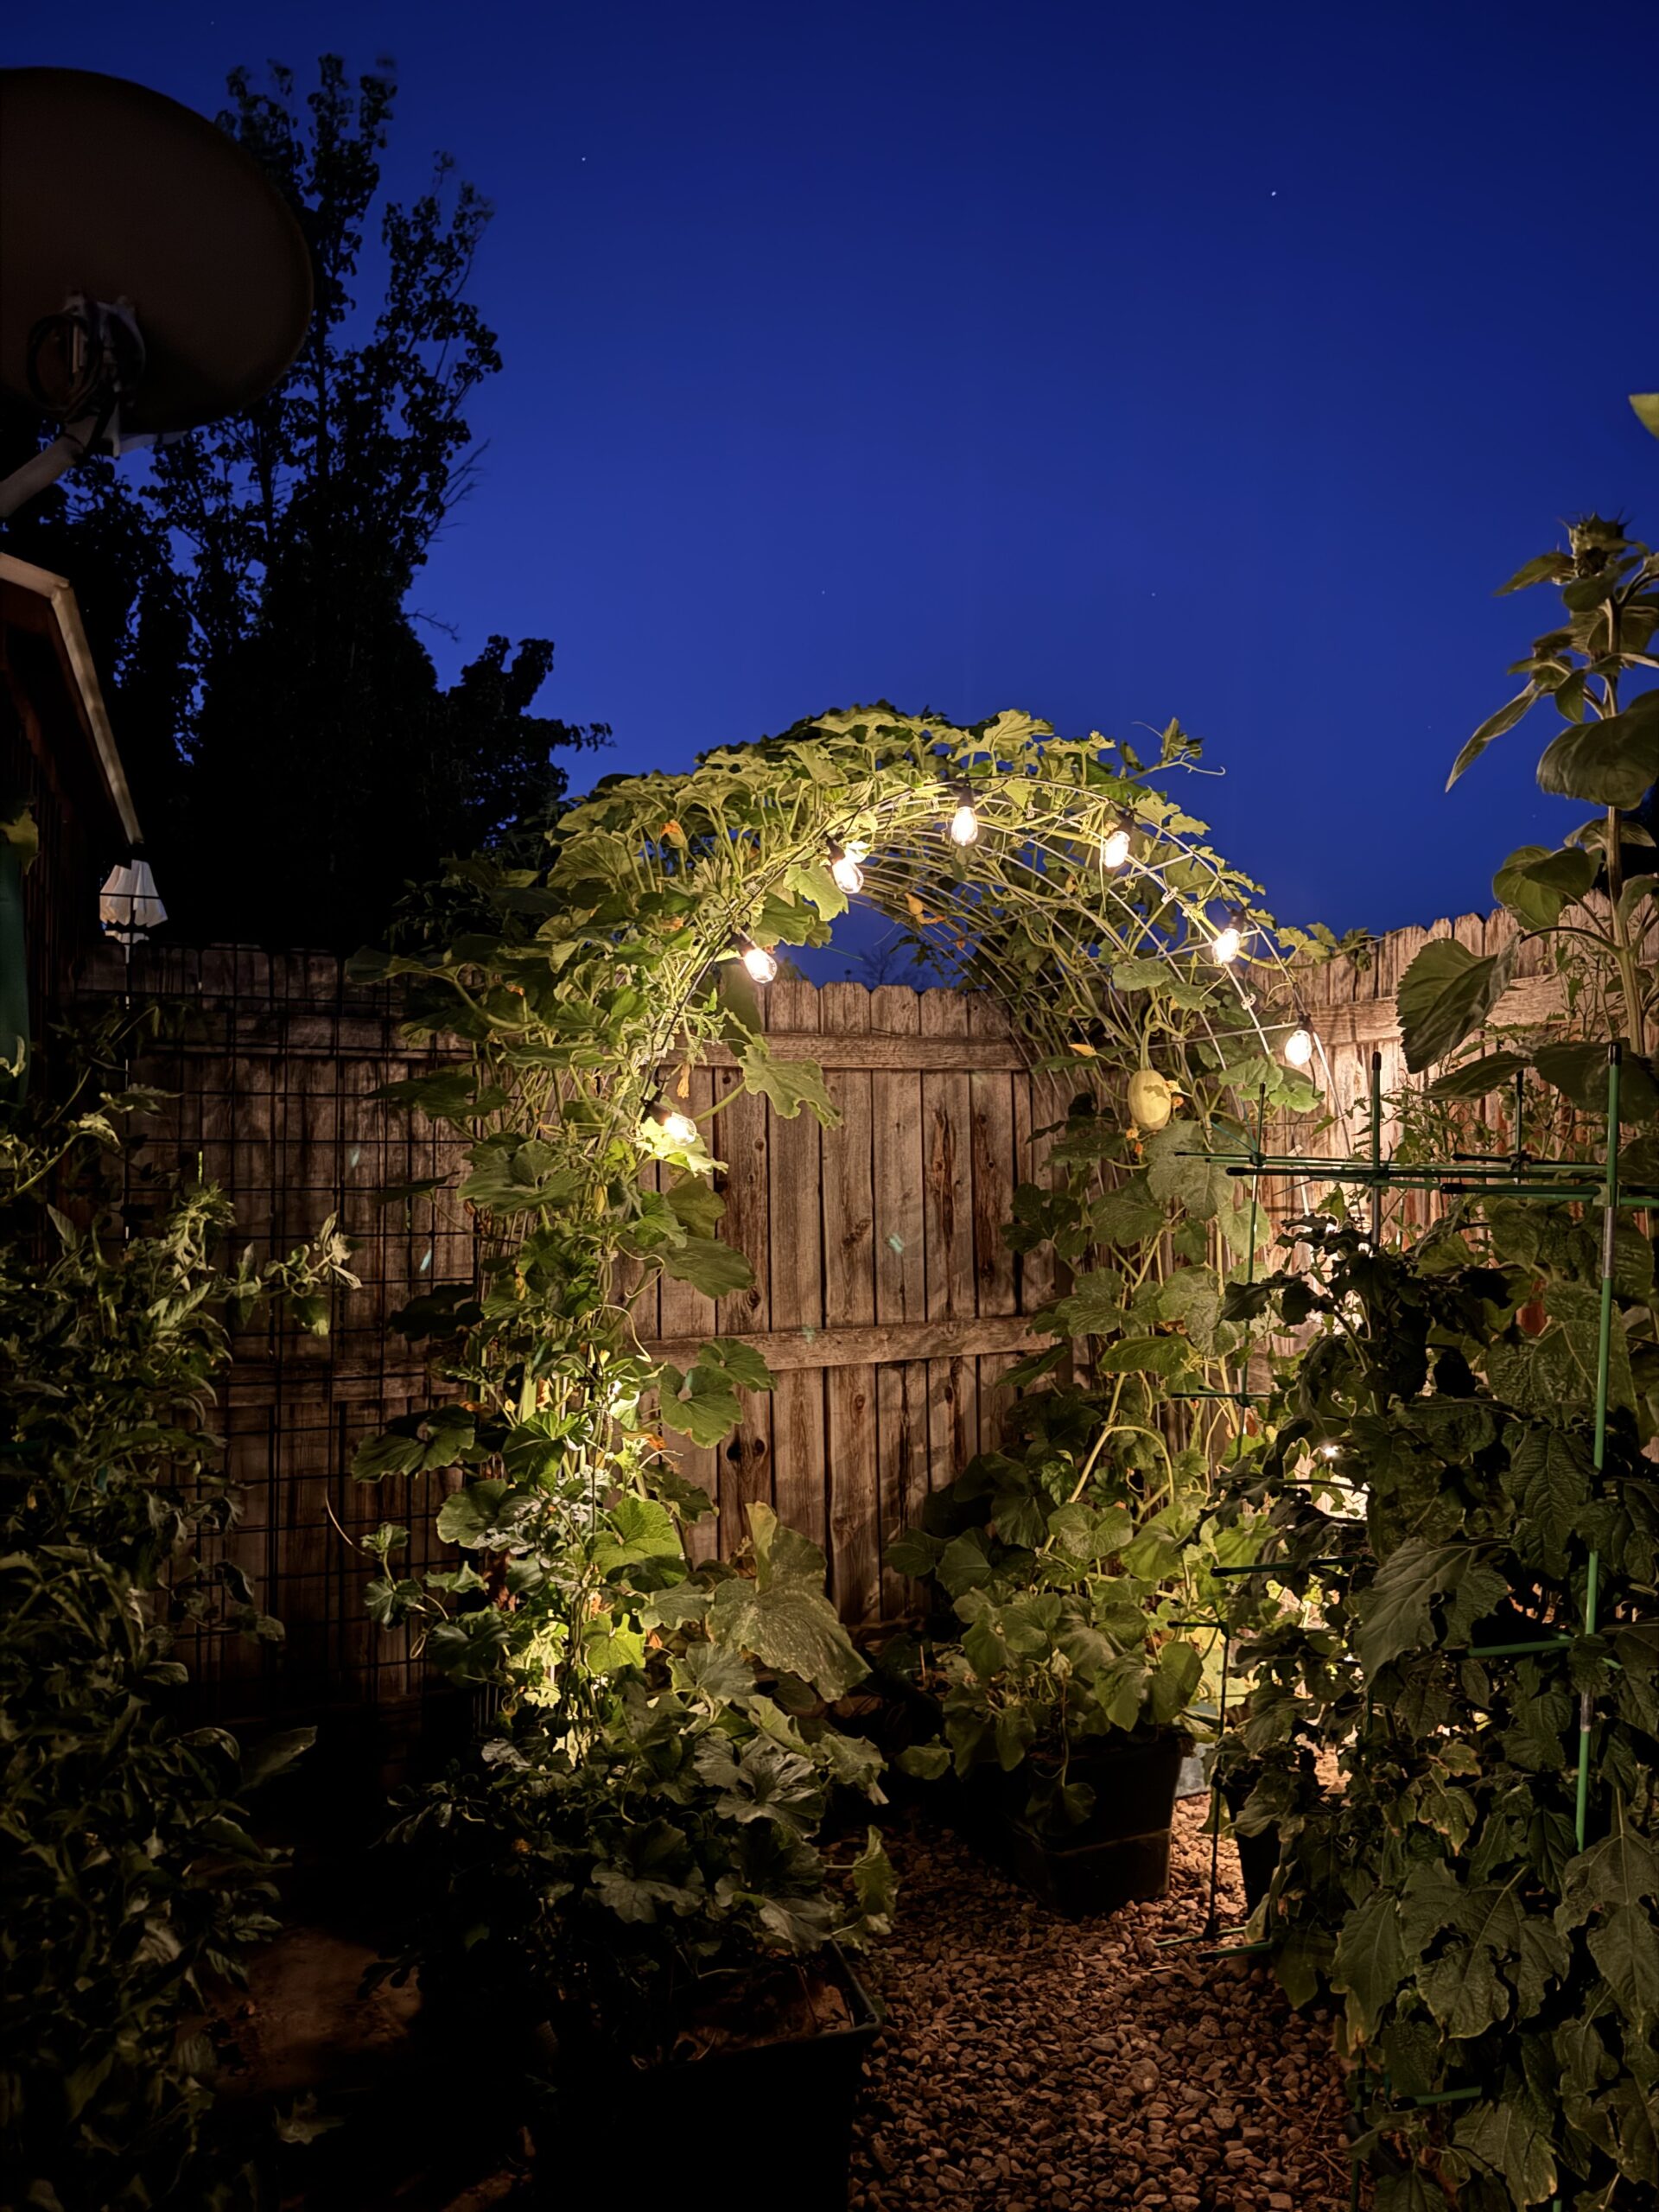
- For added aesthetics, grow flowering vines like morning glories alongside your vegetables.
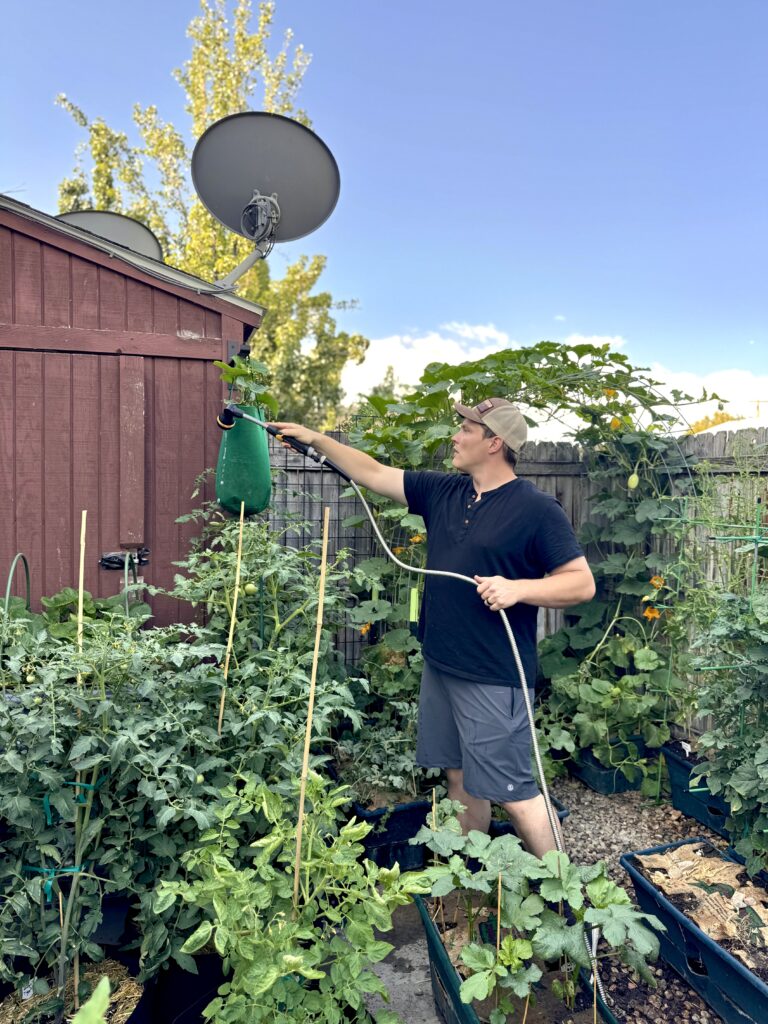
- If growing heavy fruits (melons, pumpkins), consider using slings made from old T-shirts or mesh bags for support.
Thanks for reading along, guys! If you enjoyed this blog post, check out my other gardening blog posts:
- How to Start a Garden on a Budget for Under $100
- Essential and Nice-to-Have Garden Products for Your Perfect Setup
- My Garden Setup: 3 Best Garden Containers for Every Gardener
- Understanding Garden Light and Shade: A Simple Guide
- How to Build a Homemade Trellis Using Cattle Panel
Follow me on social media for daily content and instructional videos about gardening!


Cattle panel is the best! Sad how it has become more expensive in recent years, but still a great option because it lasts forever.
The walkthrough made it seem totally doable without power tools. Way more sturdy than flimsy store options
Thank youvfor sharing. I’m still learning about gardening. I like the ideal of cattle panel. Can you use one raised bed for cattle panel on both sides? Do you put the cattle panel inside the raised beds or on the outside. I am thinking aout doing melon amd cucumbersCan I put both in the raised bed on. Each side?
dide?
S
S
Hi Marva! Yeah you totally could put a cattle panel on the sides of the bed! I would look into getting some clamps that you can screw on if your beds are wooden. I would put the cattle panel on the outside of the beds personally. Melons and cucumbers could work well in the same bed.