Hey all! Real Farmer Jeff here.
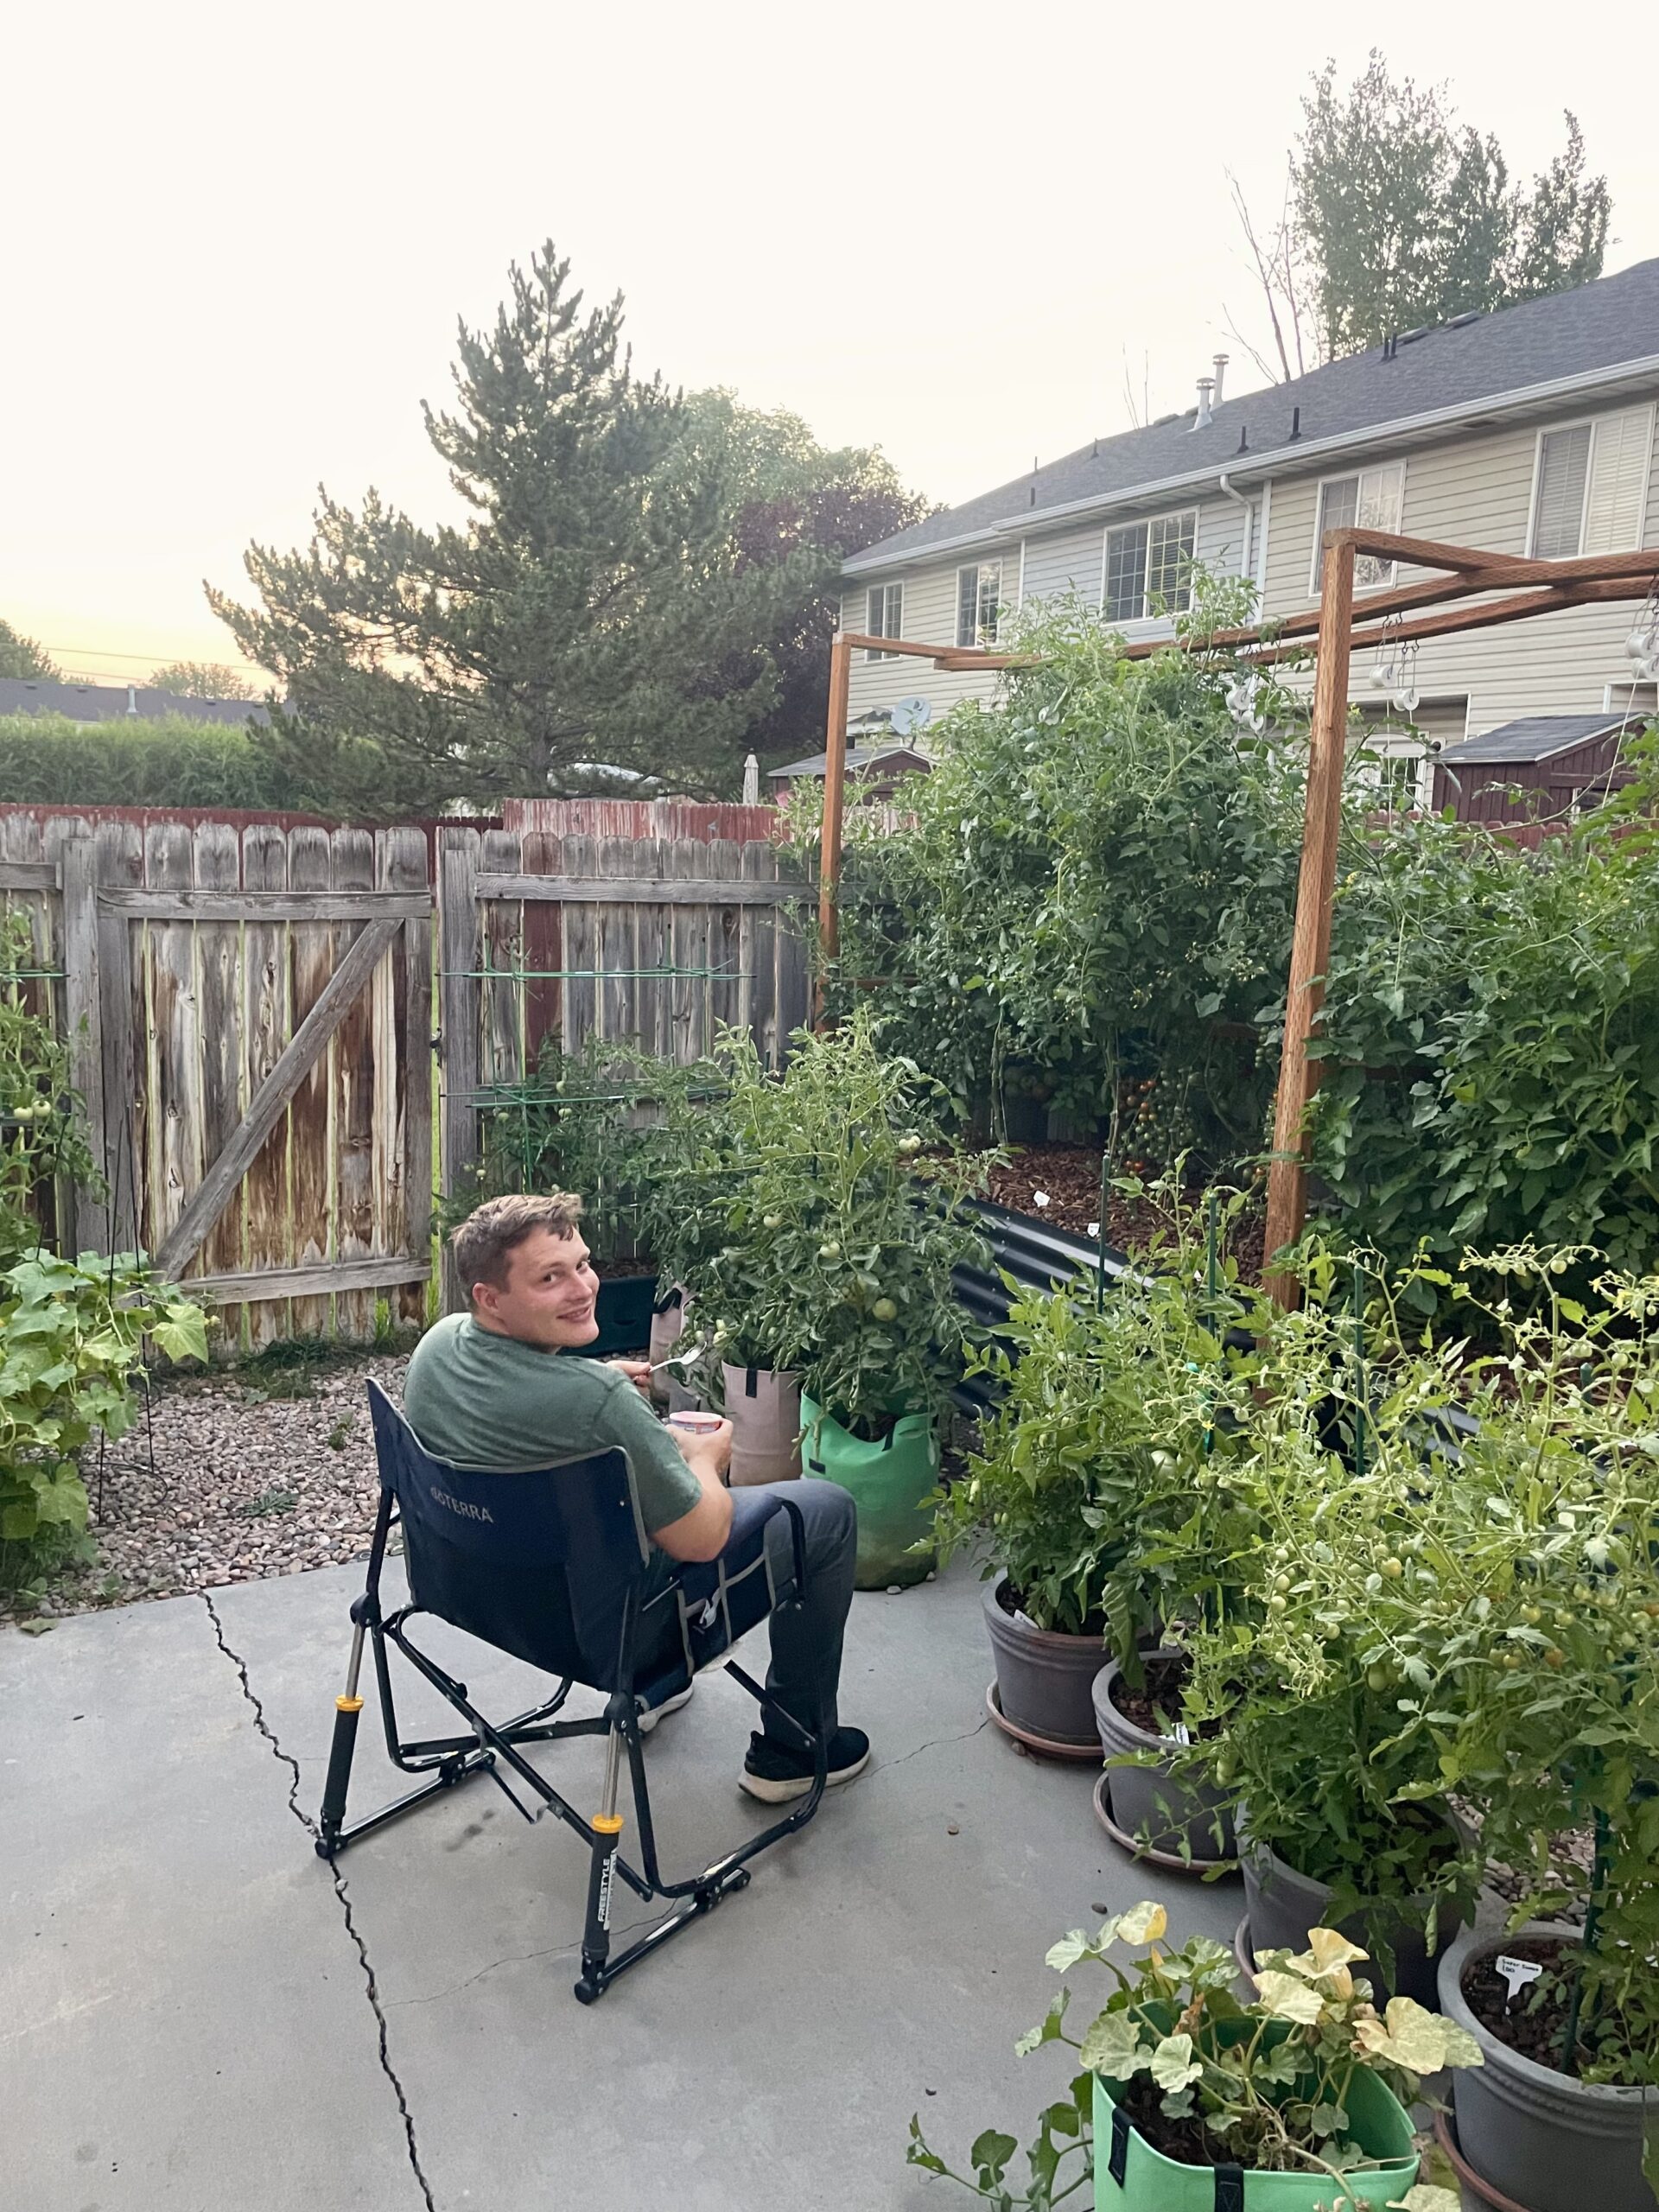
When I first started my garden, the first two raised beds that I used were Galvanized Steel Beds! I was mostly drawn in by the cool aesthetic, but I’ve grown to be a big fan for many reasons.
For starters, galvanized steel raised beds can last upwards of 20-30 years and you don’t have to worry about the steel leeching out chemicals into the soil like some treated woods. Additionally, I would say steel raised beds have to be some of the EASIEST raised beds to put together even though it can be a bit tedious (harder than Garden Patch Grow Boxes, but easier than most wooden Raised Beds).
Even though I only have two raised steel beds in my garden, I bought a third that I never set up and that I’ve stored for the last couple years. This weekend I went over to my mother in law’s house to install my extra steel bed for her new garden in addition to the wooden raised bed I also built her!

In the past, steel raised beds were likely more expensive than most wooden raised, beds, but with the huge rise in wood prices over the last few years, steel raised beds are an option you should consider.
Below you can find instructions on how to put together a Birdie’s Raised bed.
Let’s get started!
Materials You Need
- Steel raised garden bed (comes as a kit with panels, corner pieces, bolts, nuts, rubber edging)
- A wrench or socket wrench (usually 10mm). This should be included in the box.
- A screwdriver or drill
Step-by-Step Guide:
1: Choose a Location
- Select a level area with good sunlight (at least 6-8 hours per day).
- Ensure there’s proper drainage (avoid areas where water pools).
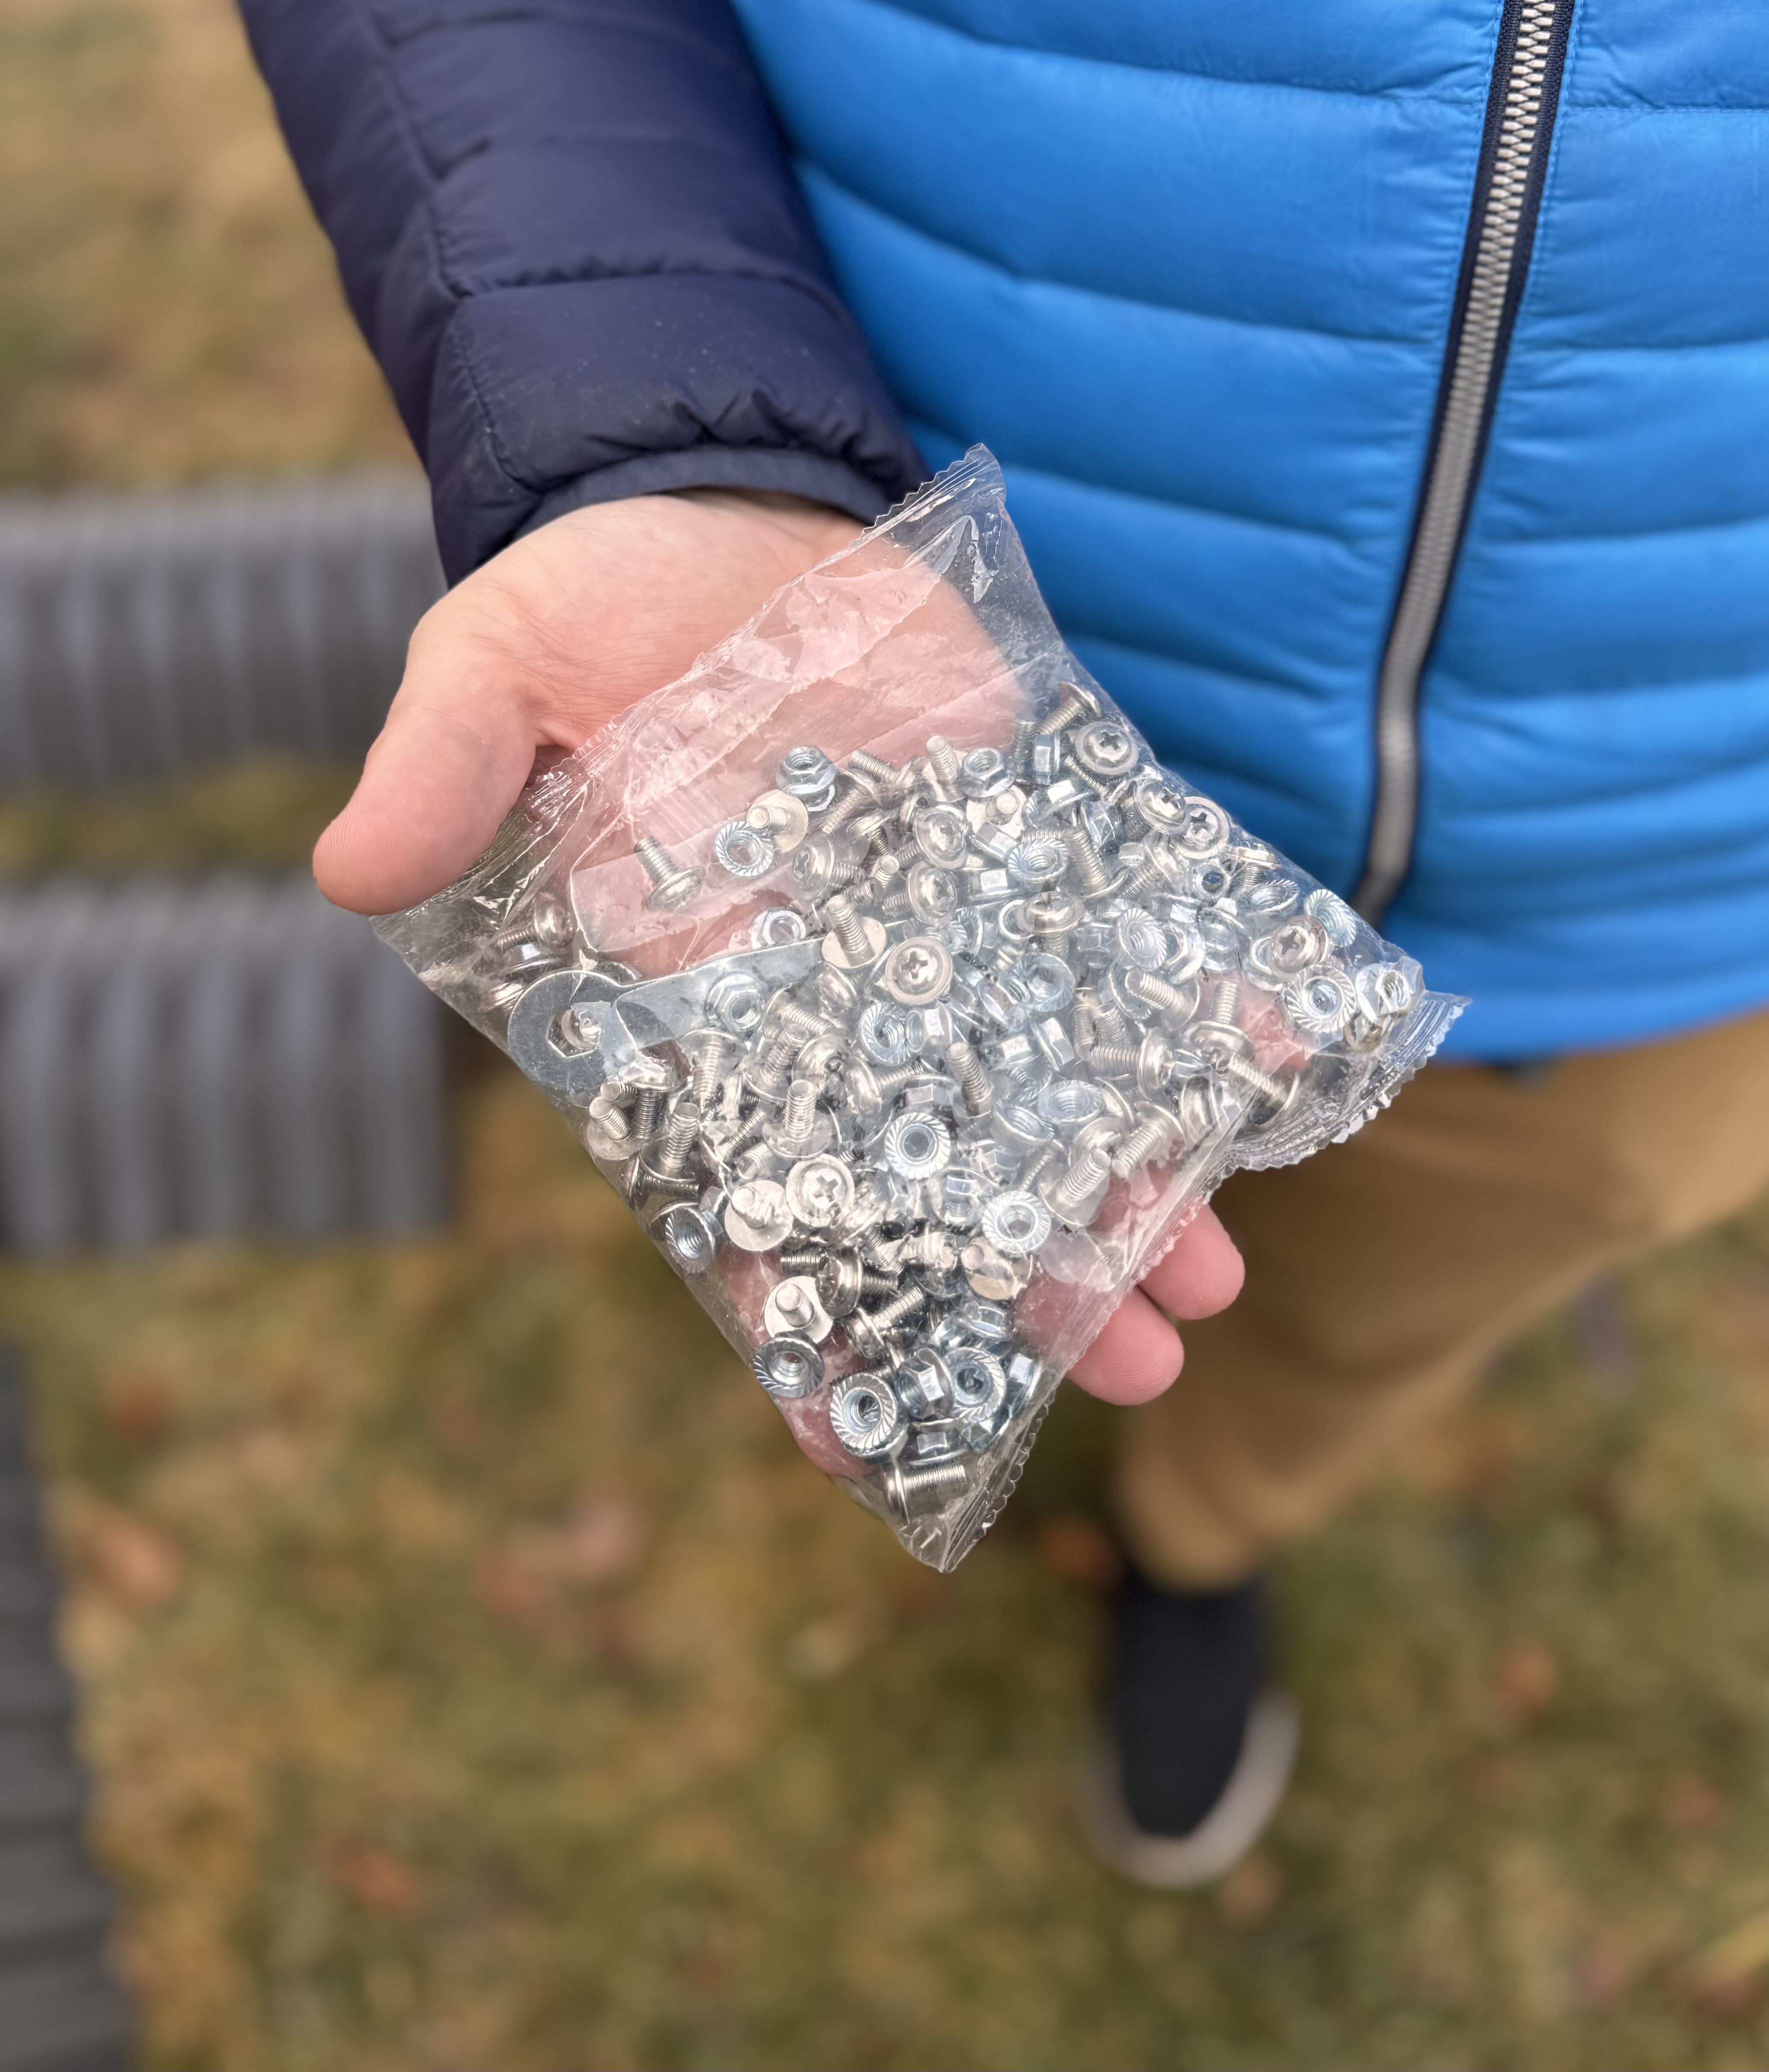
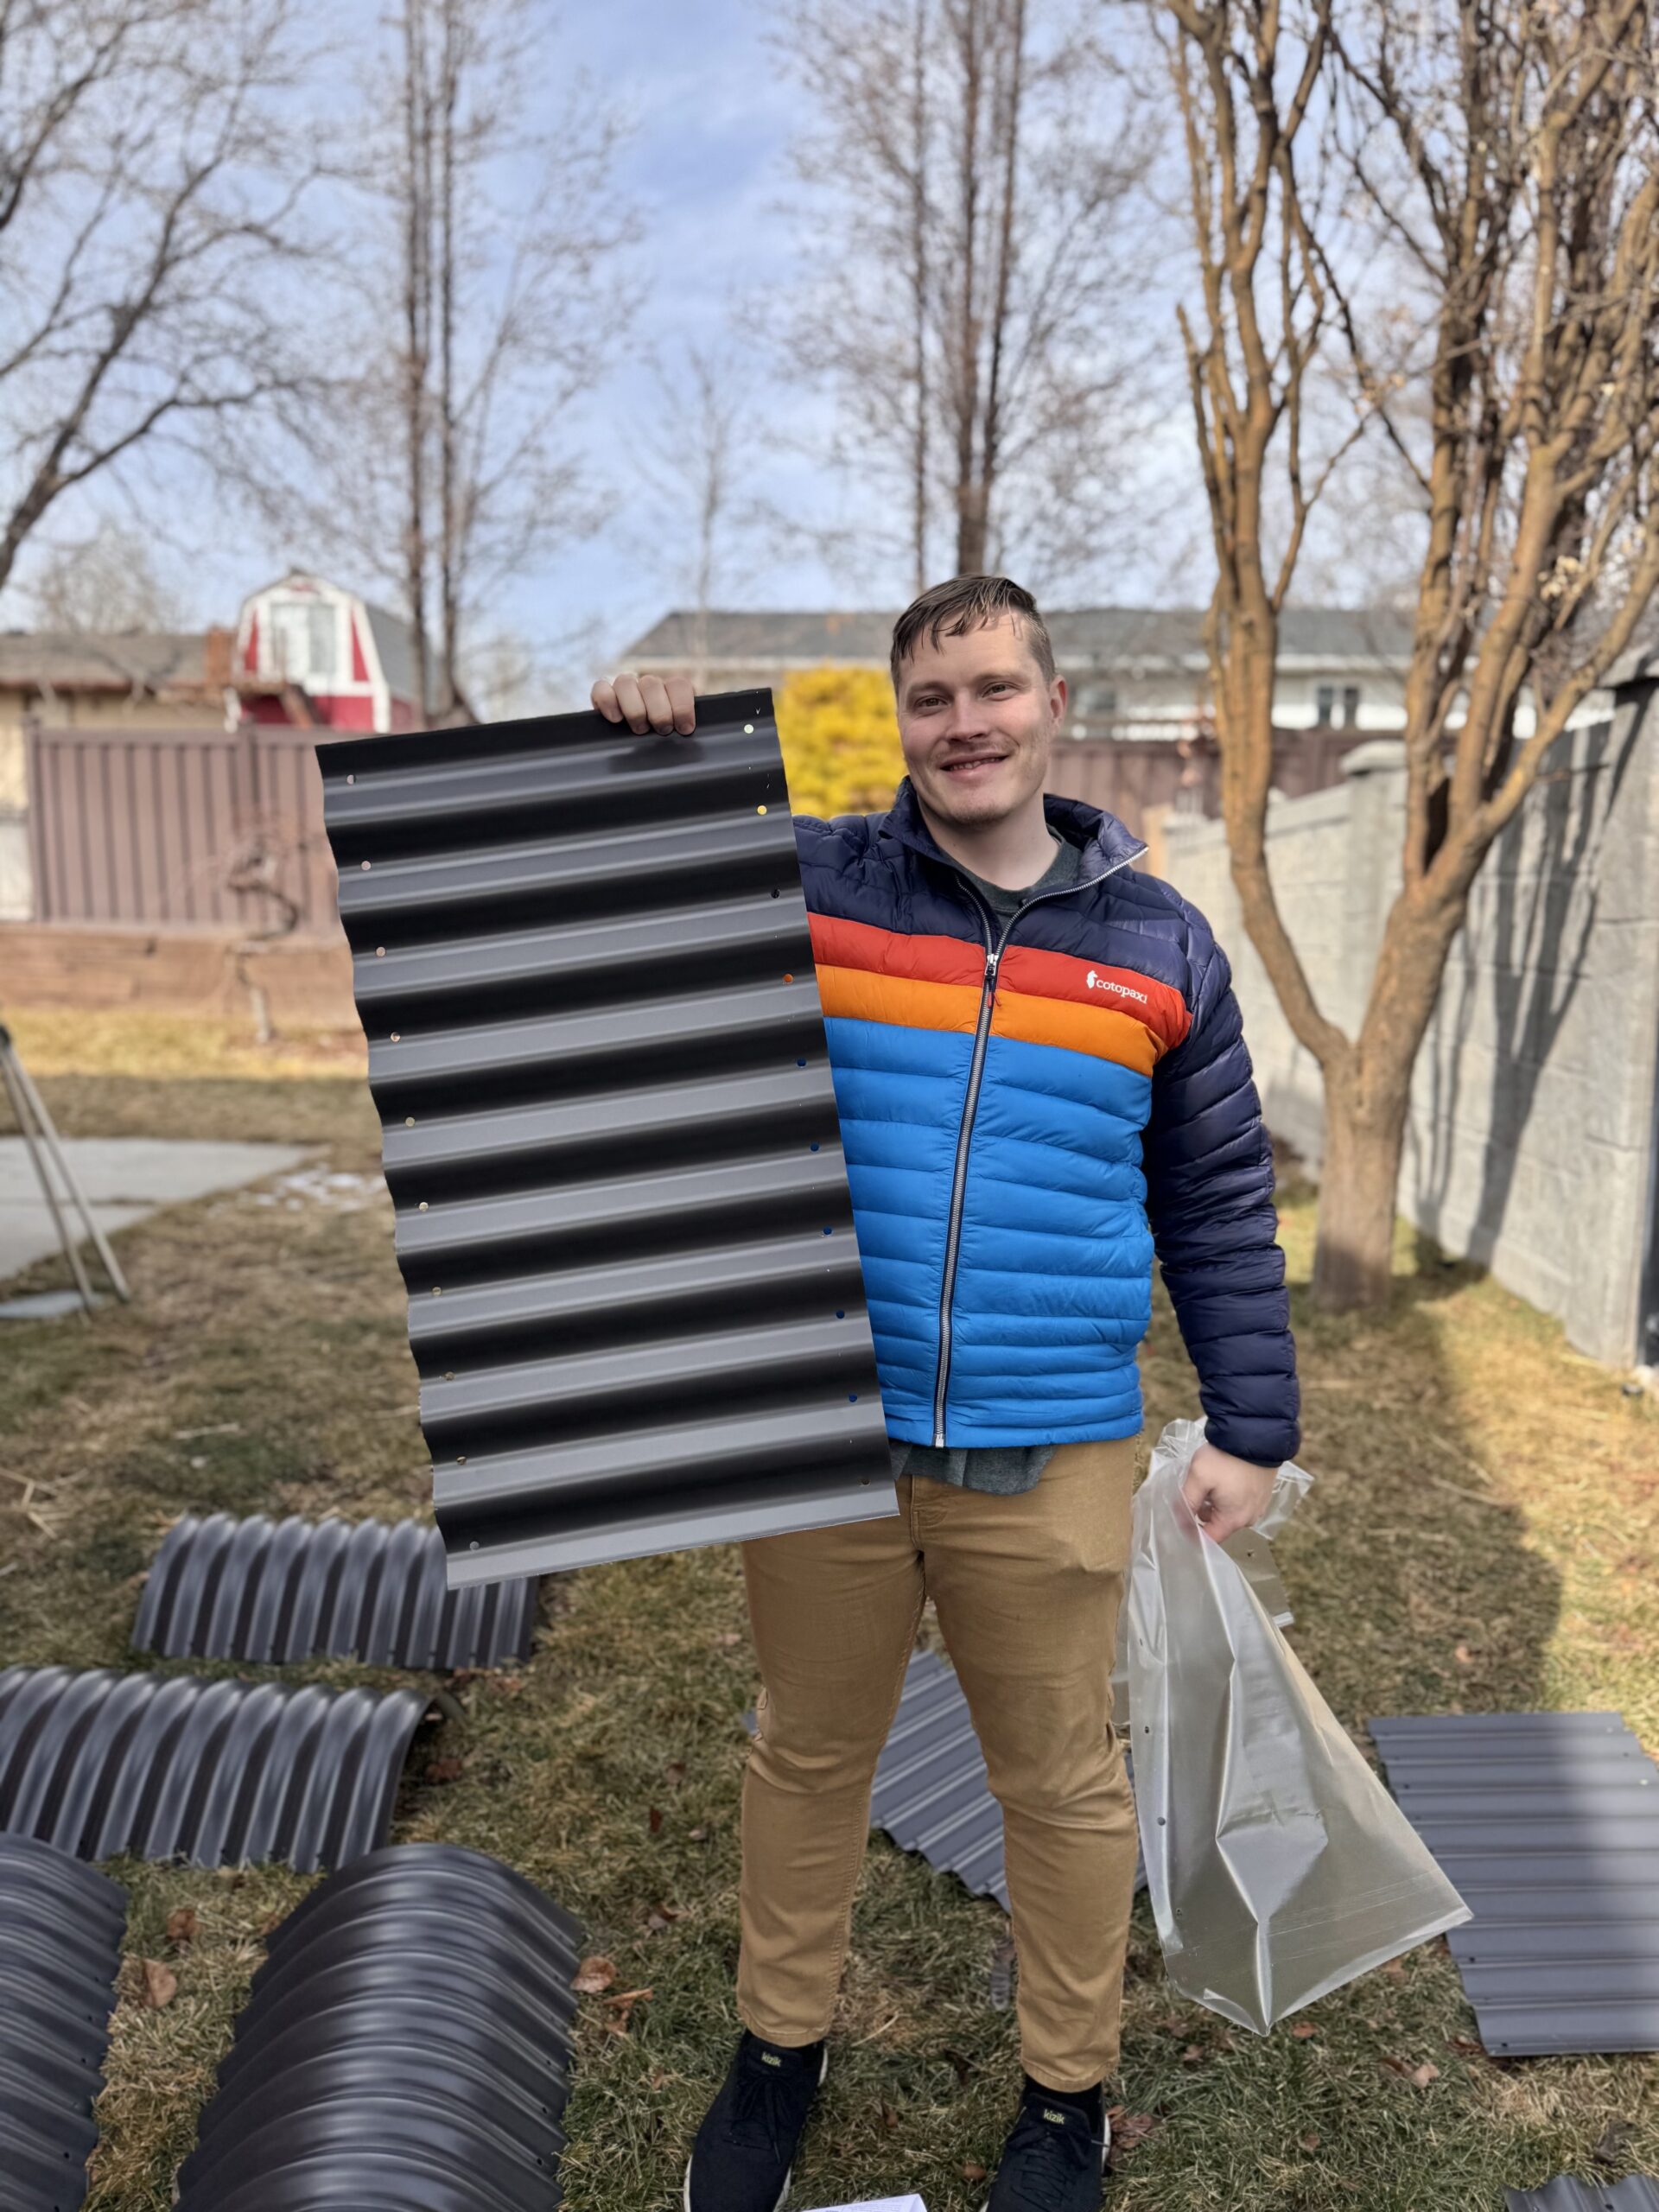
2: Unbox & Identify Parts
- Open the package and lay out all parts.
- You should have:
- Corrugated steel panels (side and end pieces)
- Corner connectors
- Bolts, nuts, and washers
- Protective rubber edging
3: Assemble the Panels
- Arrange the panels in the desired shape (Birdie’s beds are modular, so you can configure them in different layouts).
- Start by attaching the side panels to the corner pieces using the provided bolts, washers, and nuts. Tighten the nuts by hand to align everything properly before fully tightening.
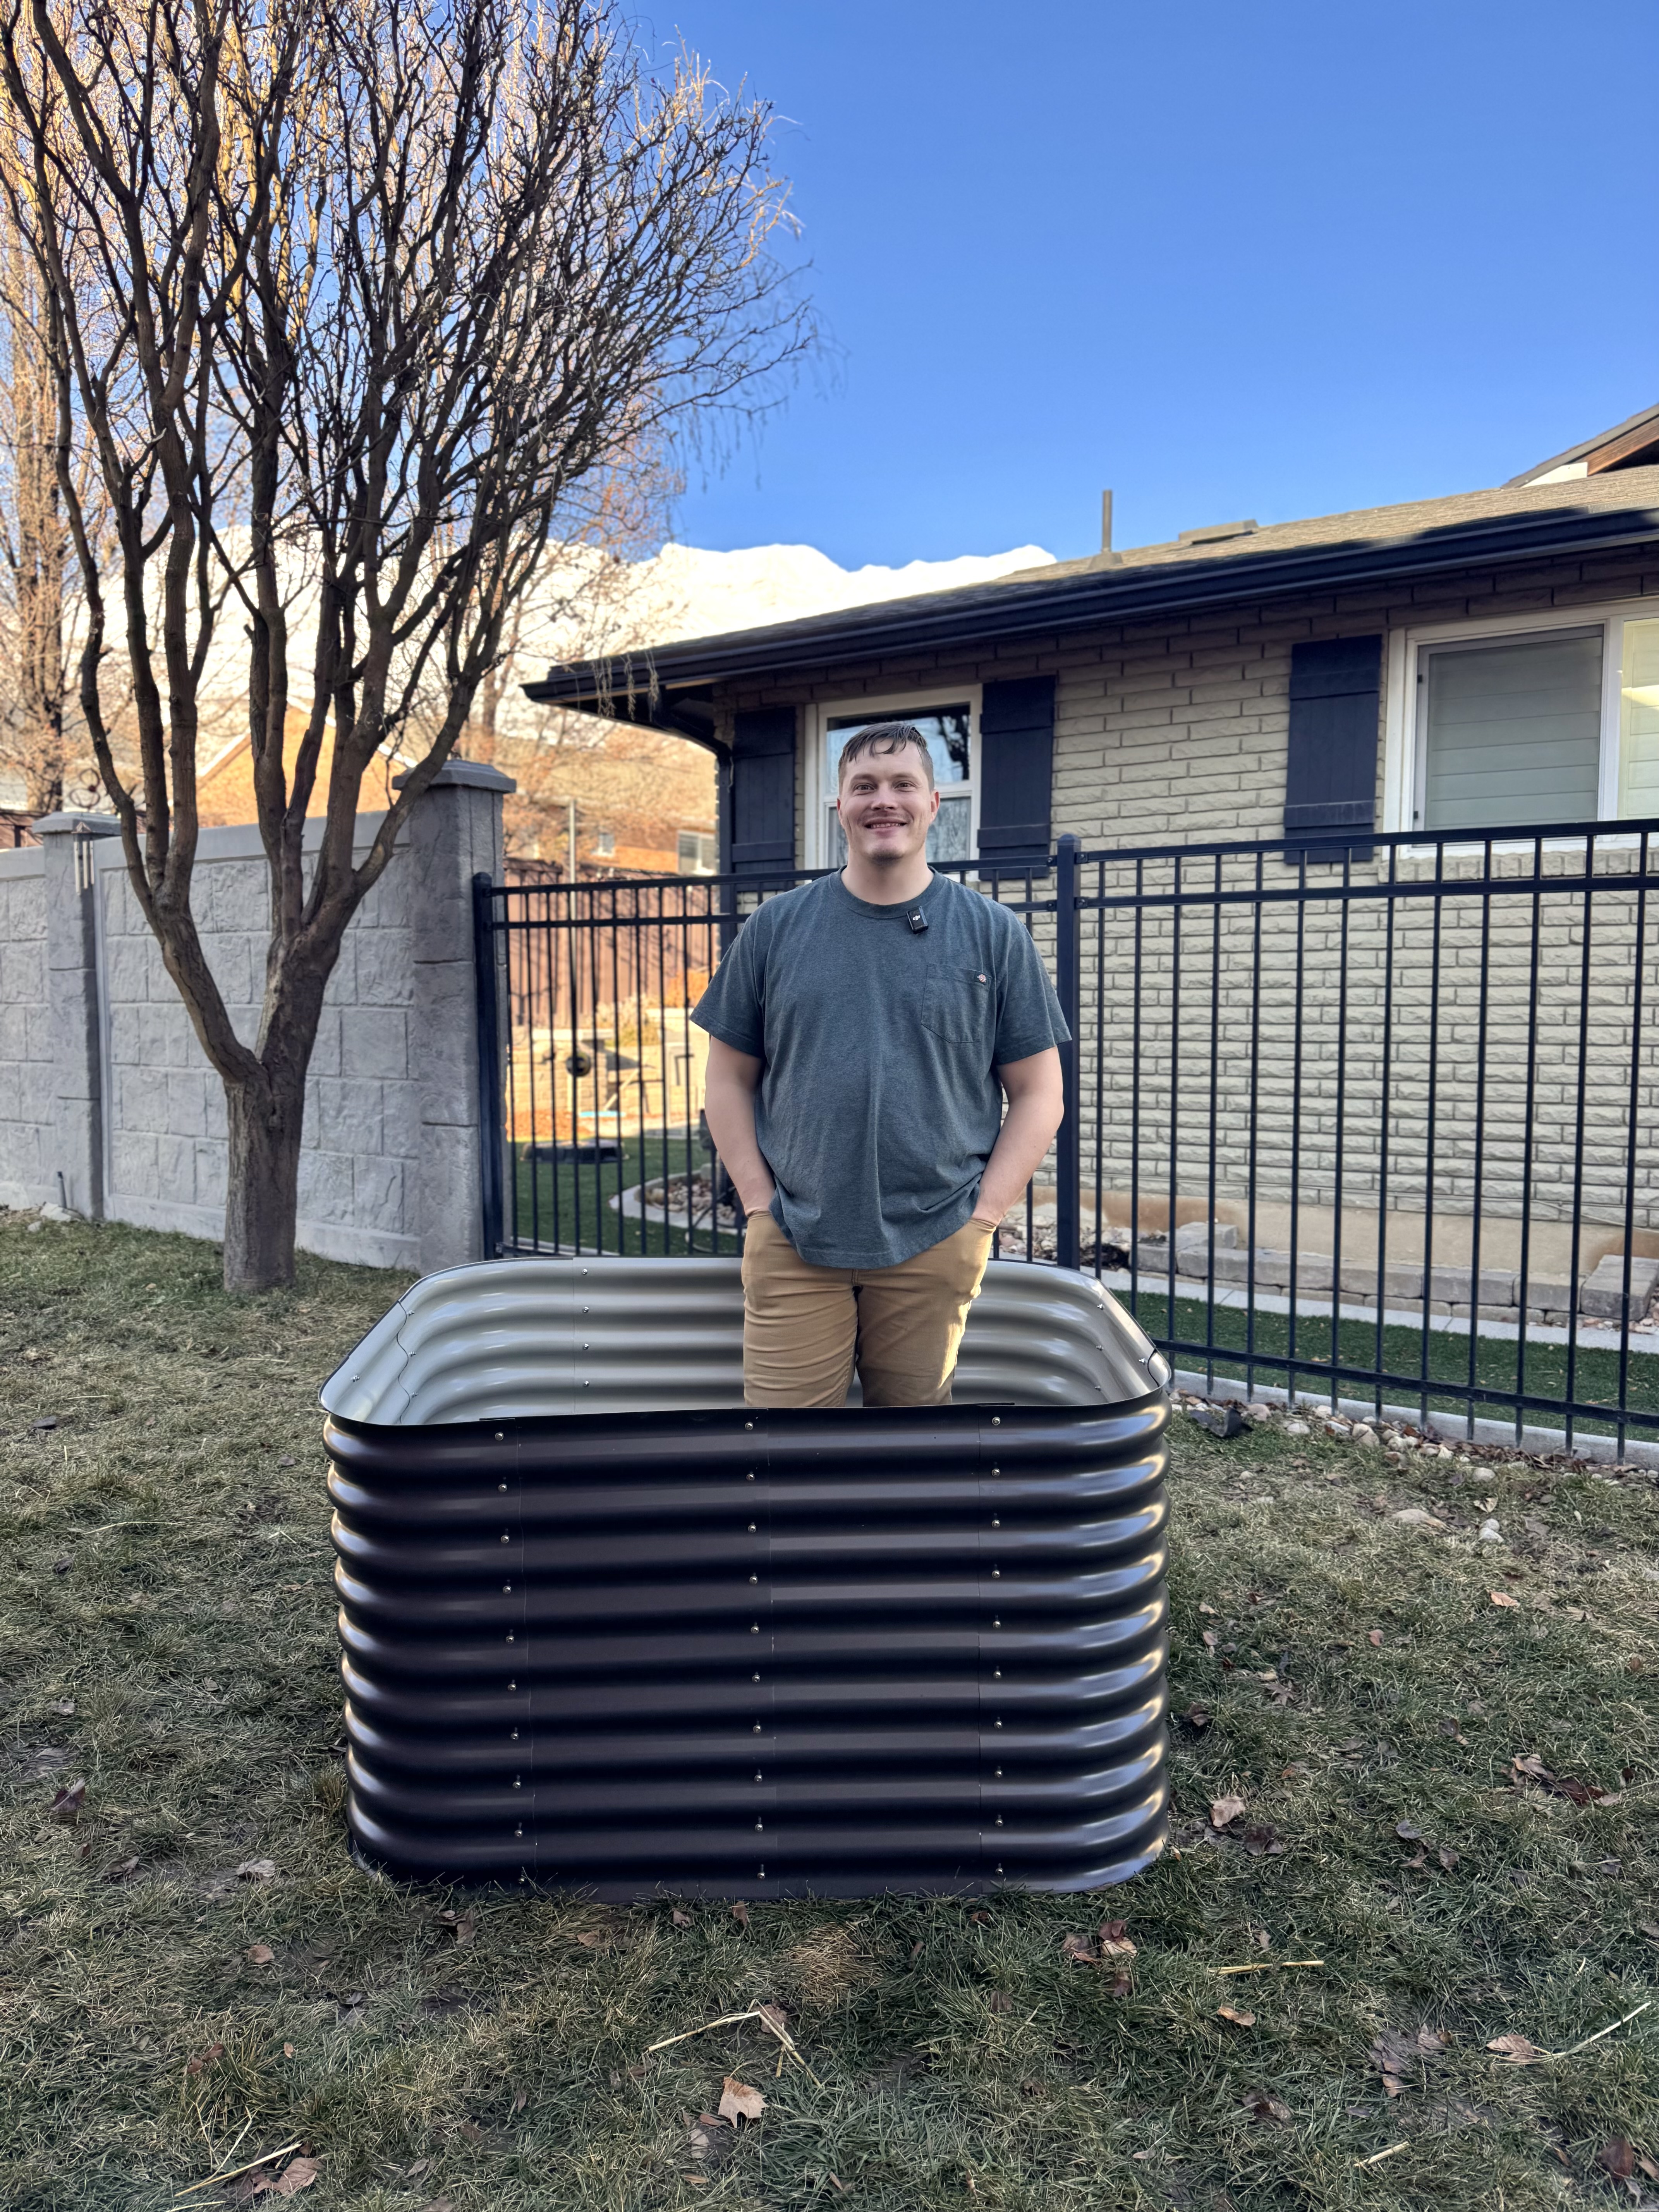
4: Secure the Structure
- Once all panels are loosely connected, use a wrench or socket wrench to tighten all bolts securely. I personally use the wrench from the box and my drill to quickly tighten all the bolts.
- Be careful not to overtighten, as it may warp the metal.
- Some of the biggest steel beds will come with rods that you can put through the middle of the raised bed for extra support. Smaller beds likely won’t come with these rods.
5 (Optional): Attach the Protective Rubber Edging
- Press the rubber capping along the top edge of the bed.
- This helps protect against sharp edges and provides a clean, finished look. I personally have never used the rubber edging because I am not worried about how sharp the panels are, but it could be nice if you have young children.
6: Prepare the Ground
- Option 1 (On Soil): If placing directly on the ground, remove grass and weeds, and level the surface.
- Option 2 (On Hard Surfaces): If setting on concrete or a patio, consider adding a layer of landscape fabric or a liner to improve drainage and prevent soil loss.
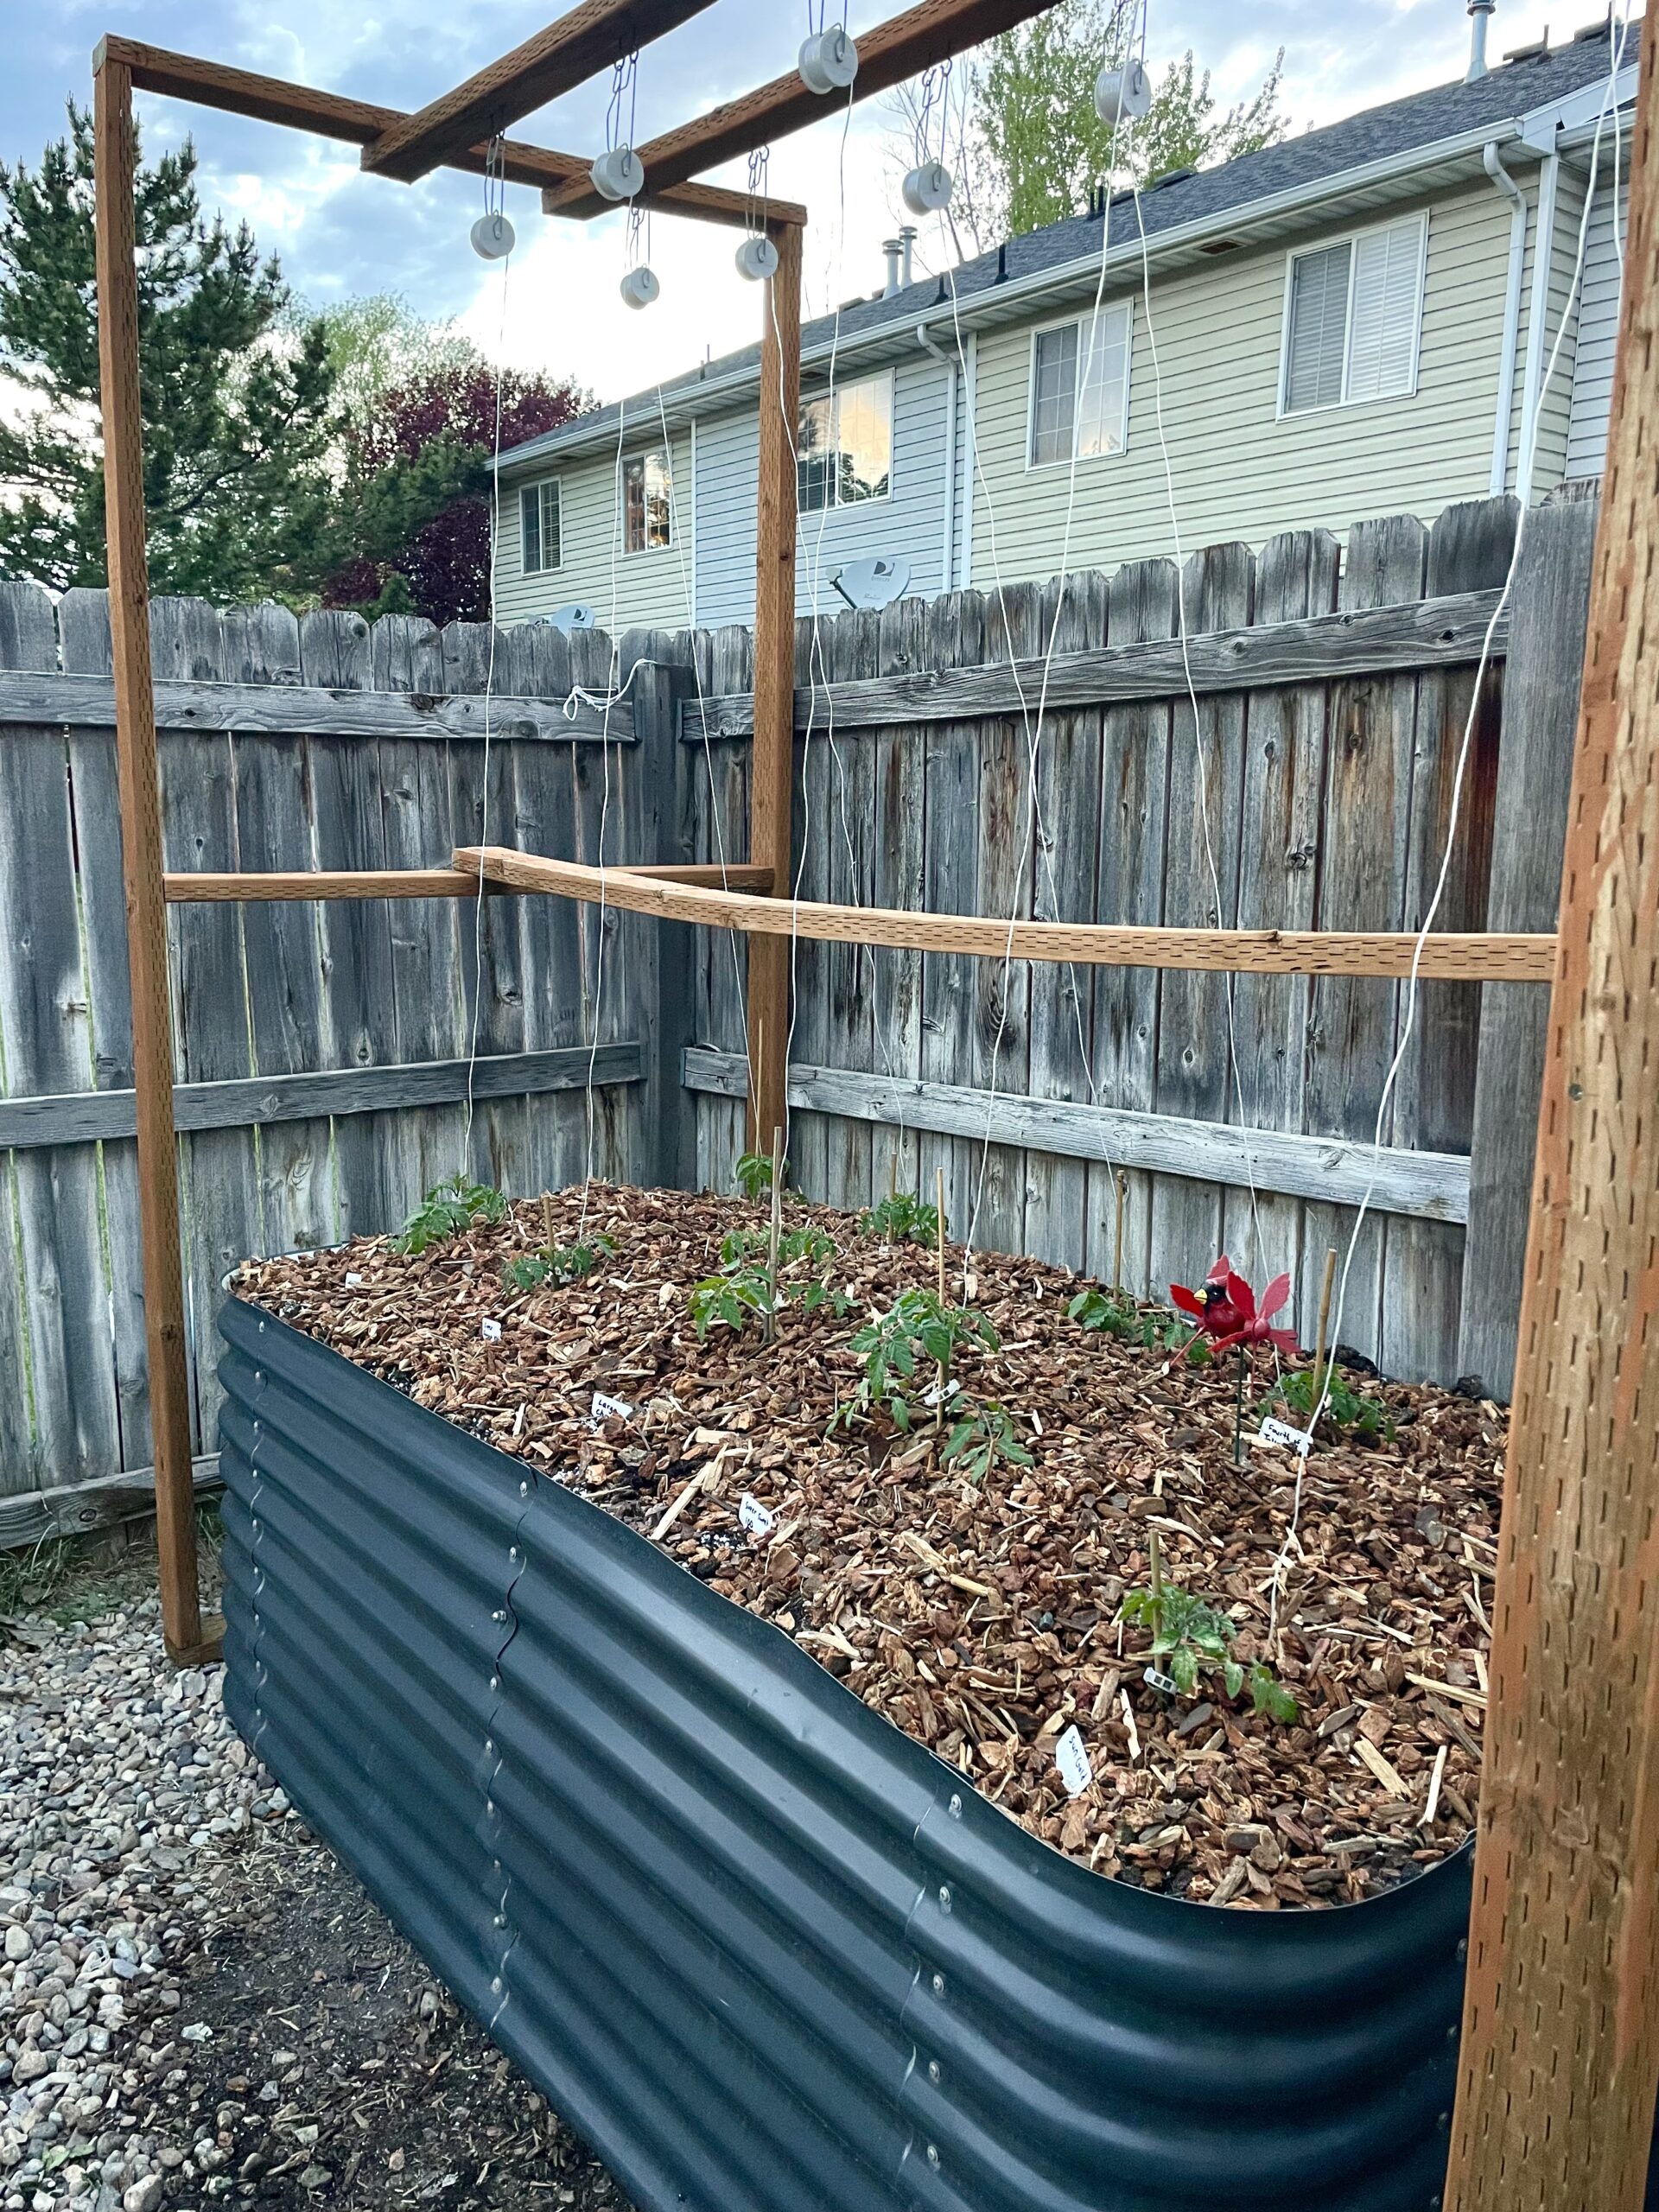
7: Fill the Bed
- Use the Hügelkultur method (for deep beds) or a layering technique to optimize soil and drainage:
- Base Layer – Logs, branches, sticks (for deep beds, improves drainage and decomposition).
- Middle Layer – Straw, leaves, or compostable garden waste.
- Top Layer – Quality soil mix (compost, garden soil, and aged manure). Make sure your soil has good enough drainage so that you don’t struggle with compaction issues.
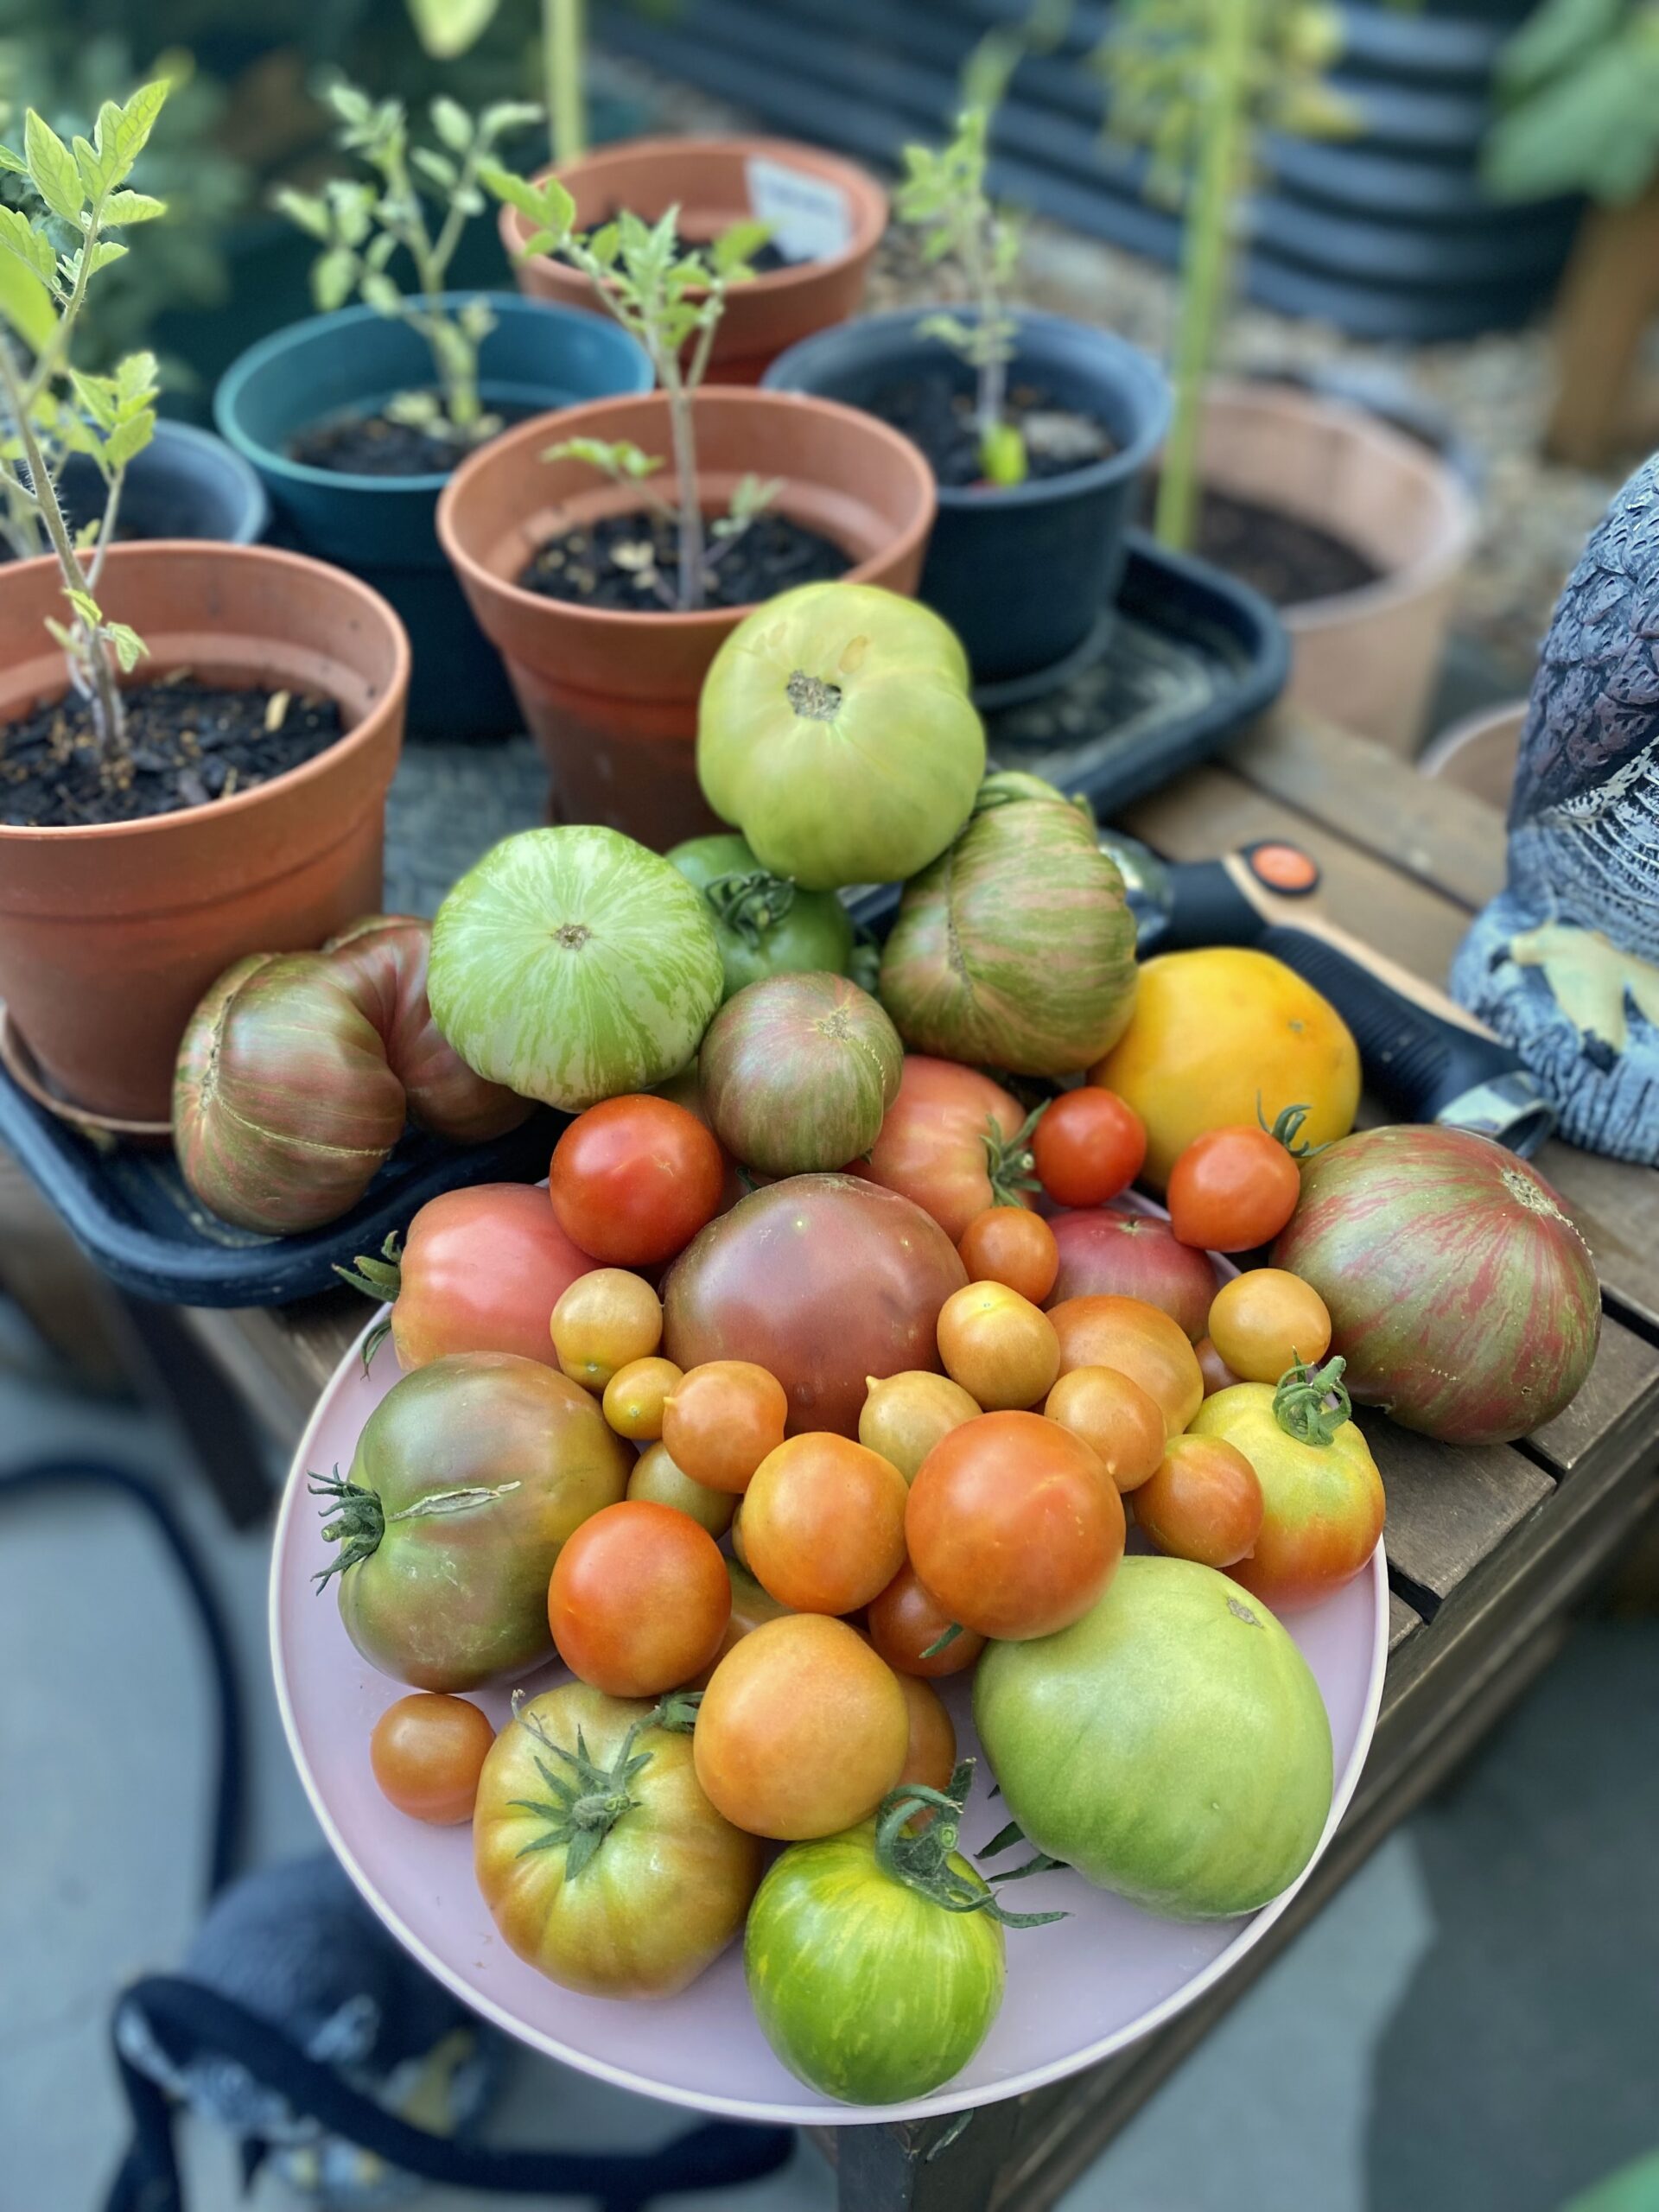
8: Plant Your Garden
- Choose plants suited to your climate and sun exposure.
- Water thoroughly after planting.
Thanks for reading along, guys! I’ve linked the raised steel bed I used if you are interested.
If you enjoyed this, check out my other gardening blog posts: