
Hey all! Real Farmer Jeff here.
Since I first started gardening, one of the biggest game changers that I’ve learned is that trellising your plants provides many benefits! One of my main goals with my small townhouse garden is to experiment with more trellising options in the upcoming years.
Below you can find the top benefits of trellising your plants, as well as eight popular trellising options! The cost of each option will depend on the materials you use and if you are open to a DIY project; however, most of these trellises can be created inexpensively.
Let’s get started!
5 Benefits of Trellising Plants
- Maximizes Space Efficiency: By growing plants vertically, trellising helps make the most of limited garden space.
- Keeps the Garden Organized & Aesthetic: Trellised plants look more neat and structured, reducing clutter. It also prevent plants from sprawling uncontrollably.
- Improves Air Circulation, Sun Exposure & Reduces Disease: Elevating plants allows for better airflow, reducing the risk of fungal diseases like powdery mildew and blight. Additionally, trellised plants receive more even sunlight, leading to better photosynthesis and improved growth.
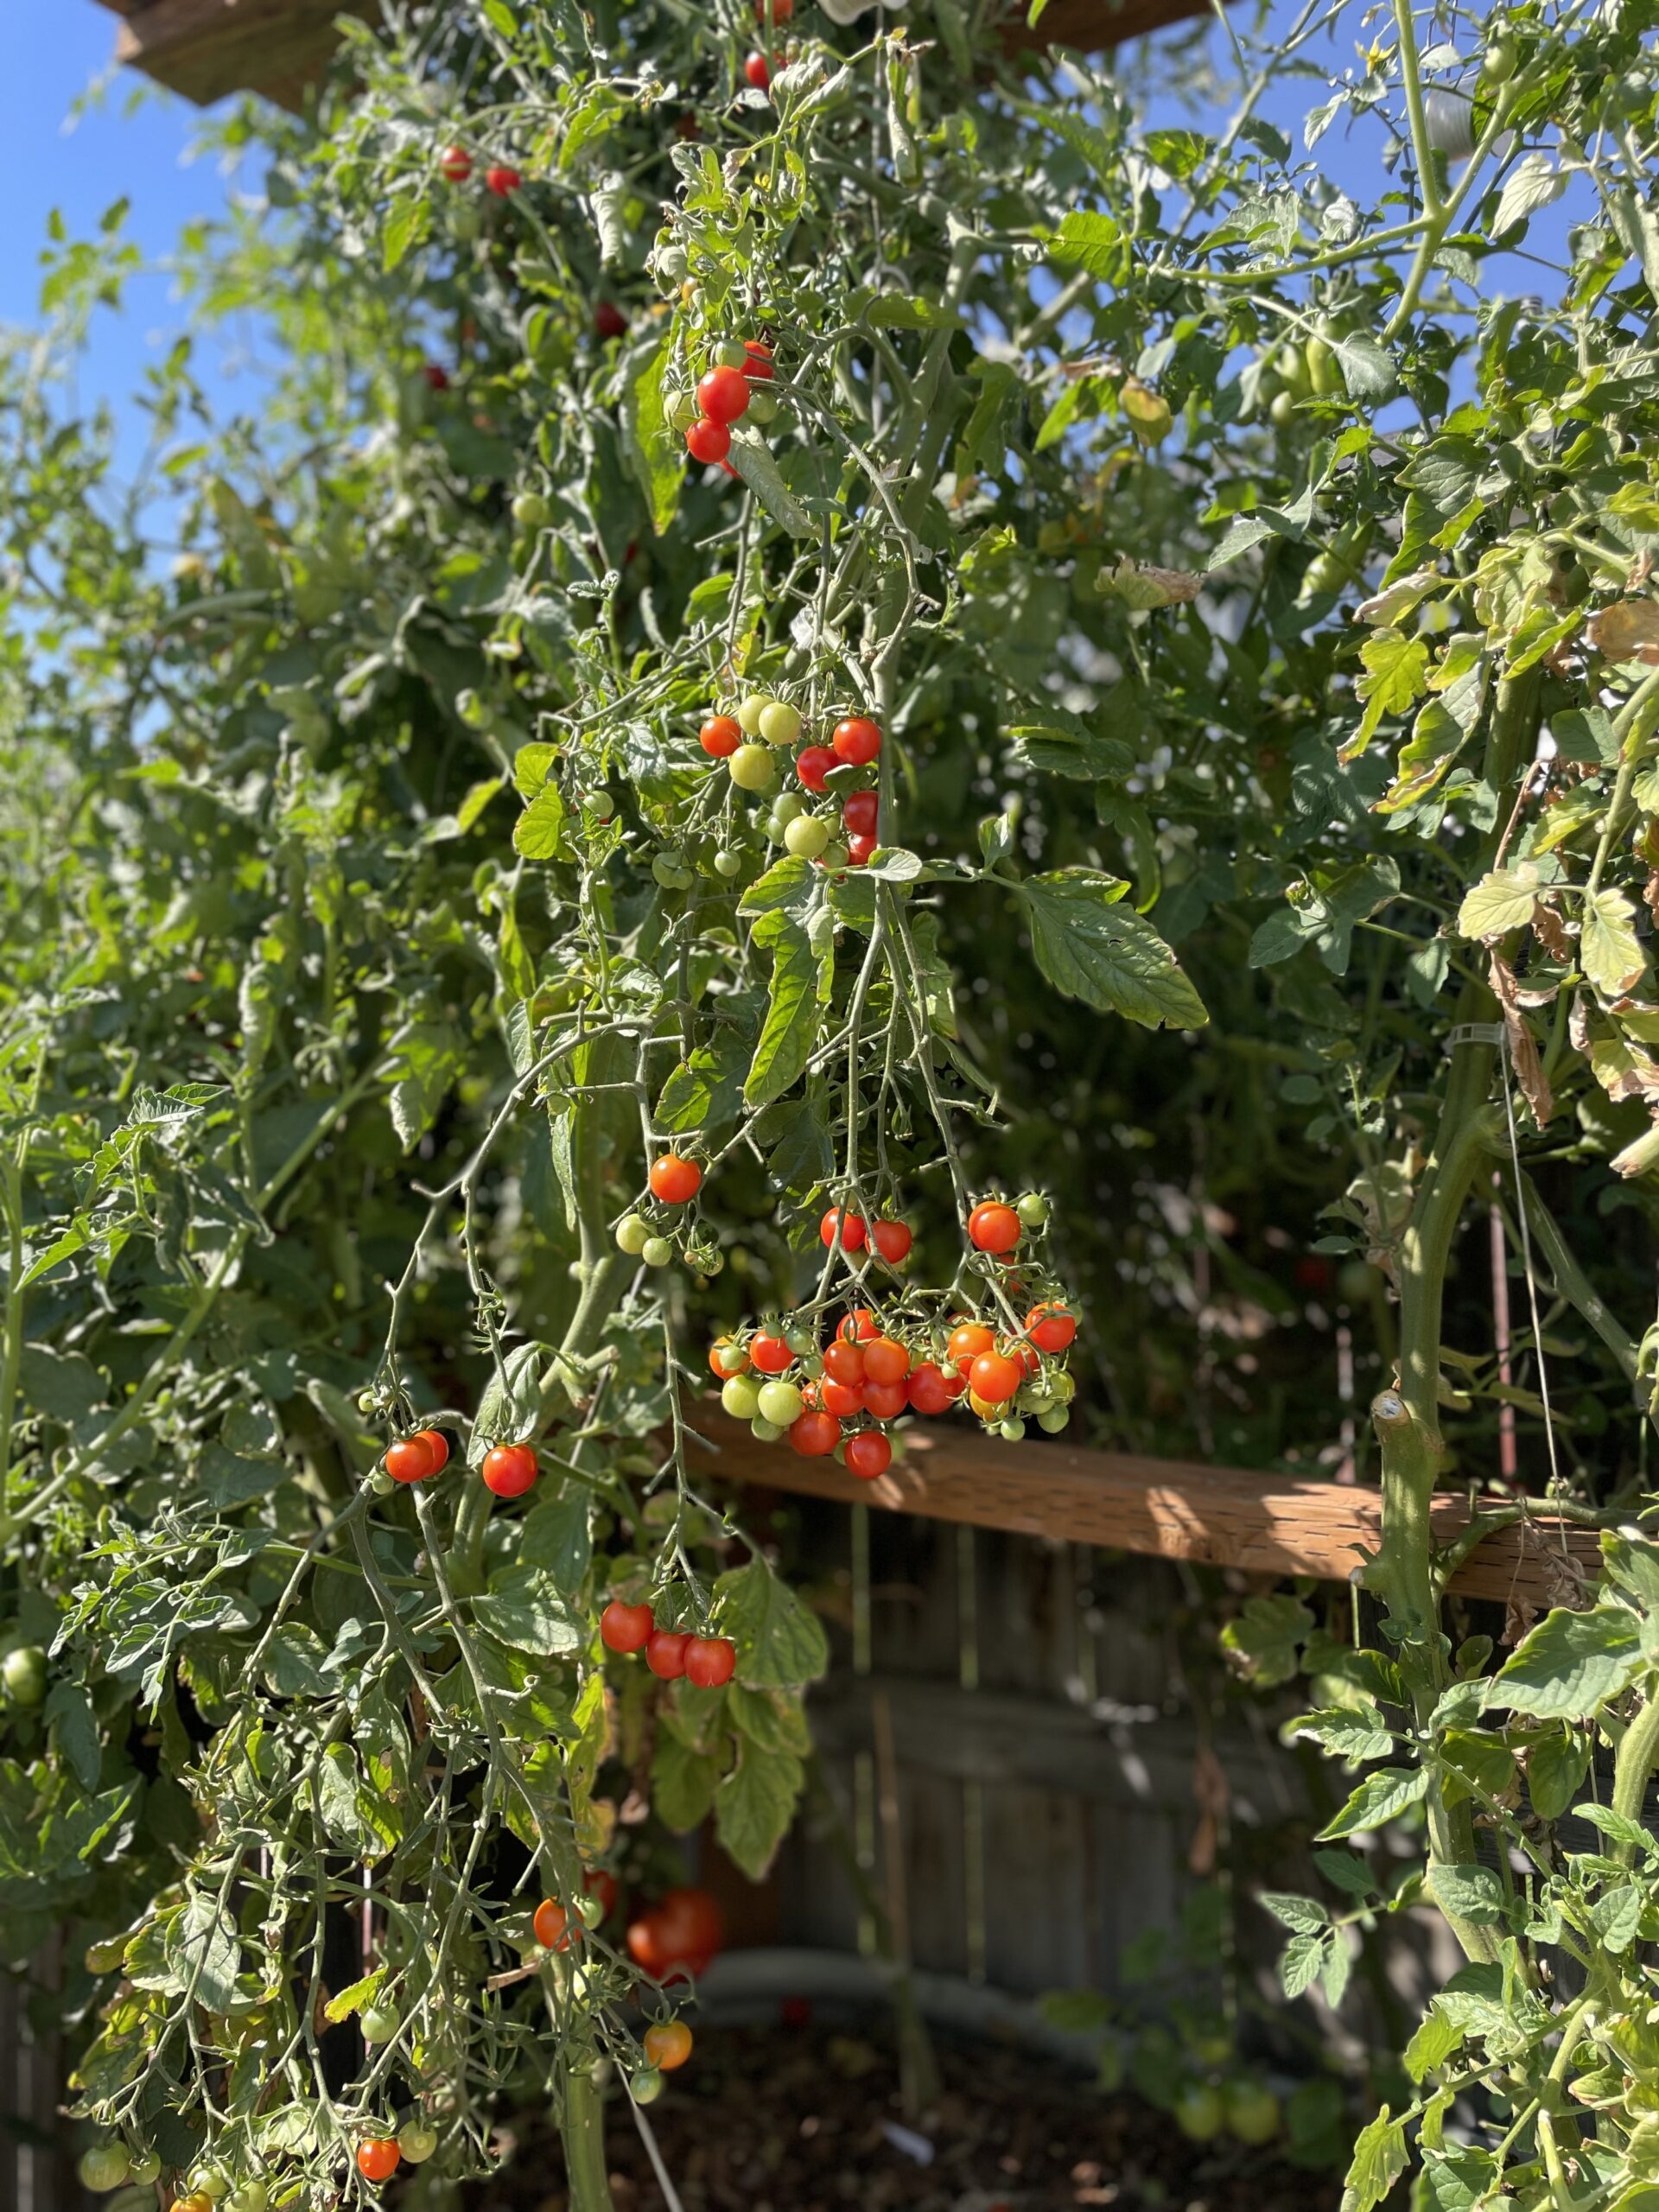
- Easier Harvesting, Cleaner & Straighter Fruits: Plants are easier to pick, reducing strain on your back and knees. Trellising also helps produce cleaner, straighter fruits, as they don’t rest on the ground where they can become misshapen or dirty.
- Prevents Pest & Rot Issues: Keeping produce off the ground minimizes exposure to soil-borne pests and diseases, as well as reduces the risk of rot and slug damage.
Types of Trellises
1. A-Frame Trellis
A freestanding, tent-like structure with two slanted sides meeting at the top, forming an “A” shape. It provides support on both sides, making it perfect for climbing plants that need stability. Often collapsible for easy storage.
- Material: Wood, bamboo, metal, or PVC
- Best for: Cucumbers, beans, peas, small melons
- Installation Time: 30 minutes – 1 hour
- Cost Estimate: $15 – $50 (DIY with wood/bamboo), $50 – $100 (store-bought)
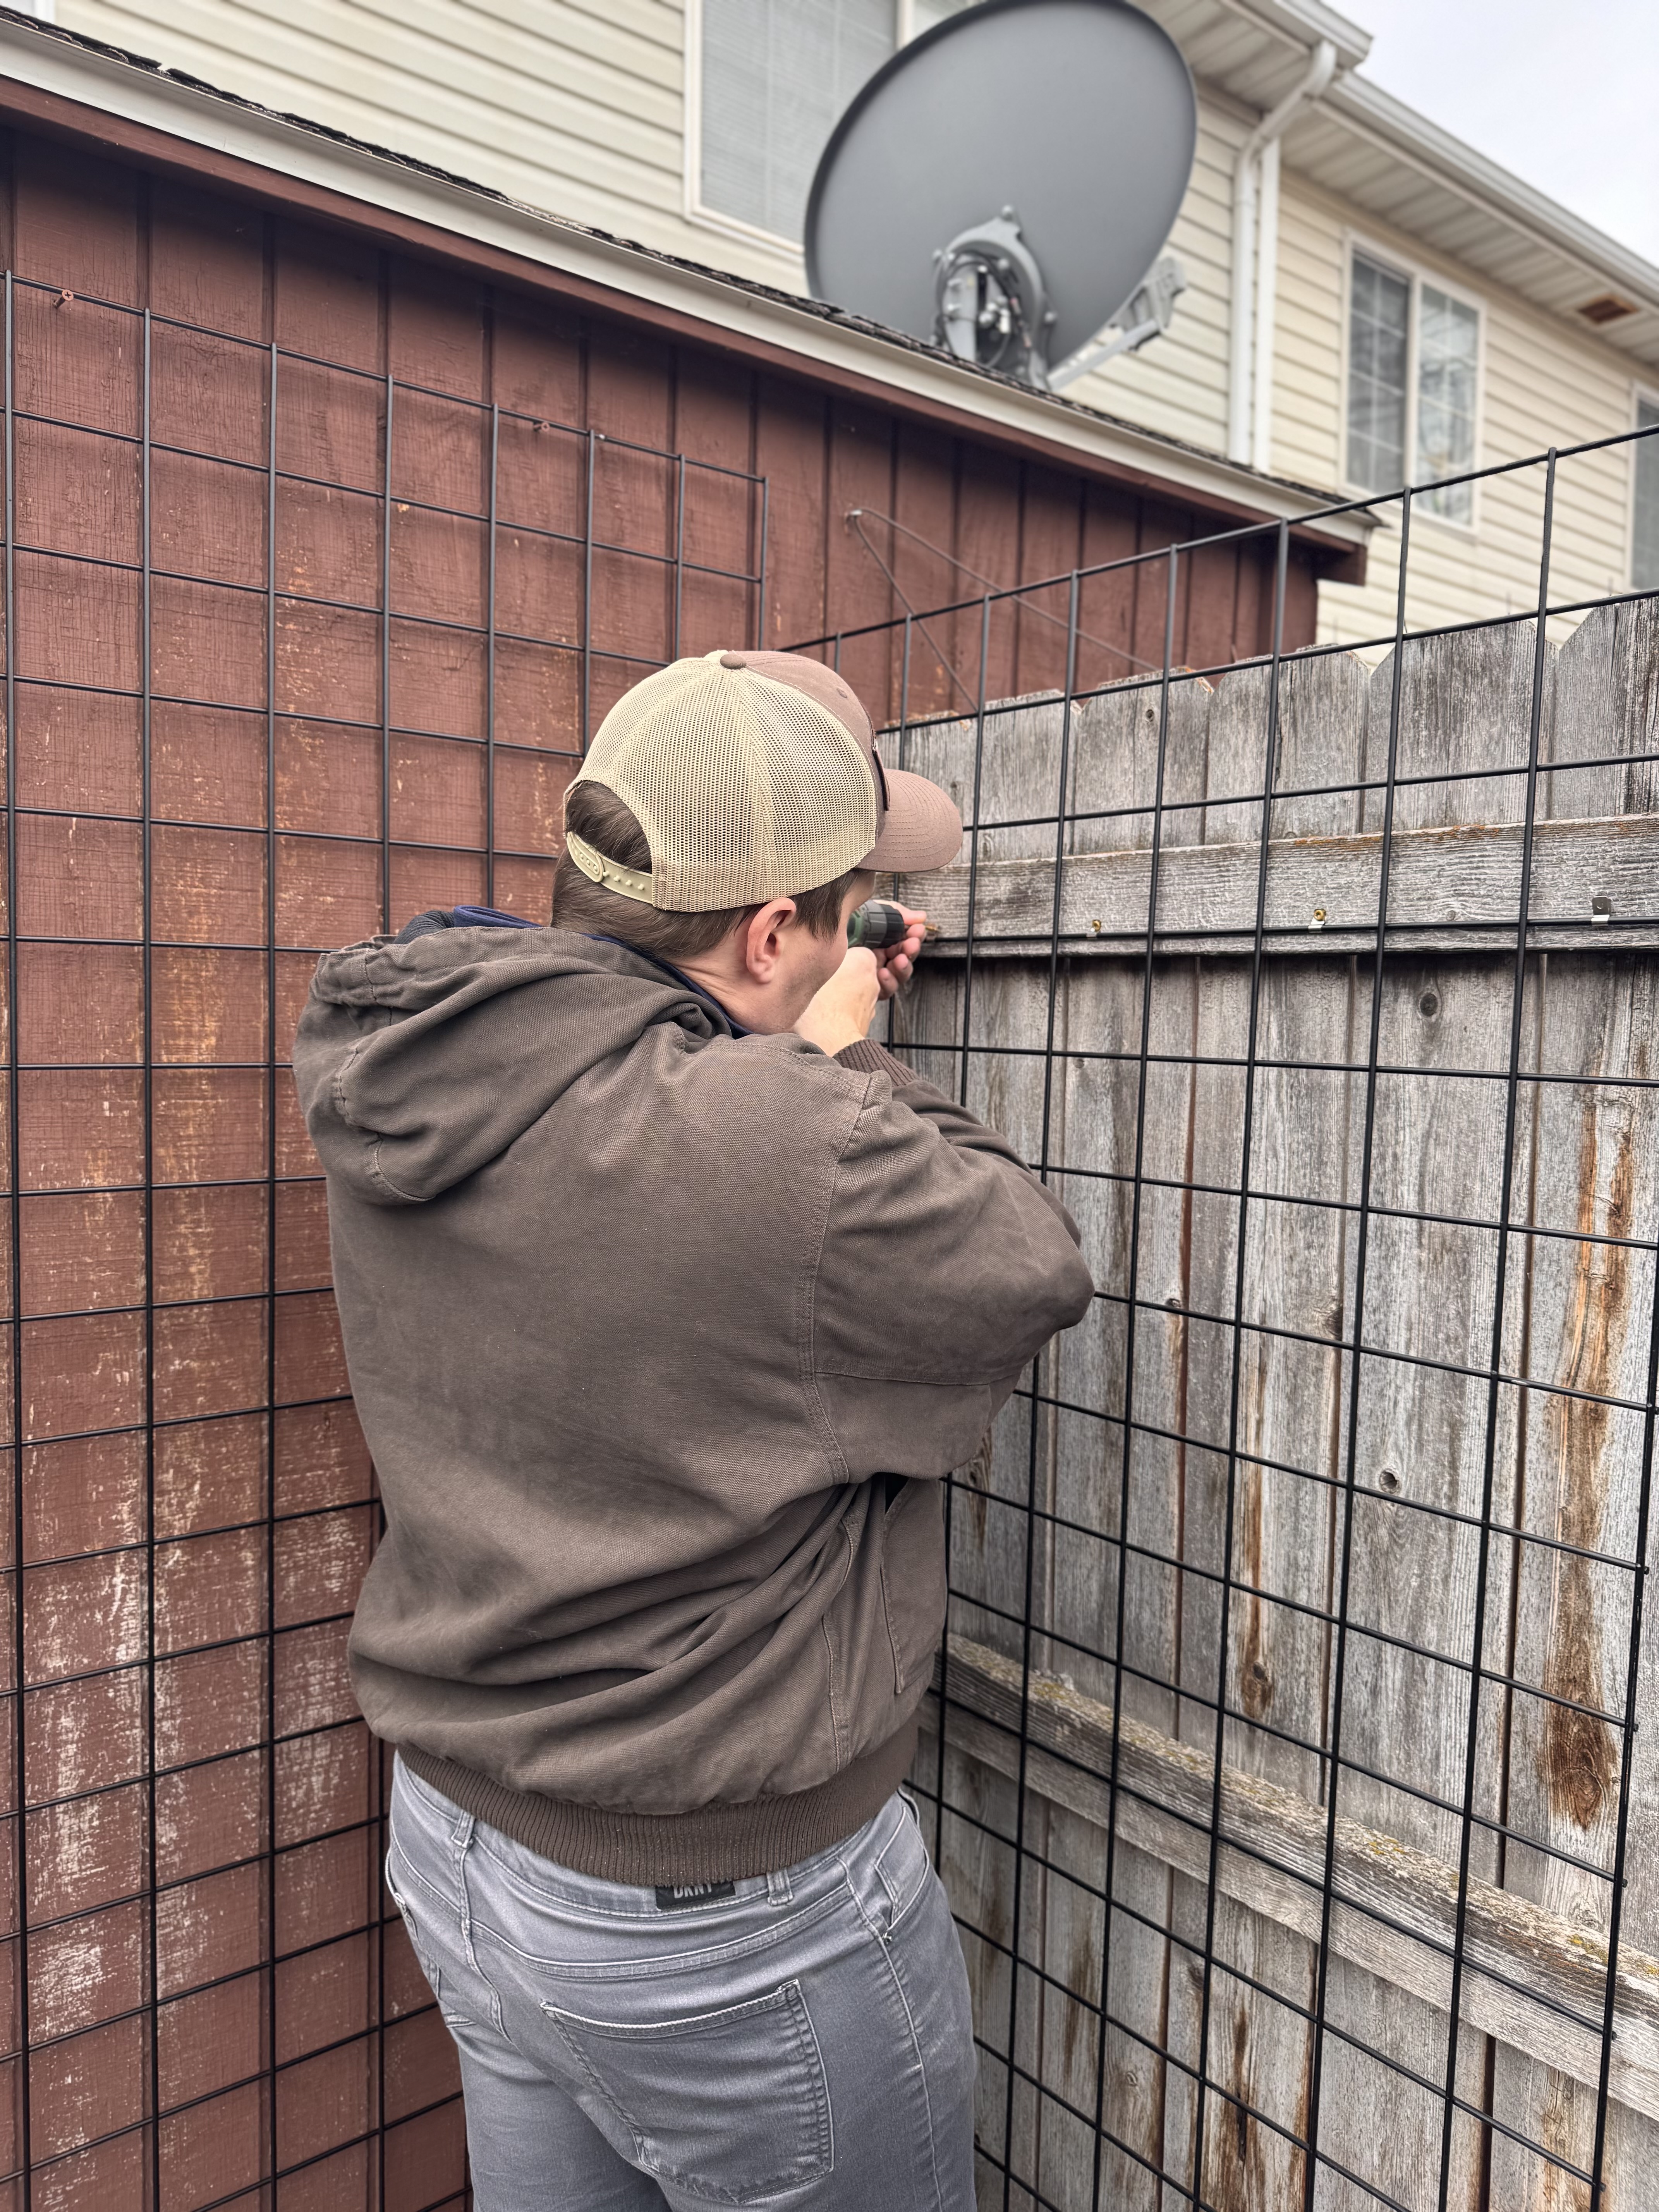
2. Flat Panel Trellis
A simple vertical trellis made of wire, wood, or metal, typically attached to walls, fences, or garden beds. It provides sturdy, upright support for plants that grow tall and need light anchoring.
- Material: Wire mesh, wood lattice, metal, or plastic
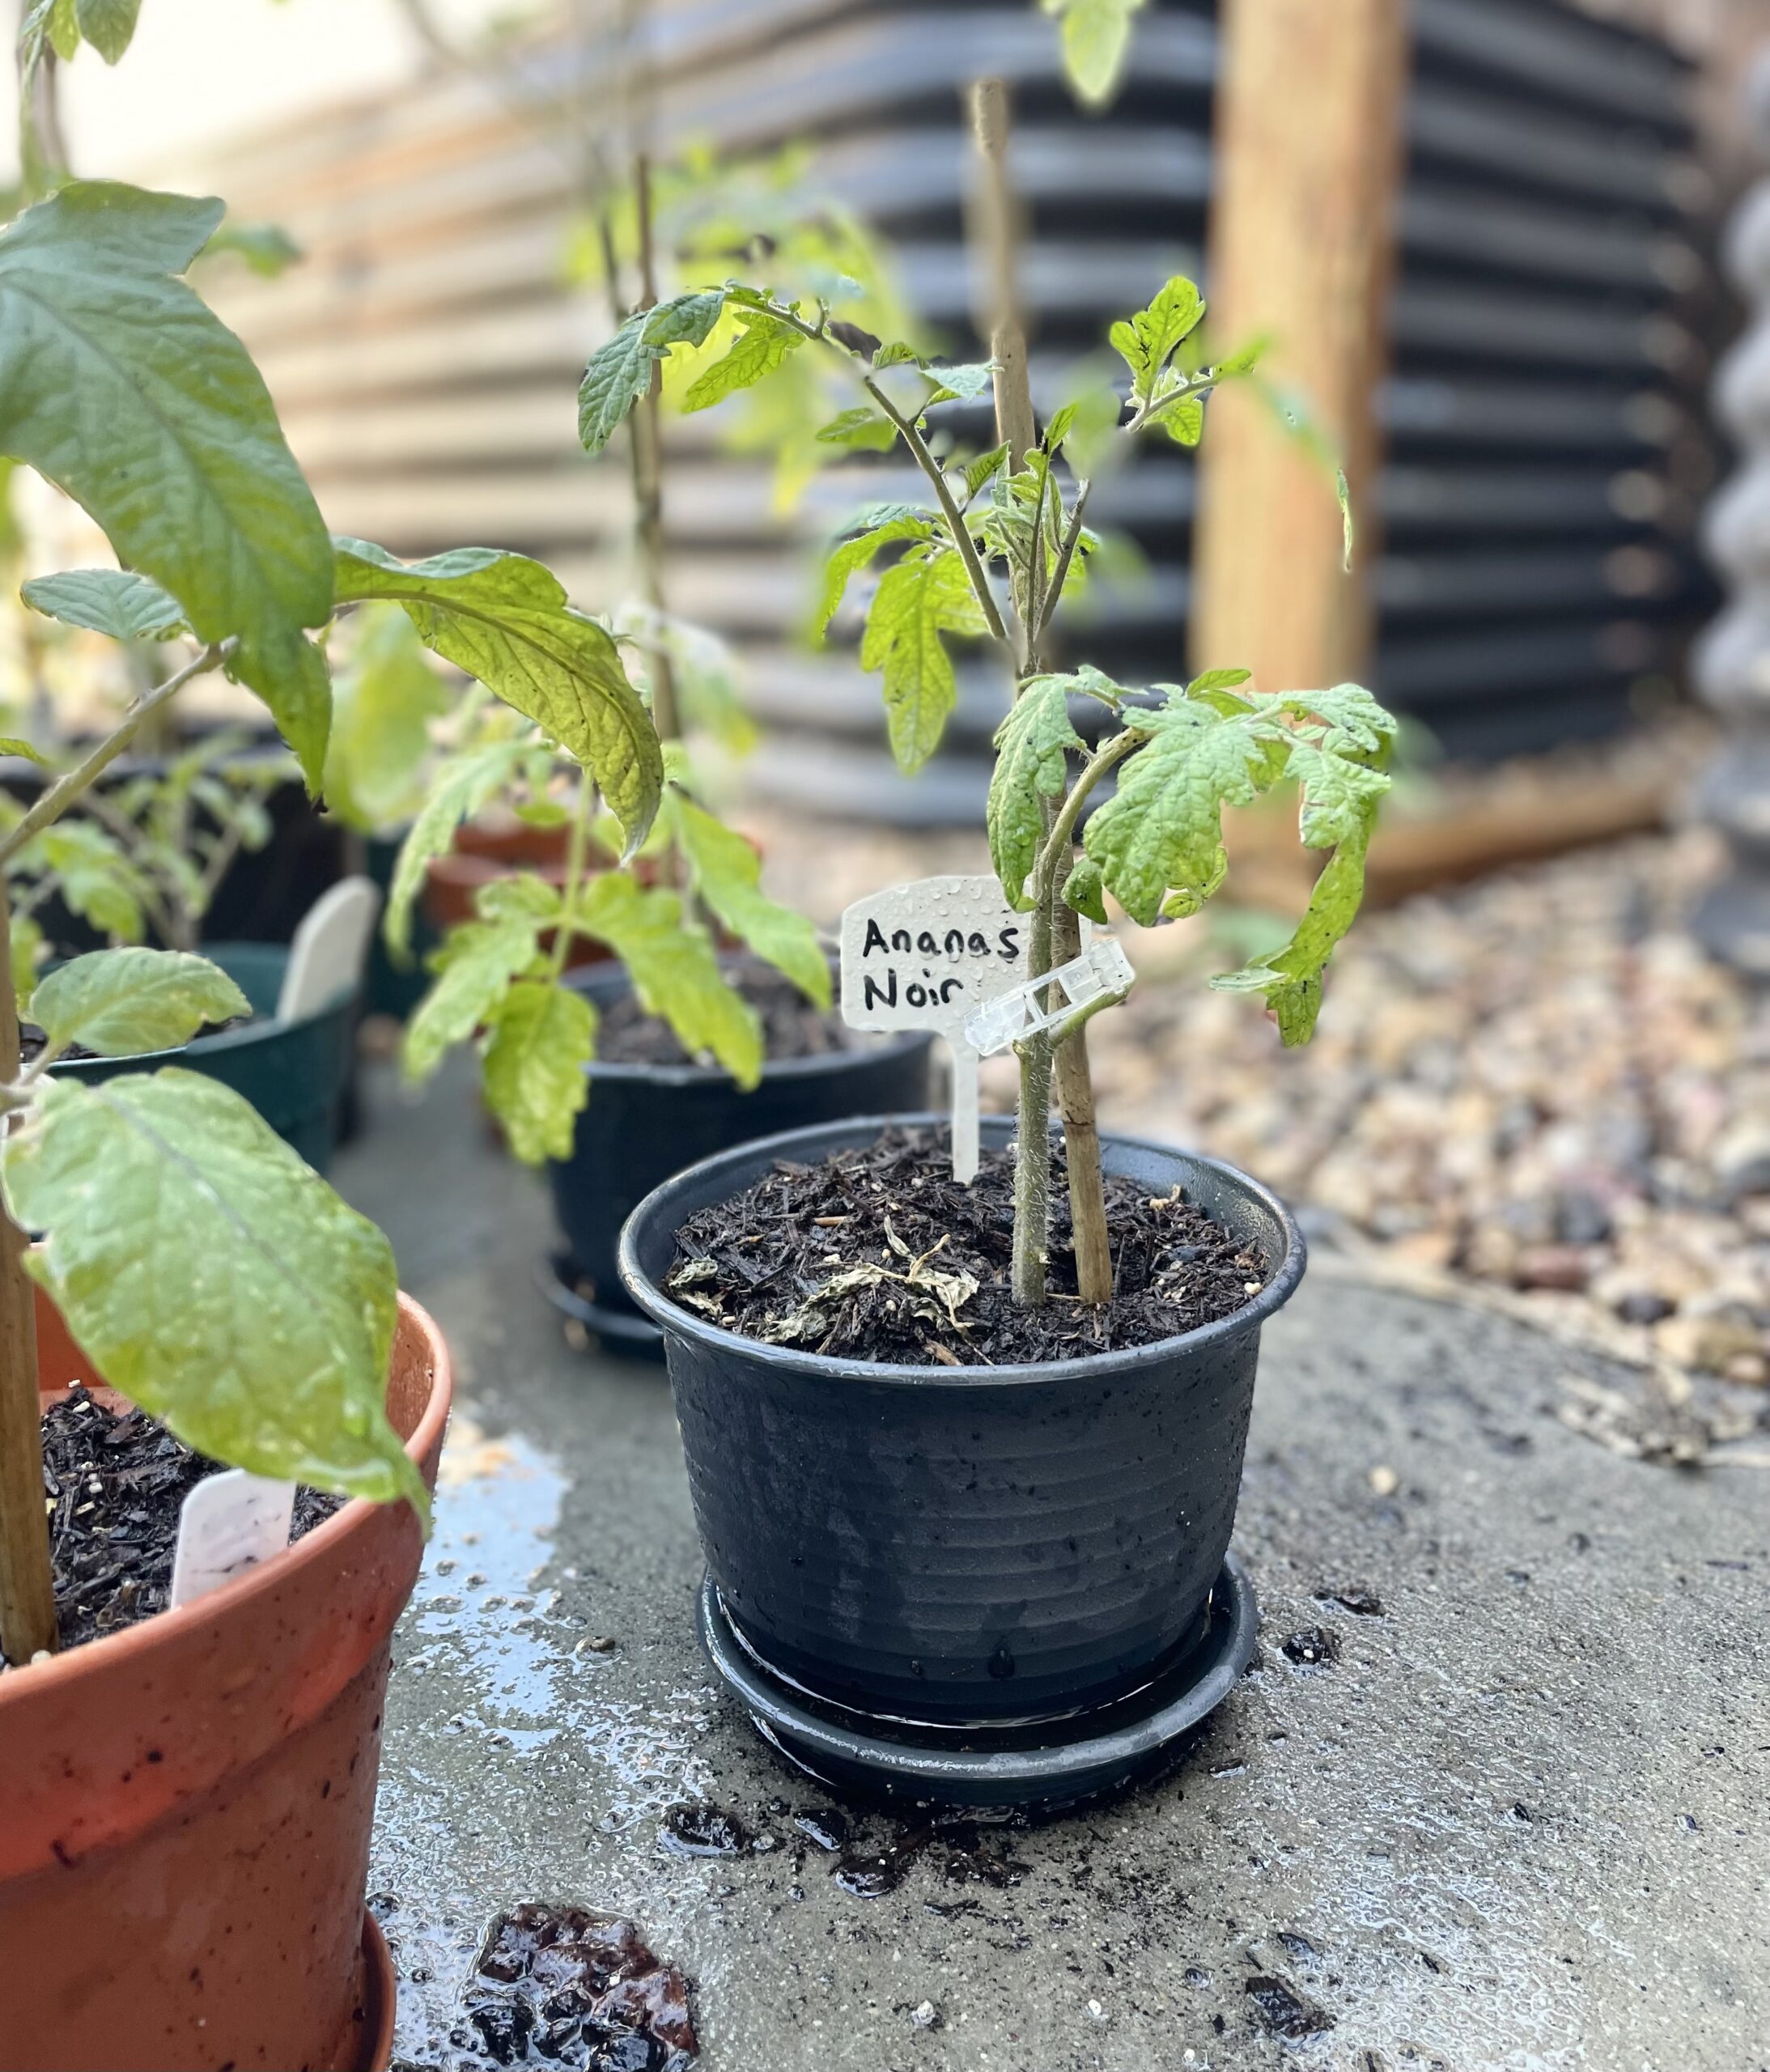
- Best for: Tomatoes, peppers, flowering vines (morning glories, clematis)
- Installation Time: 15 – 45 minutes
- Cost Estimate: $10 – $40 (DIY with wire mesh/wood), $40 – $100 (pre-made)
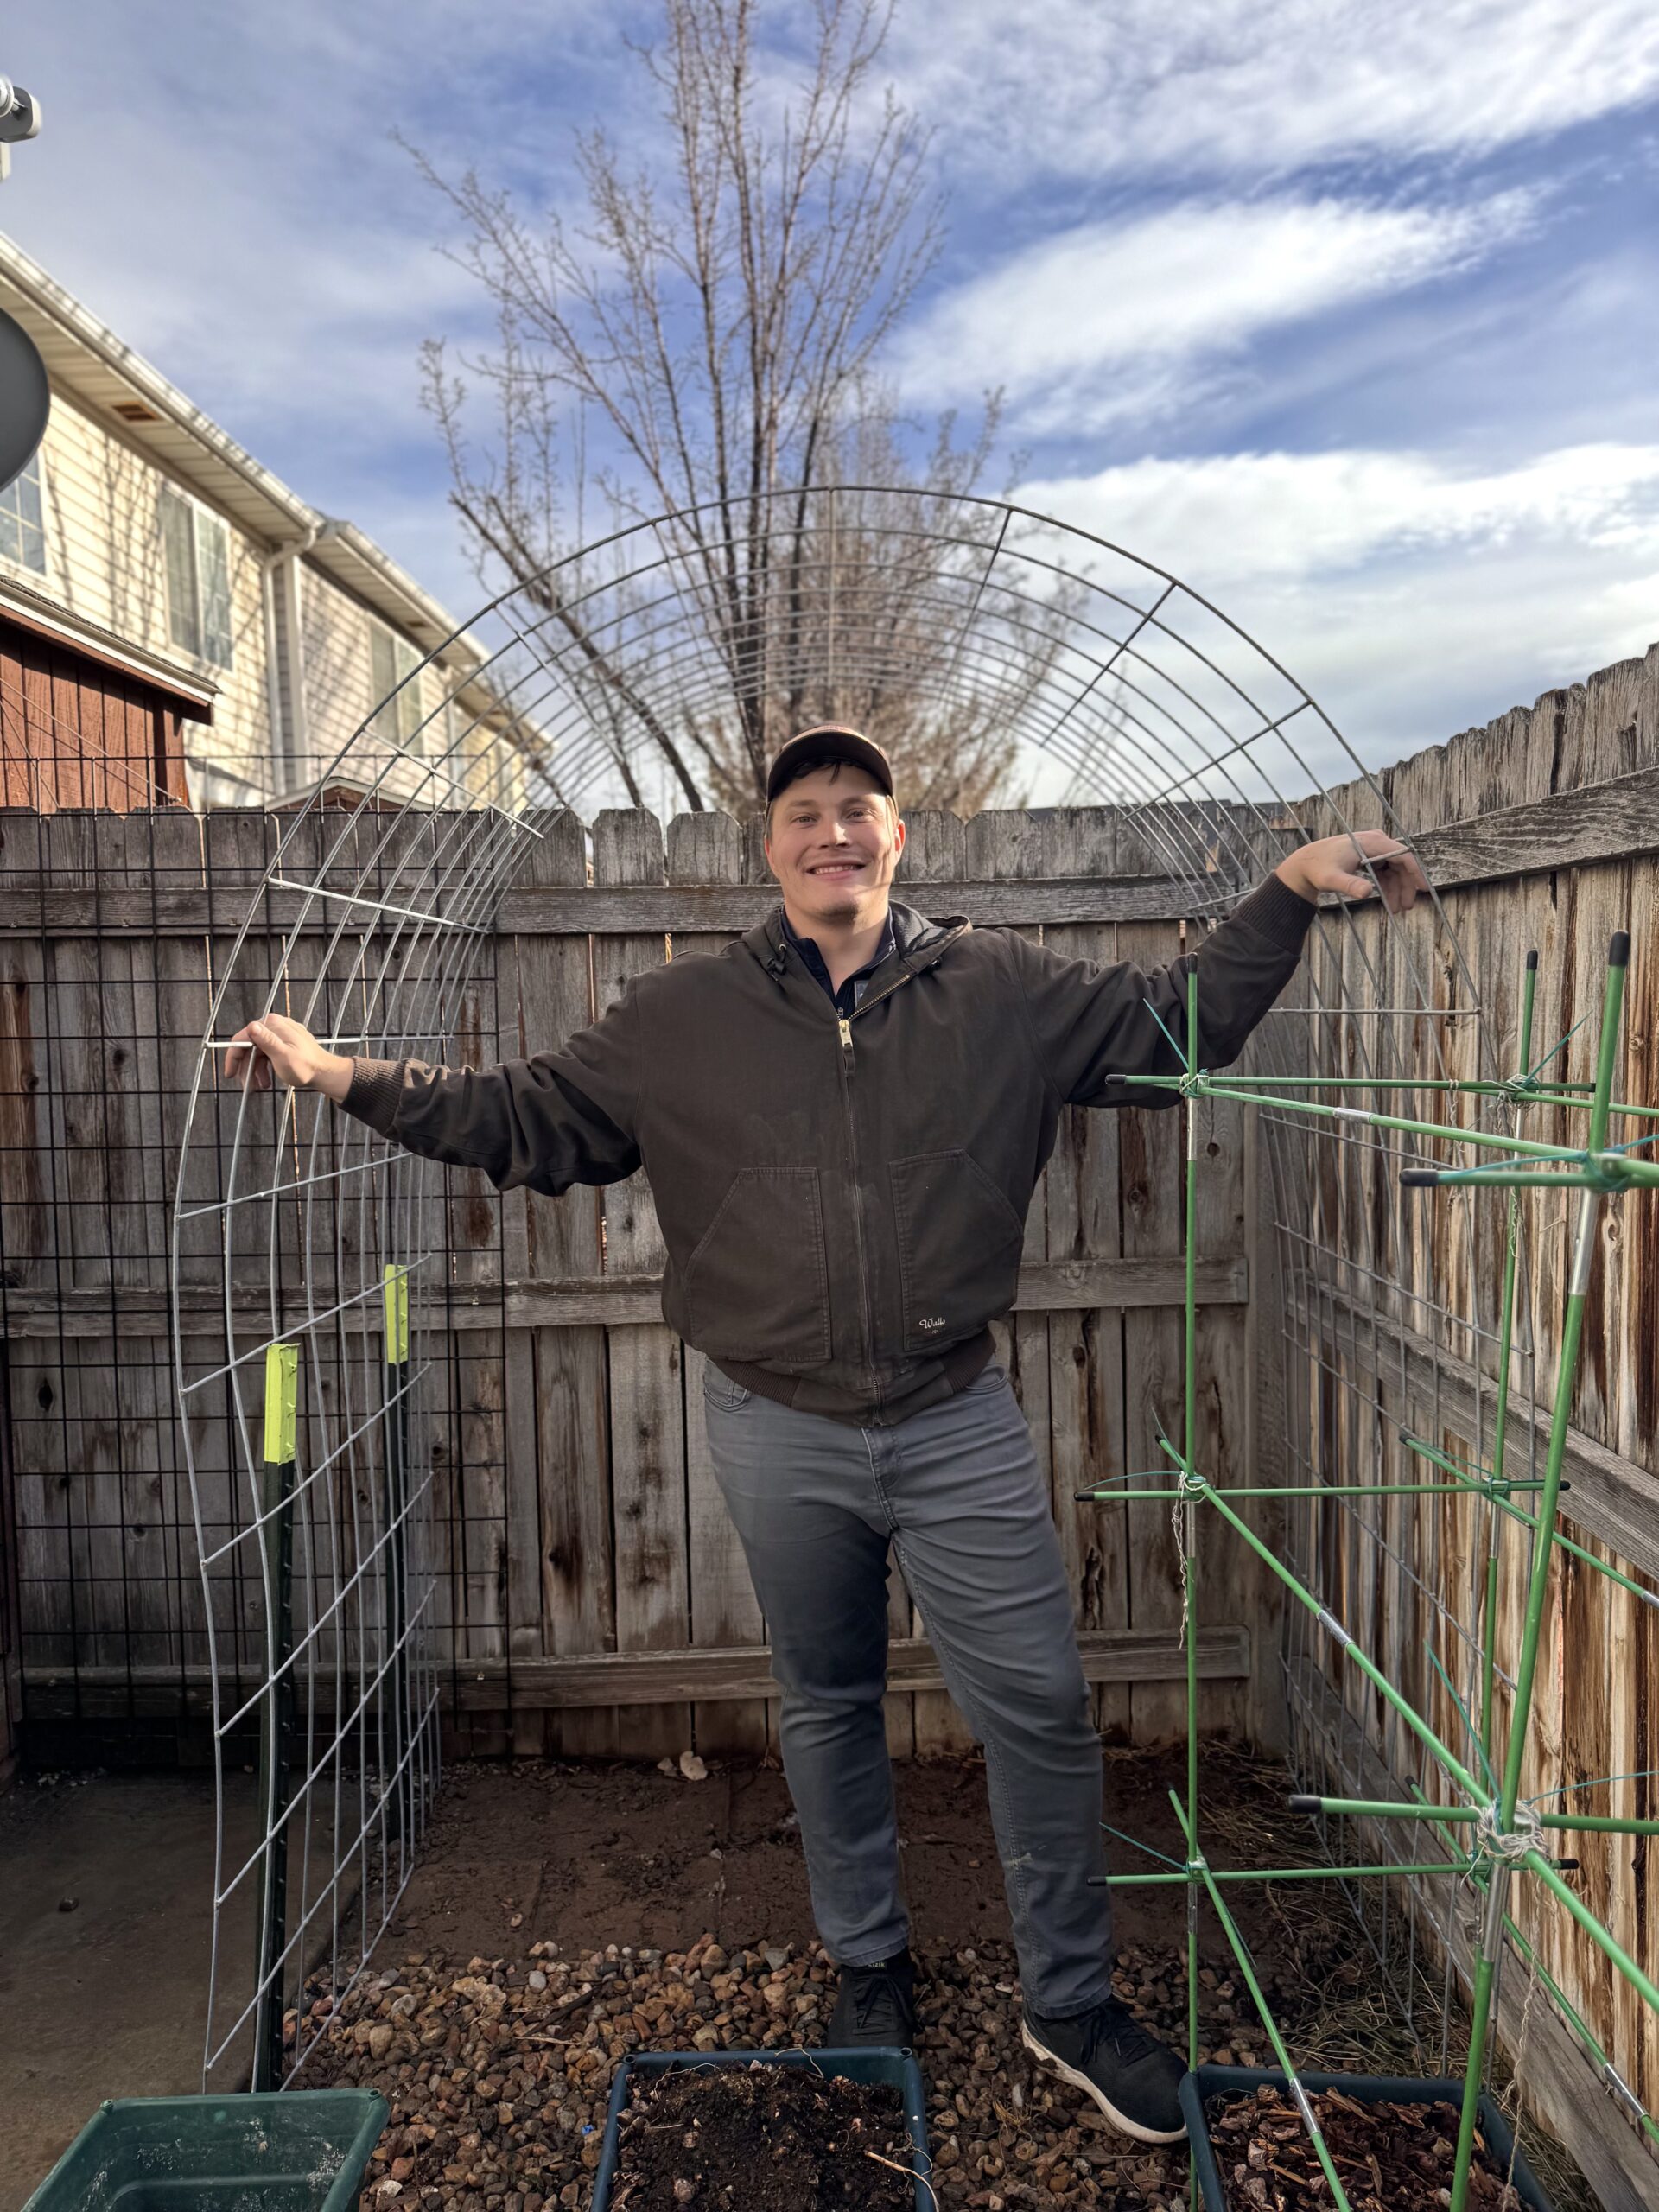
3. Arched Trellis
A curved structure designed to create an archway, allowing plants to grow over and around it. This type of trellis is both functional and decorative, often used for creating garden tunnels.
- Material: Metal, wood, PVC, or cattle panels
- Best for: Climbing roses, gourds, beans, cucumbers, grapes
- Installation Time: 1 – 2 hours
- Cost Estimate: $50 – $200 (depending on material)
4. Cattle Panel Trellis
A heavy-duty, industrial-style trellis made from strong steel livestock panels. It can be bent into an arch or placed upright, offering support for heavy crops.
- Material: Heavy-duty galvanized steel panels
- Best for: Pole beans, squash, pumpkins, melons, cucumbers
- Installation Time: 30 minutes – 1 hour
- Cost Estimate: $25 – $75 (panels cost $20 – $30 each)
5. Net Trellis
A lightweight, inexpensive trellis made by suspending twine, mesh, or plastic netting between posts. Best suited for plants with tendrils that naturally cling to vertical supports.
- Material: Nylon netting, garden twine, wire mesh, or plastic netting
- Best for: Peas, pole beans, sweet peas, nasturtiums
- Installation Time: 10 – 30 minutes
- Cost Estimate: $5 – $25 (budget-friendly)
6. Obelisk or Pyramid Trellis
A tall, freestanding structure with a tapered design, often made from wood or metal. It provides a sturdy, decorative frame for climbing plants and is frequently used in container gardens.
- Material: Wood, metal, or PVC
- Best for: Clematis, morning glories, small vining tomatoes, pole beans
- Installation Time: 30 minutes – 1 hour
- Cost Estimate: $30 – $100 (pre-made), $20 – $50 (DIY)
7. Fan Trellis
A trellis that expands outward in a fan shape, designed to support espaliered plants or climbing vines against walls and fences. It allows for structured, controlled plant growth.
- Material: Wood, metal, wire
- Best for: Espaliered fruit trees, climbing roses, clematis, vines
- Installation Time: 1 – 2 hours
- Cost Estimate: $20 – $80 (DIY), $50 – $150 (pre-made)
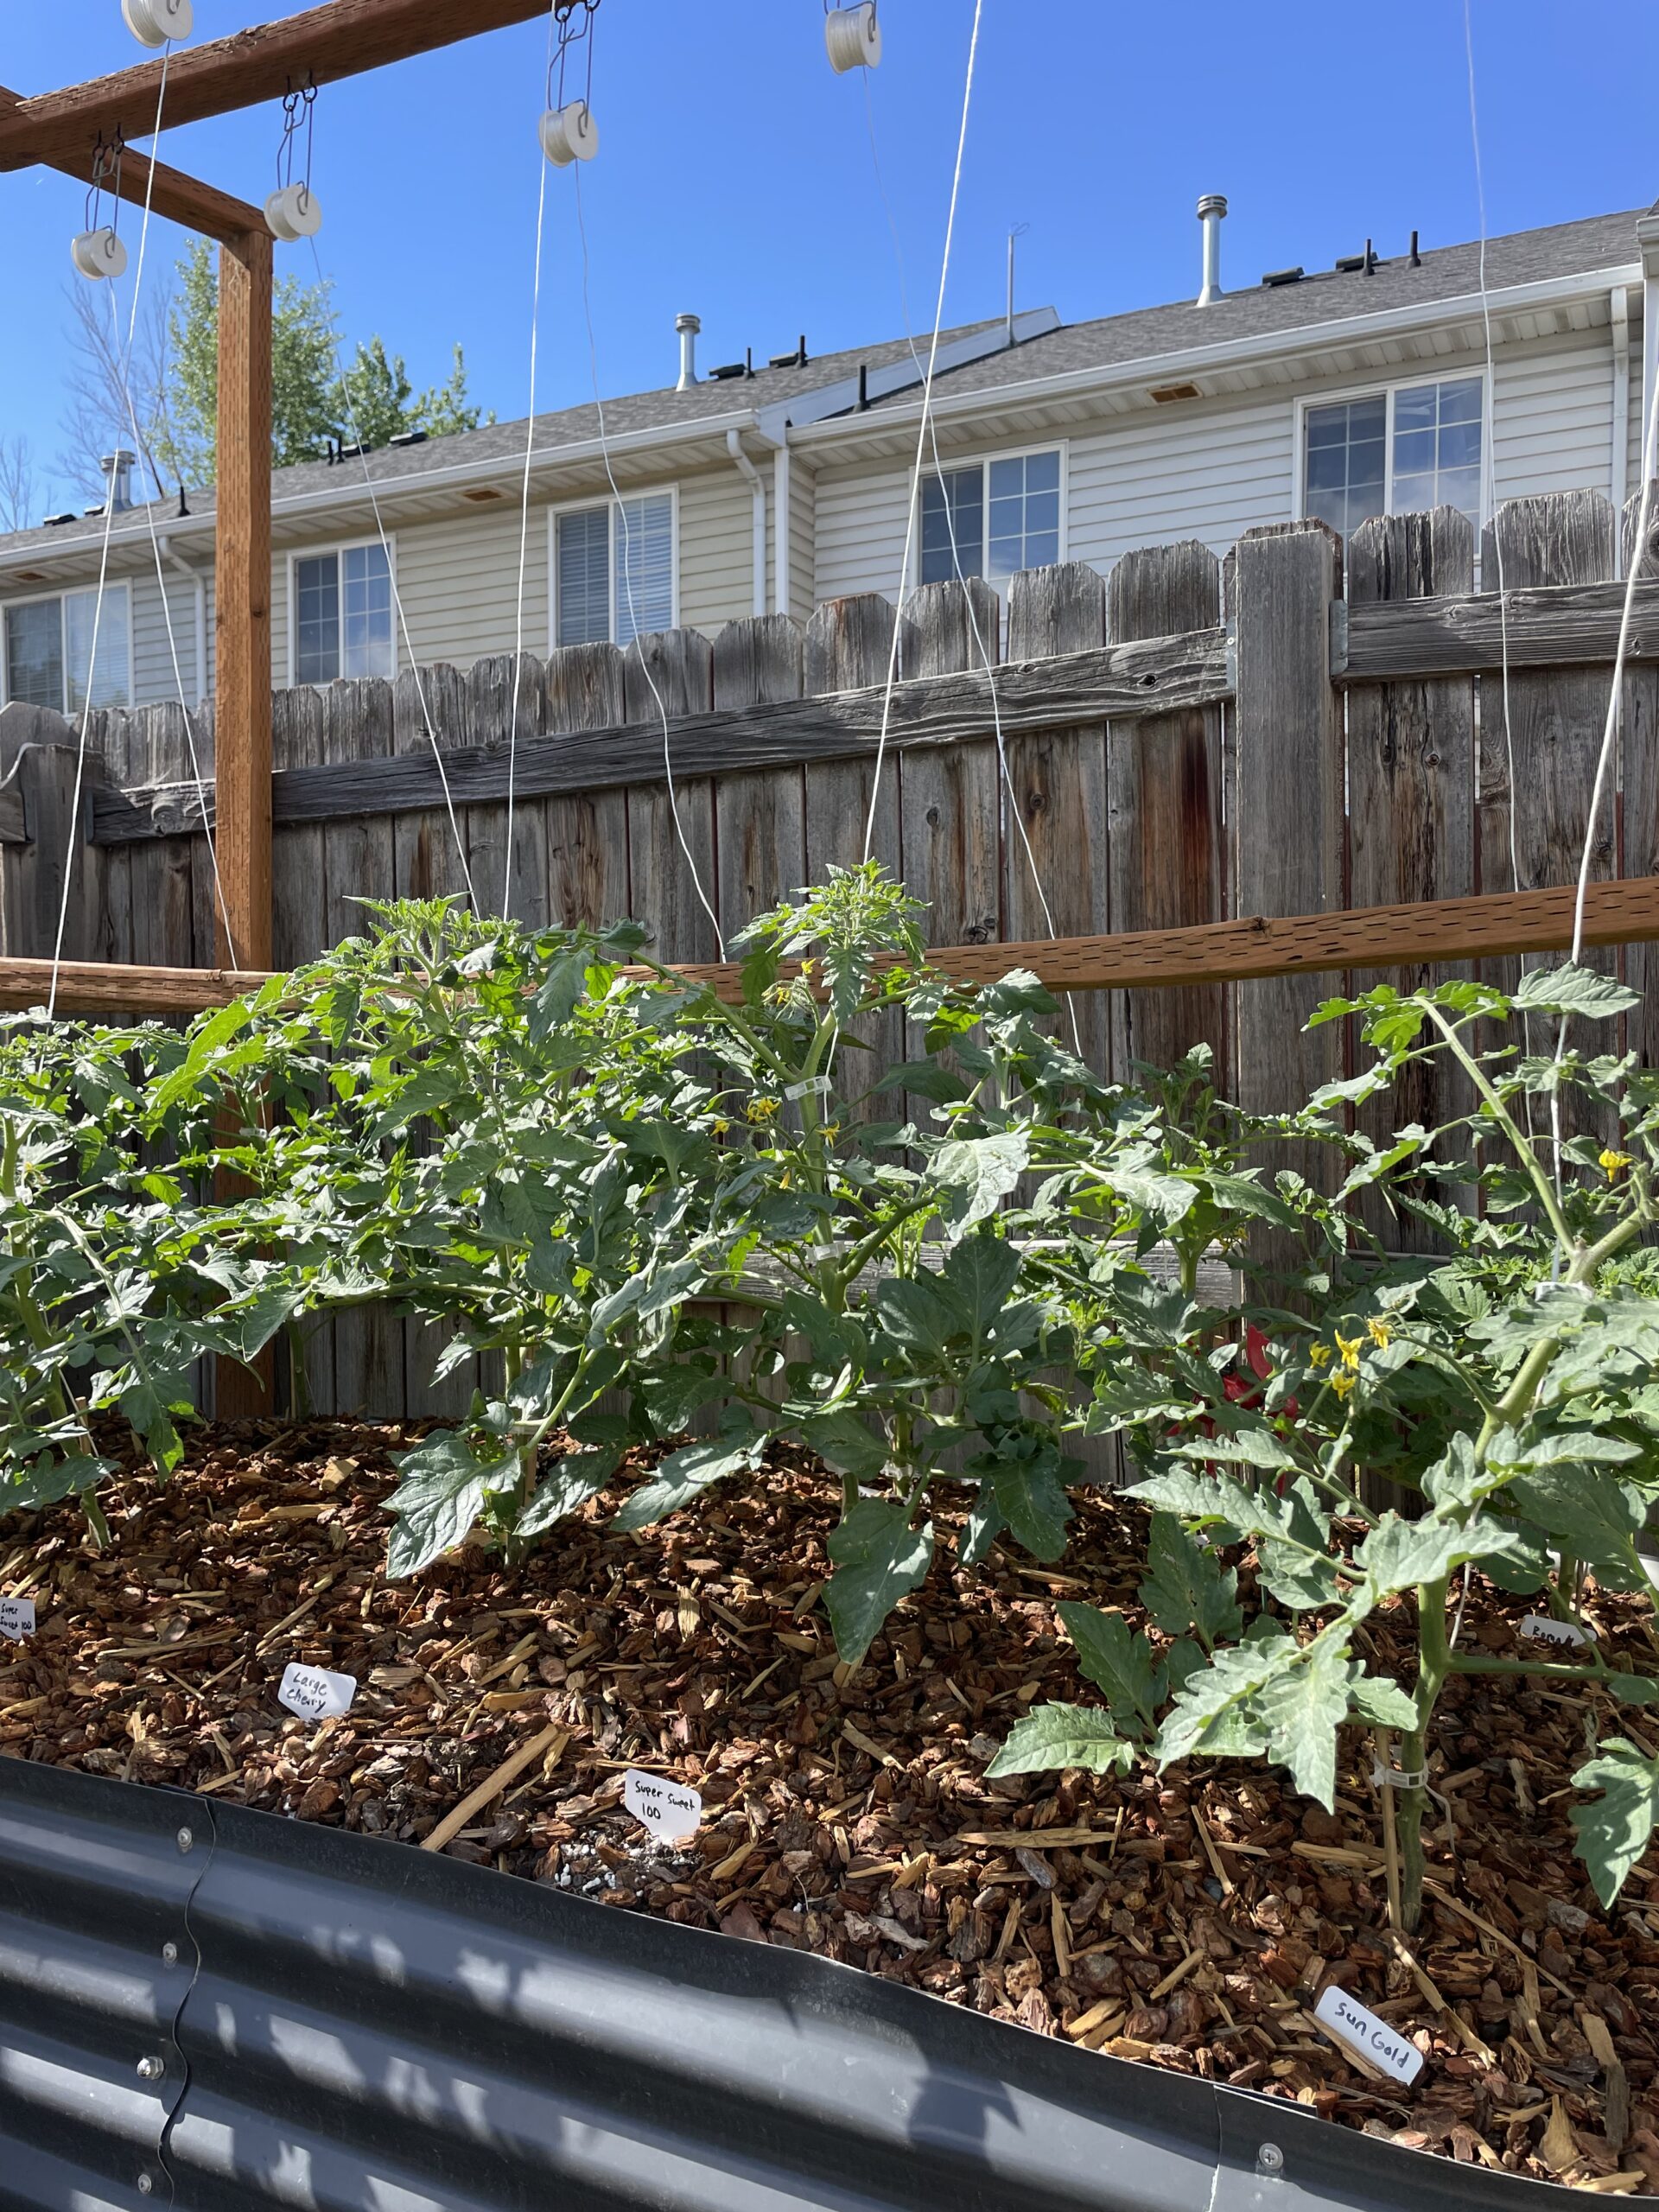
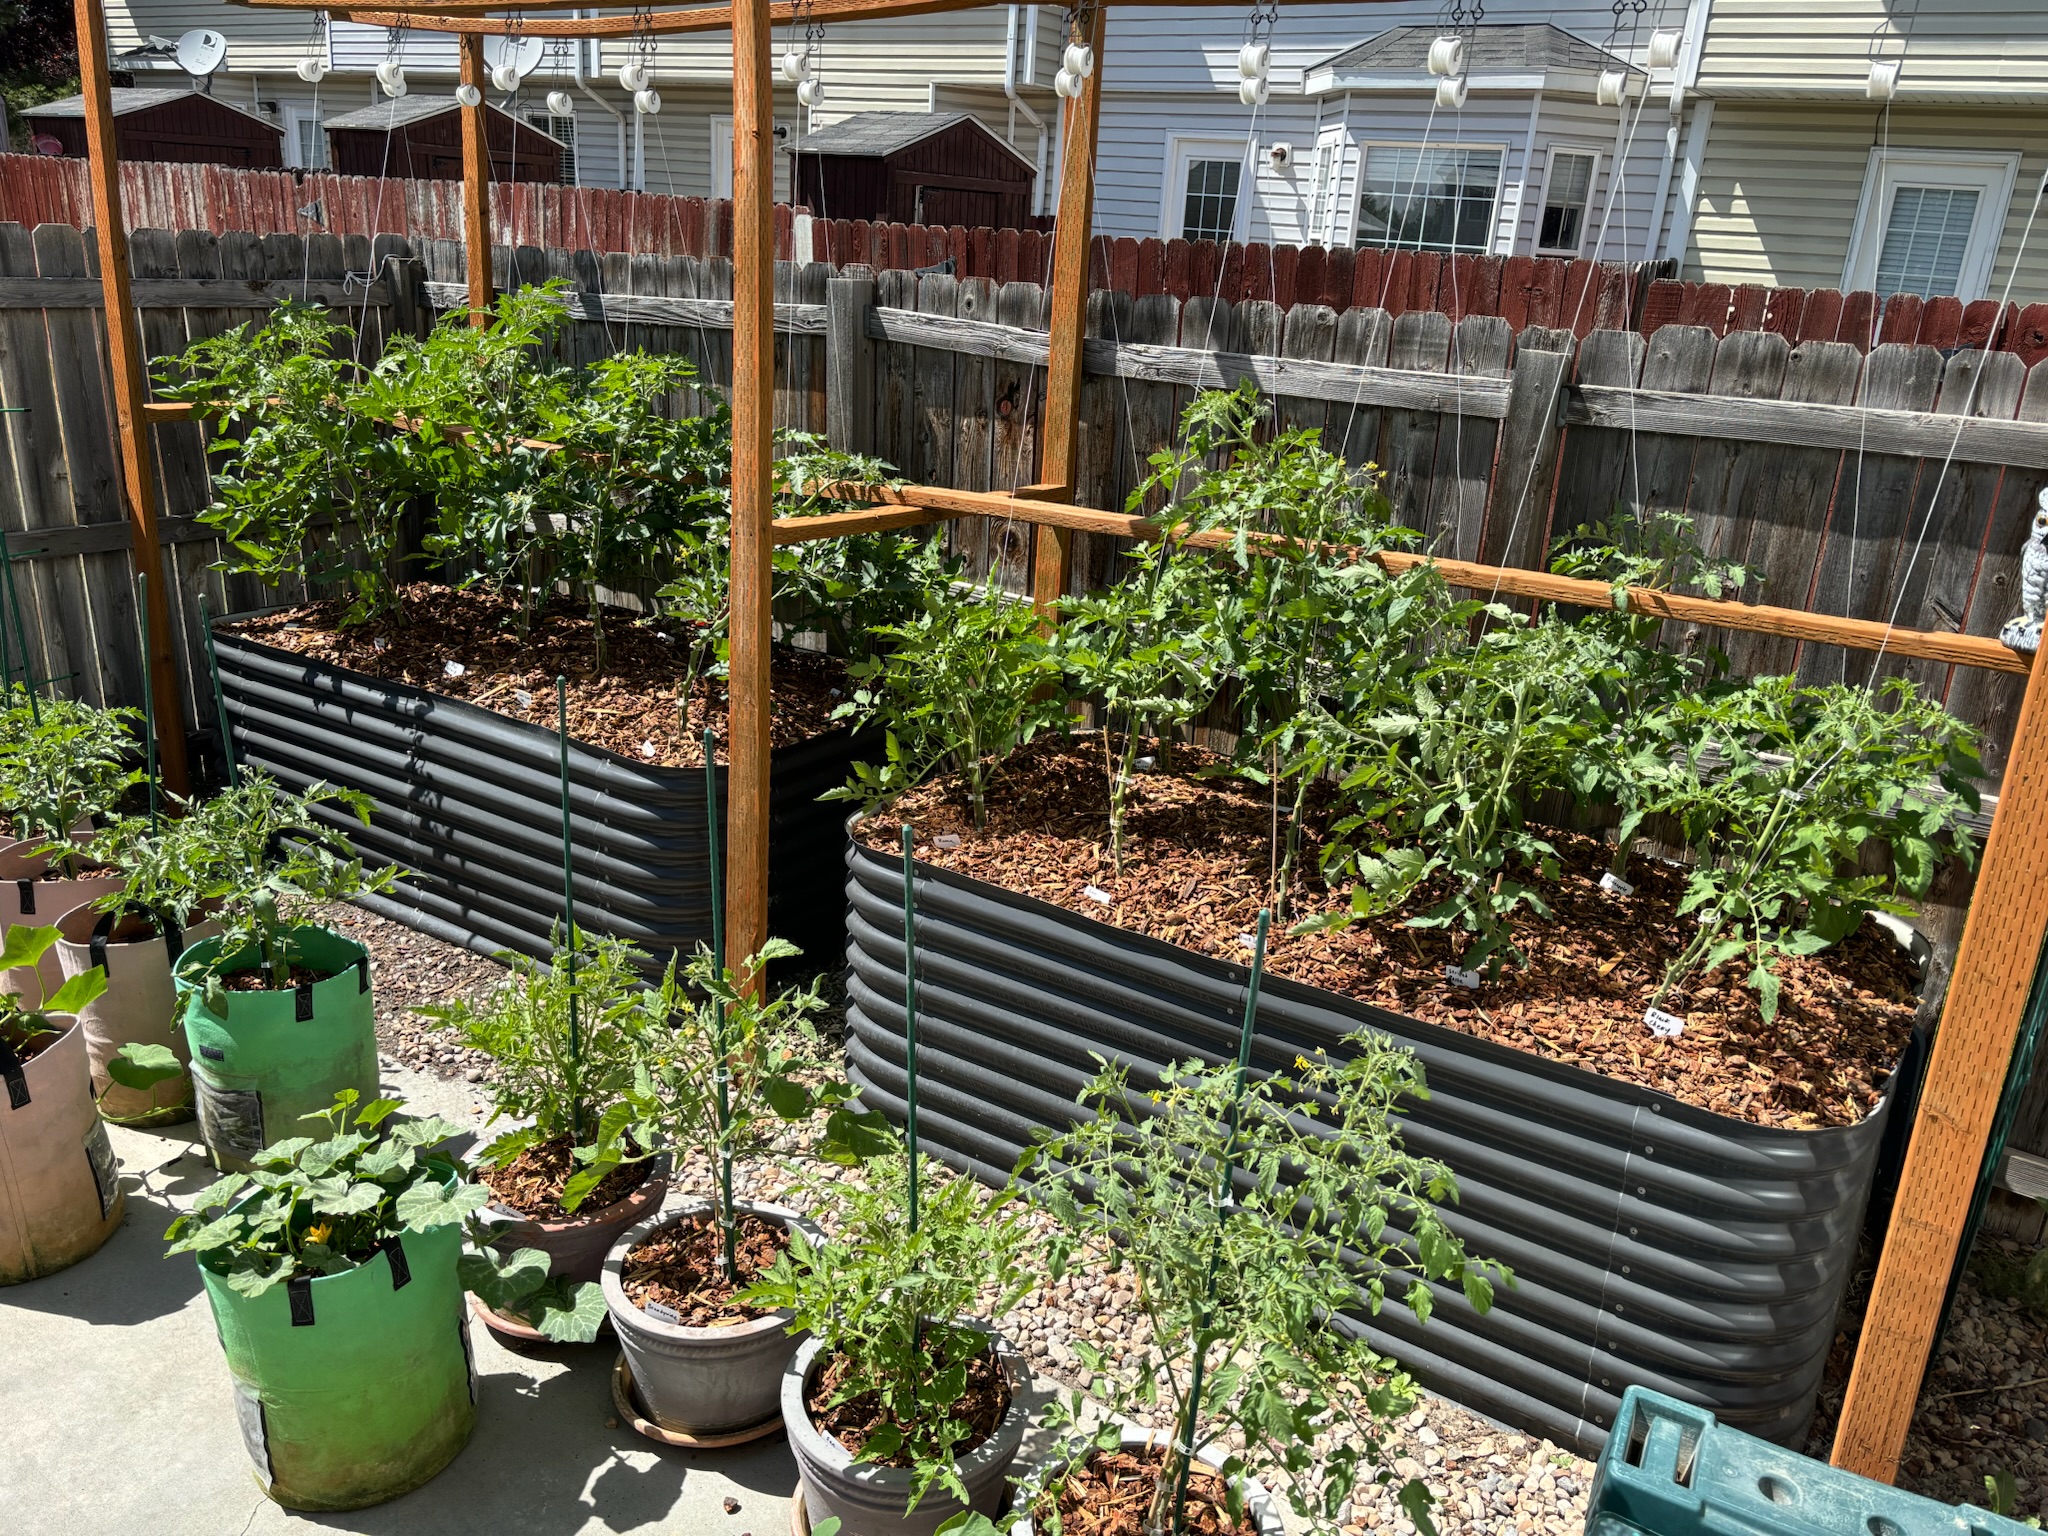
8. String-Wrap Trellis (Tomato String Method)
A vertical support system where strings are attached to a sturdy wooden beam or horizontal frame, with each string anchored to the base of a tomato plant. The plant is gently wrapped around the string as it grows for upright support.
- Material: Wooden posts or frame, heavy-duty twine or nylon string
- Best for: Indeterminate tomatoes, cucumbers, peppers
- Installation Time: 1 – 2 hours
- Cost Estimate: $20 – $60 (DIY with wood and string)
- Notes: Ideal for high-yield tomato production. Requires regular pruning and maintenance to keep plants growing vertically.
Thanks for reading along! I hope you’re able to find the best trellis(es) for your space. It’s seriously such a game changer. Best of luck with your garden this year!
If you enjoyed this blog post, be sure to check out my other gardening blog posts:


0 Comments